I learned that swapping a trellis without a plan can lead to a tangled mess. First, check your setup and map clearance—six inches minimum—to avoid trapping your clematis. Decide whether to prune stems to six inches now or wait for winter dieback; either option is better than removing everything at once. Remove the old structure gently by cutting ties from top to bottom and wiggling posts free instead of yanking. Install sturdy wire or framed remesh six to eight inches from the base where morning sun hits. Finish with compost and mulch kept two inches from the stem; wait for spring to feed. Taking these steps will help ensure your plants thrive.
Check Your Trellis and Plan Around Your Clematis
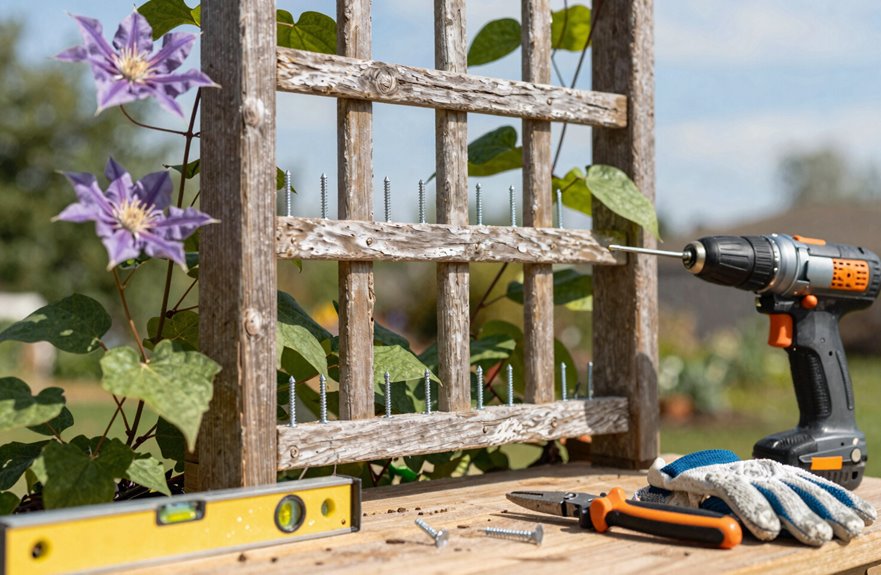
Why does every garden project start with something falling apart? I’m staring at my natural-looking trellis, and it’s basically compost with ambition. The clematis has claimed every inch, making trellis replacement trickier than I’d hoped.
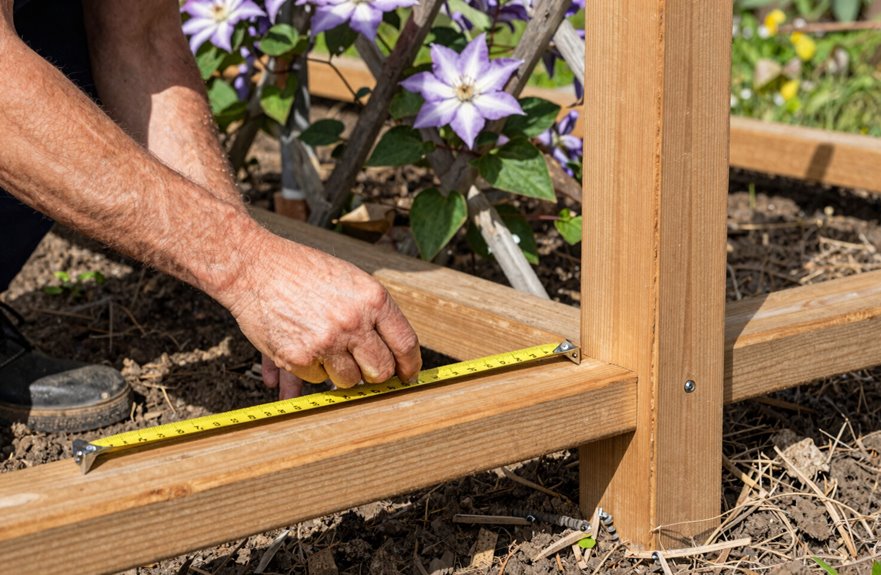
I’ve learned that you can’t just yank and pray when it comes to protecting clematis. For plant-safe installation, I’m placing a wire trellis behind the old one first. This temporary support gives the vines somewhere to land while I work. Smart garden planning means measuring twice and cursing once; my new trellis needs to clear the old one by at least six inches.
Winter care starts now. I’ll add compost and mulch after the swap, but only after the clematis settles. There’s no rush. We have time to get this right together.

175 Feet. 20 Gauge galvanzied

LONG ENOUGH: This plant ties are 492 feet (150 m) per volume. Durable and long enough for your use.

Complete Package for Convenience: the wire trellis kit Includes 61m trellis wire and 20 eye screws (diameter 2/10 inches); This package ensures you have all necessary components right at your fingertips, making set up a breeze and eliminating the need for additional purchases
Save Your Clematis: Prune Now or Remove Gradually
How do you untangle a plant that’s holding on for dear life? I’ve learned it’s easier than wrestling that wire trellis while your clematis clings like a stubborn toddler.
Untangling a clematis is easier than wrestling wire while it clings like a stubborn toddler.
I offer two solid paths. Roberta Mathias suggests pruning your clematis to six inches above ground in the fall. Nancy Guthridge prefers waiting for dieback, then cutting two to four inches above ground. I’ve tried both, and neither is wrong.
The trick is to avoid ripping everything out at once. I remove the old trellis gradually or install the new support first. This transition protects your plant’s health and yours. Your clematis will resurge next spring, likely judging my pruning skills less harshly than I do.
Winter care is important. I add compost and mulch at the base to support recovery.

6 Ft. Garden Trellis for Climbing Plants: 6ft(69 in) Tall x 12in Wide obelisk trellis for climbing plants. Can be adjusted the height according to the growth of the plant. Provide enouph space for your plants and vines to support the plant growth healthy

Versatile Gardening Support: Our 6ft Garden Obelisk Trellis, measuring 67" tall and 12" wide, offers ample space for a variety of climbing plants. The adjustable design allows you to customize the height as plants grow

Built to Last:Crafted from PE steel with a full plastic coating, our plant stakes are fully shielded against rust, . This ensures years of reliable service, season after season
Remove the Old Trellis Without Harming Roots
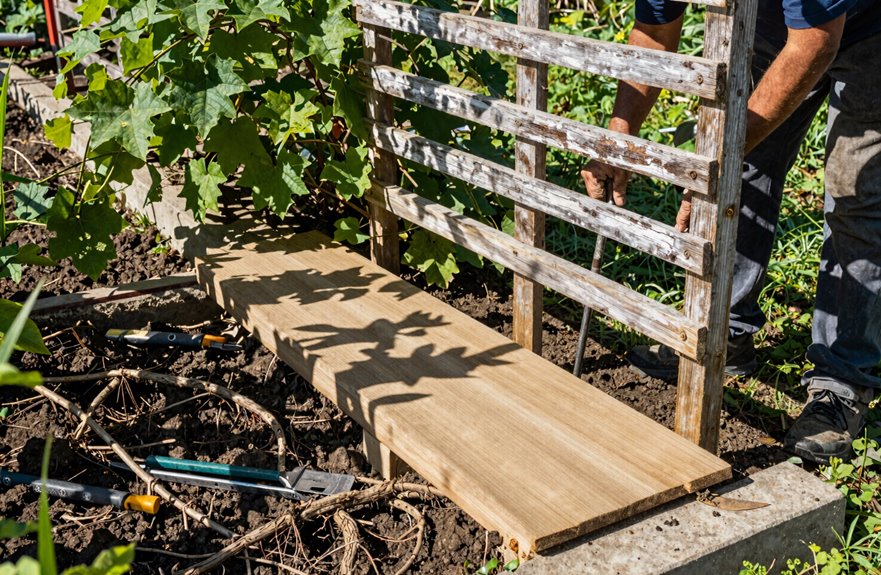
Once your clematis is cut back and dormant, it’s time to tackle the old trellis. Rushing this step can lead to issues. Those roots spread wider than you might think, and a careless yank can hinder your plant’s growth for years.
Here’s how I remove mine without causing damage:
- Cut stems to 6 inches in fall, or 2–4 inches once they’ve died back completely.
- Detach wires and ties gently, working from top to bottom to avoid snapping.
- Remove the trellis in sections, checking for hidden roots each time.
- Wiggle posts slowly; if they resist, dig rather than pull to avoid tearing roots.
- Pause and breathe when you hit a snag; patience is more effective than force.
Your clematis will thrive come spring.

【Renewable Materials】Our wood lattice fence panels is made of natural wood and belongs to Renewable resource. The wooden lattice will not release toxic gases that cause damage to the environment. Therefore, it also not causing harm to you or your plants
【No Assembly Required】Cucumber Trellis Out of the Box - From Packaging to Garden, Only 3 Minutes. While Other Bracket Kits Force You to Wrestle with More Than Ten Parts and a Wrench, Our No-Assembly-Required Bracket Panel Has Already Been Moved to the Garden for You, Providing a Simple and Quick DIY Erection Experience

Adjustable Height Trellis (17" to 50") – Perfect for Raised Beds & Tall Vines, grow Any Climbing Plant! DIY from Compact Seedlings to Towering Vines! Match your raised bed cucumber trellis needs: Start at 17" for young plants, then extend to 50" as they grow! Customize height—ideal for beans, peas, and tall outdoor climbing plants.
Install a New Trellis Your Clematis Can Climb
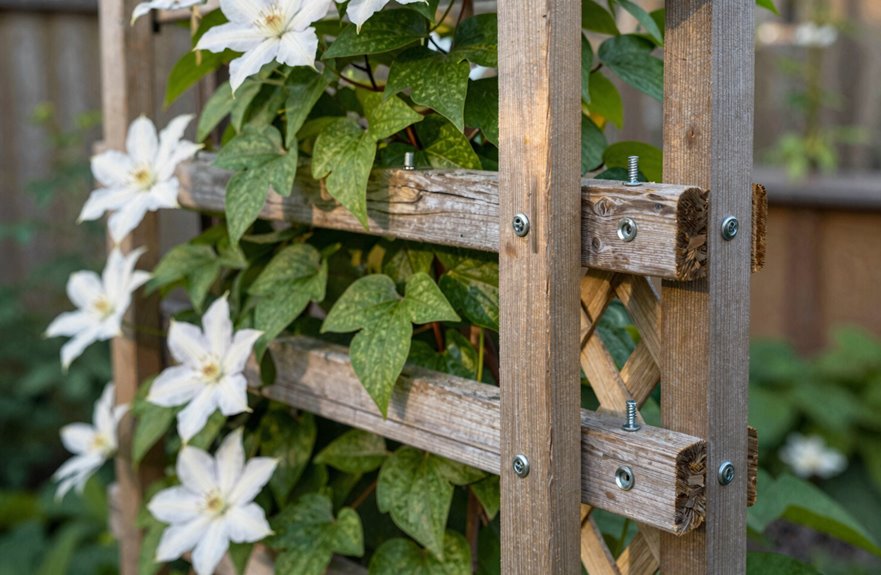
Where should your new trellis go? Placement is crucial. Position it where your clematis receives morning sun and afternoon shade, ideally 6-8 inches from existing roots. I use diamond-pattern wire or two-panel remesh framed in wood; this setup is sturdy enough for vigorous growth.
| Component | My Go-To Choice | Why It Works |
|---|---|---|
| Wire type | 14-gauge galvanized | Won’t rust in garden beds |
| Frame | Cedar 2x2s | Natural rot resistance |
| Mounting | 3-foot metal stakes | Deep stability |
| Hardware | Eye hooks + brackets | Secure anchor points |
| Tension | Turnbuckles optional | Adjust as plants grow |
I install anchors first, then thread and tauten the wire between brackets. A floppy trellis can frustrate your climbing clematis. Check tension twice. I have installed crooked before; you can do better.

All-Metal Superiority for Heavy-Duty Gardening:This garden obelisk trellis is engineered with solid iron construction, setting a new standard for outdoor plant support. Unlike common plastic-coated metal trellises that rust when coating peels, our pure iron tubing with screw-locked metal joints creates an unshakable foundation. Perfect as a heavyweight tomato trellis or durable grape trellis, it handles vigorous climbers like beans and clematis with absolute reliability.

High-Strength Nylon Material, Built to Last: Industrial-grade nylon weave resists tearing, 20% higher stretching range than Polyester material, UV rays, and harsh weather, outperforming standard plastic nets with long-lasting durability for outdoor use.

【Superior Quality & Materials】 This tall metal trellis offers flexible setups—use it as a wall trellis, garden arch trellis, or freestanding plant support. Made with 16mm solid iron tubes and UV-resistant virgin PE grid panels, it’s stronger than flimsy plastic-wrapped alternatives. Perfect as a rose trellis, clematis trellis, or vegetable trellis, it holds heavy vines and veggies securely.
Mulch and Feed for Strong Spring Growth
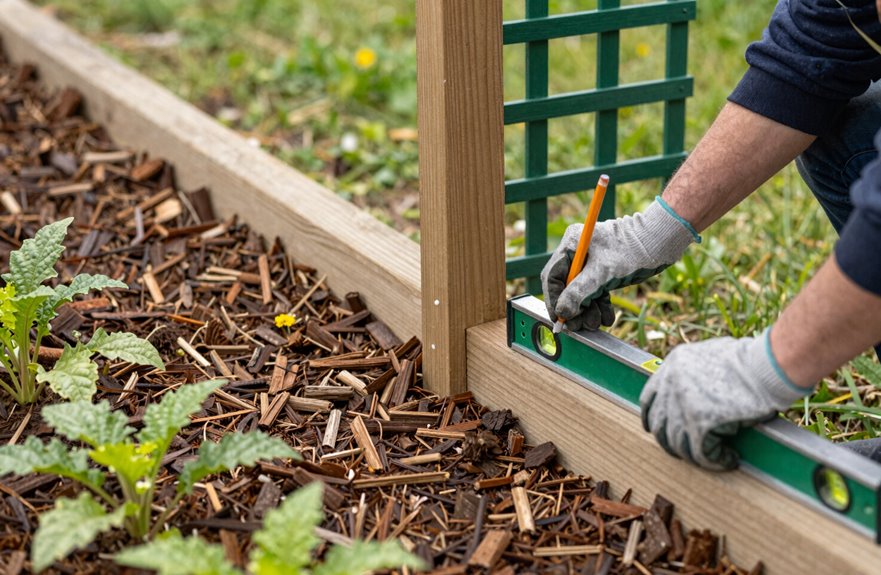
Because your clematis just survived a trellis replacement, it deserves some care before winter hits. Skipping this step can lead to weaker spring growth and stunted vines.
Here’s what I do:
- I spread mulch around the base to protect roots and lock in moisture.
- I add compost before frost hits to improve soil structure.
- I keep proper mulch distance, 2 to 3 inches from the stem, not touching; I learned that rot lesson once.
- I wait to feed until early spring with balanced, slow-release fertilizer.
- I hold off heavy feeding after pruning until new growth shows.
Your clematis has been through enough. Treat it well, and it will reward you when the trellis fills with blooms. Future results will reflect your present efforts.

You Will Love Our Product: Not all compost is created equal. Our compost is not in the same category as the bag you buy in your big box store. It is concentrated plant fertilizer that will jumpstart the bioactivity and nutrient content of your soil.

Vegan-Friendly: Charlie's Vegan Compost is made without the use of animal products or by-products, making it a vegan-friendly option for those who are looking to reduce their environmental impact and support cruelty-free gardening practices. You can trust that you're providing your plants with a compost that is not only beneficial for them but also for the planet and its inhabitants.