
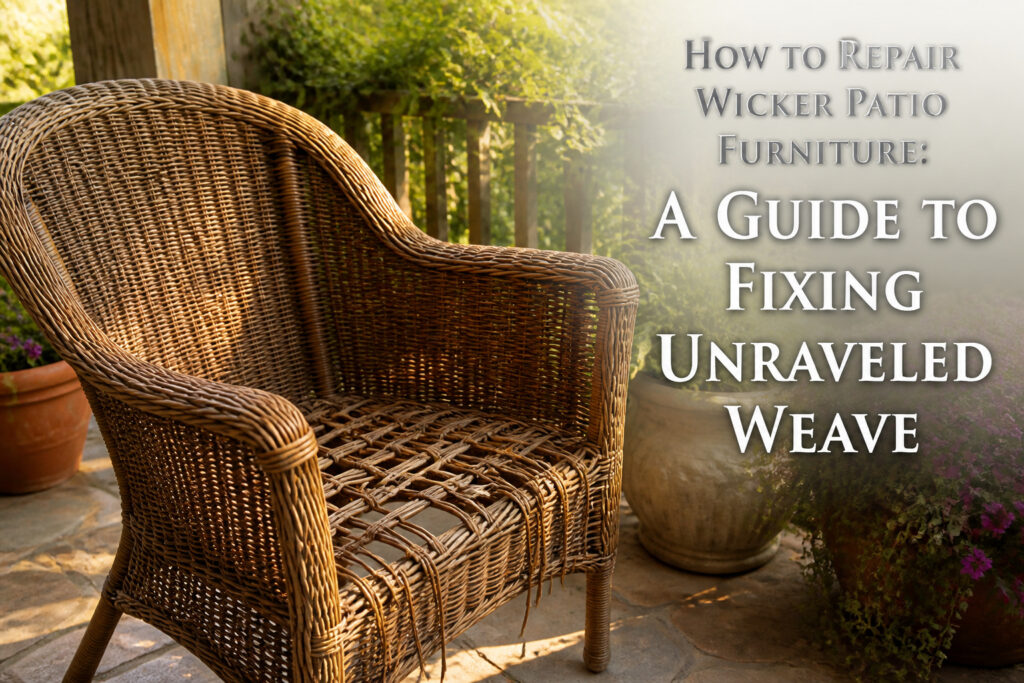
Wicker patio furniture repair means rebuilding a woven pattern strand by strand, not slapping on a patch and calling it done. The catch is knowing whether your piece uses natural rattan or synthetic polyethylene, because the wrong material turns a Saturday fix into a Sunday reorder. Hot water softens real cane for thirty minutes before it bends; a hair dryer on low does the same for plastic wicker without melting it.
Preparation and Trimming
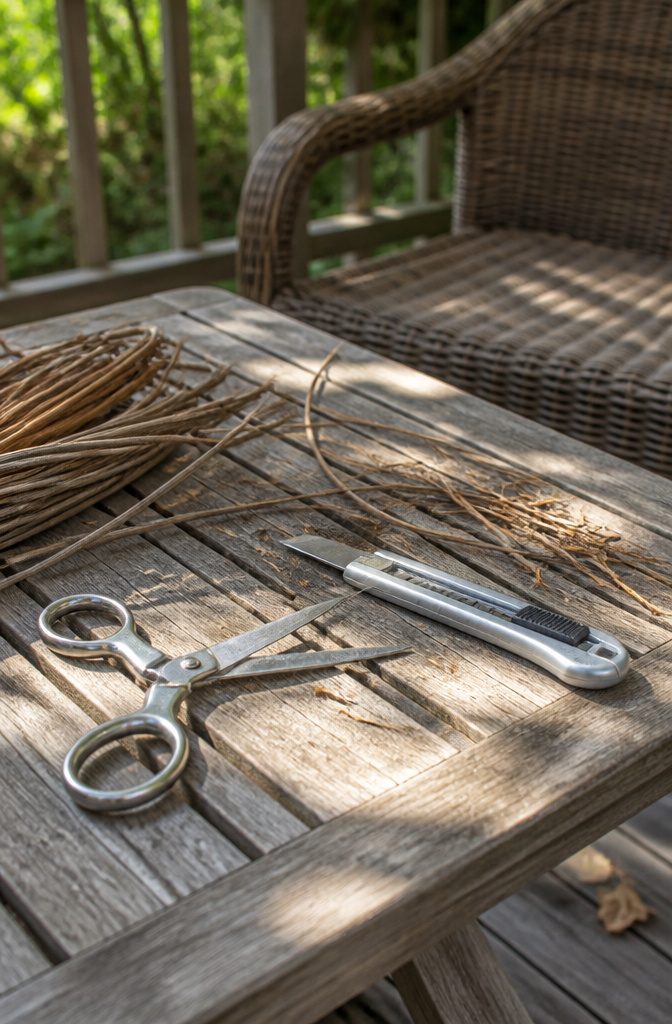
A pair of sharp scissors and a utility knife are what you need here. The scissors handle the frayed ends cleanly, and the knife comes in when a strand is wedged tight against the frame and needs a straight, flush cut. The goal is to leave the remaining weave intact and the cut ends clean enough that new material will sit flat against them.
The moment of truth hits about thirty seconds in. You lift one loose strand and three more come with it, or the frame underneath shows rust or a crack you couldn’t see through the tangle. That is the point where you decide whether this is still a weekend repair or a replacement job. If the damage runs more than a few inches along the frame, the weave pattern may be too compromised to rebuild without removing whole sections.
For synthetic wicker, a hair dryer on low heat softens the plastic strands just enough to ease them out of their locked position. A few seconds of warmth is usually all it takes; too much heat will melt the finish or weaken neighboring strands. Work the warmed section with your fingers before it cools, threading the new piece through while the material still has some give.
Starting the New Weave
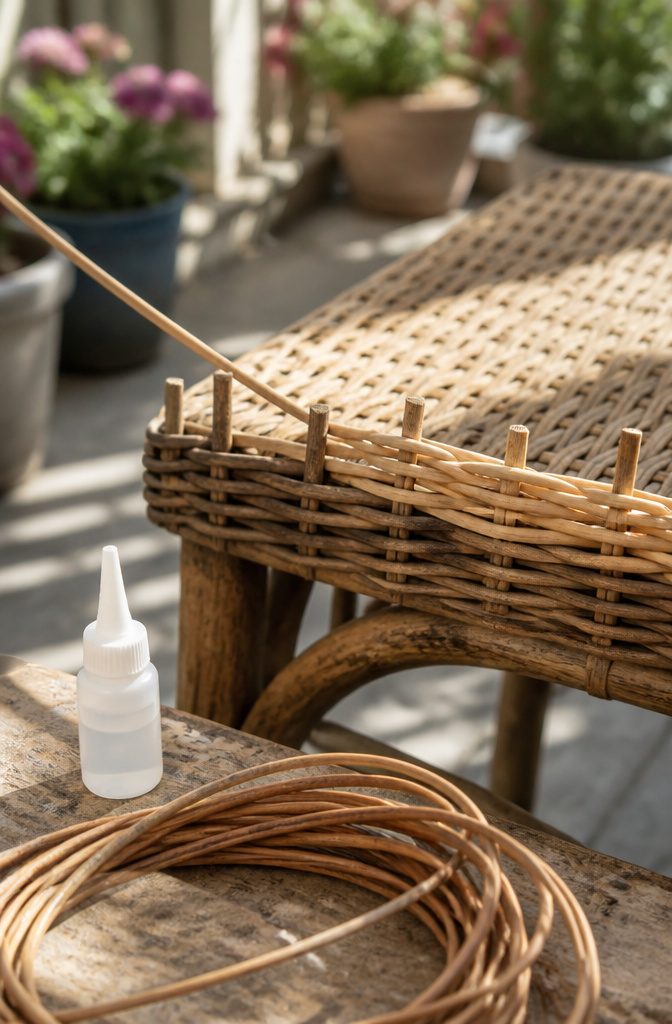
A new length of wicker needs to run slightly longer than the damaged area itself. The first time I tried this, I cut to what looked like enough and came up short by two weave turns. The strand ended before the pattern could hold, and the repair had to be stripped back and restarted. Now I add roughly six extra inches to whatever the gap suggests, which sounds generous until you are threading the final tuck and realize the tail is exactly where it needs to be.
Waterproof super glue gel or marine-grade epoxy are the two adhesives that hold up here. Standard household glues dry rigid, and rigid glue cracks the moment someone sits down and the frame flexes. The waterproof gel sets fast and stays slightly flexible; marine-grade epoxy takes longer but bonds through humidity swings if your patio sees real weather. Either one works.
Run a small bead onto the cut end of the original strand, press the new length into it, and clamp the join with a clothespin while the adhesive sets. A few minutes of stillness is enough for the gel, longer for epoxy. Once the bond holds, you follow the existing over-under pattern with the new material, working from the secured end outward.
Completing the Pattern
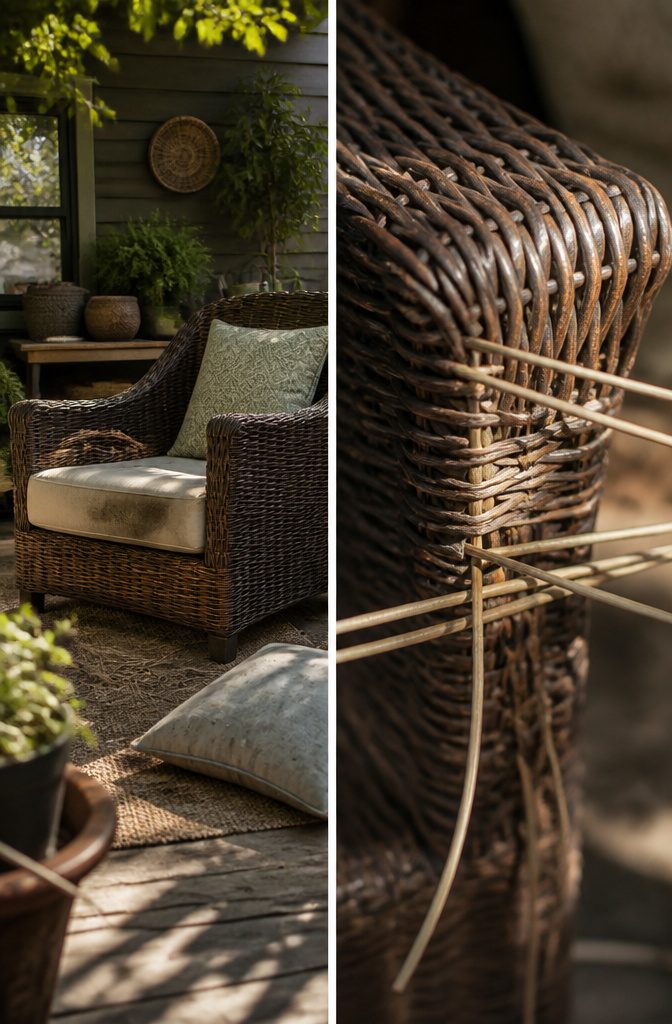
The existing weave is your only reliable map. Before threading anything new, I spend a minute tracing the pattern with my finger: over, under, over, under, until the rhythm feels automatic. Synthetic wicker usually runs a simple two-strand alternation; natural cane can surprise you with a three-strand twill that repeats every third pass. Missing that shift is how a repair announces itself from ten feet away.
Once the pattern clicks, the new strand needs to stay pulled tight at every crossing. Loose work does not settle in later; it sags immediately and keeps sagging. I tug after each pass, seating the fresh material against the frame so it mirrors the tension of the original strands around it. The repair starts looking right somewhere around the third or fourth complete repetition, when the new line stops reading as interruption and simply continues the surface. Stop too early and the eye catches the boundary; one full pattern cycle past the damage is usually enough to erase the seam.
Securing and Finishing
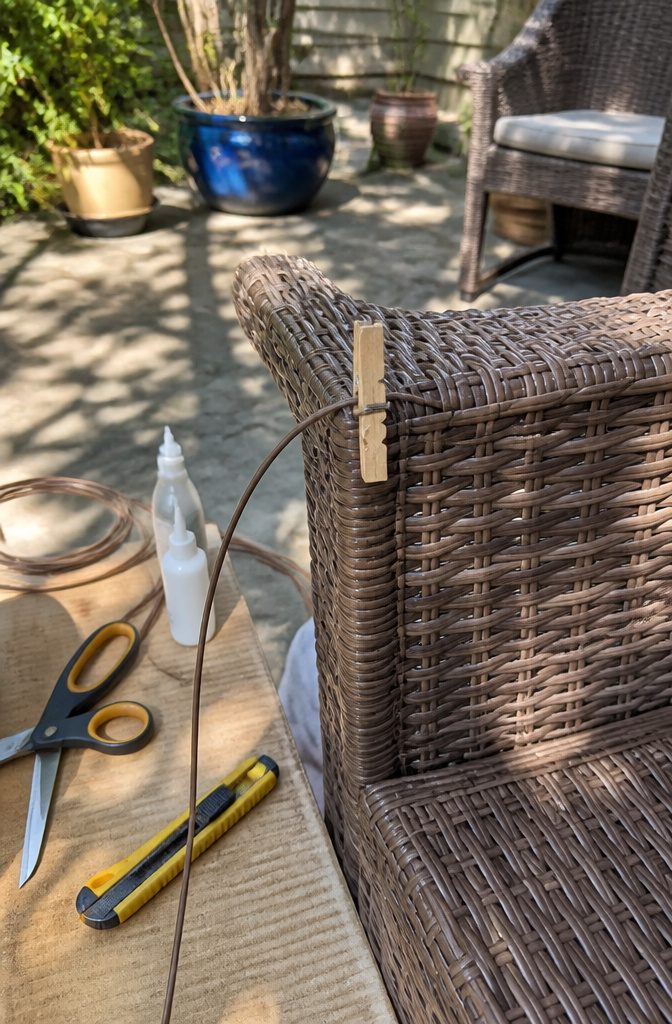
Trim the end of the new strand so it tucks neatly under a secure existing strand or behind the metal frame. A dab of waterproof glue on the end and on the landing spot holds it in place. A clothespin gives enough pressure without crushing the weave, and it frees both hands for the next repair.
The wait is several hours, depending on the glue type, and this is where patience pays or the whole fix unravels. The temptation to pull off the clothespin early is real, especially when the weave looks settled and the sun is fading. Glue that looks dry on the surface is still shifting underneath. Use that time to inspect other chairs or wipe down the frame, because sitting on half-cured glue means starting over with a longer strand. If any glue squeezed out, a damp cloth catches it before it skins over. The repaired section should feel firm, not tacky, before it takes any weight.
Cleaning and Maintenance
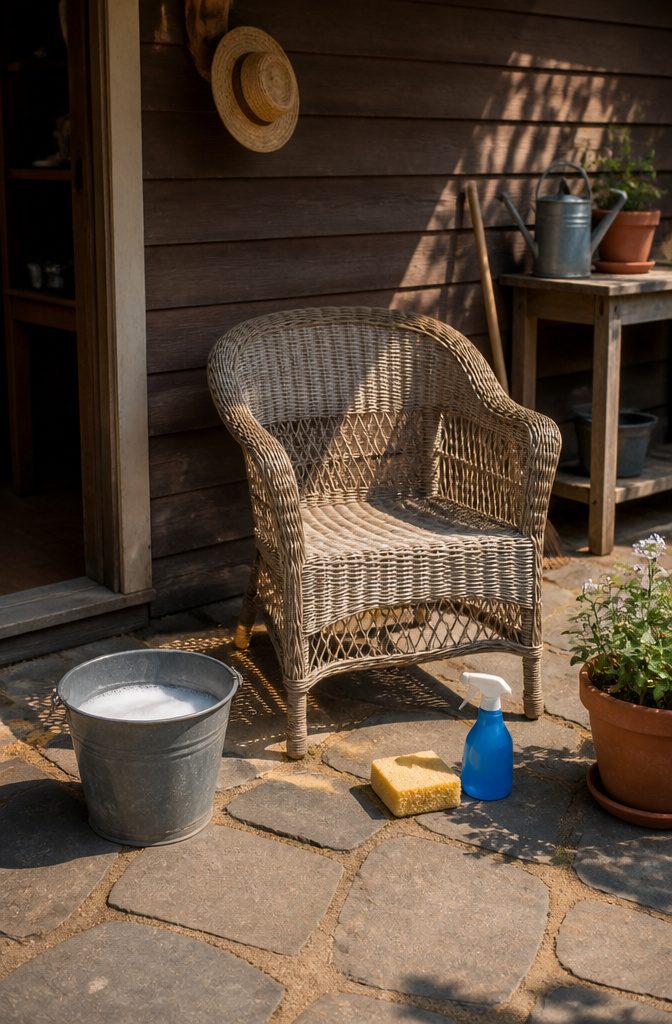
A bucket of warm water and a squirt of mild detergent is all the chemistry you need. The weave traps dirt that holds moisture against natural fibers, so the annual cleaning rhythm matters more than the product you use. I do mine in late spring and again before storing; skip either round and mildew gets a foothold in the crevices where an old toothbrush should have gone.
Synthetic wicker gets the same wash but needs something natural wicker does not: a UV protectant spray like the kind sold for car dashboards, applied twice a season. The plastic resins dry out and turn brittle without it. The first year I owned a polyethylene set, I treated the spring coat as optional. By August the strands had gone chalky and started snagging. Two light coats, May and July, costs maybe ten minutes and saves a full reweave.
Painting When Faded
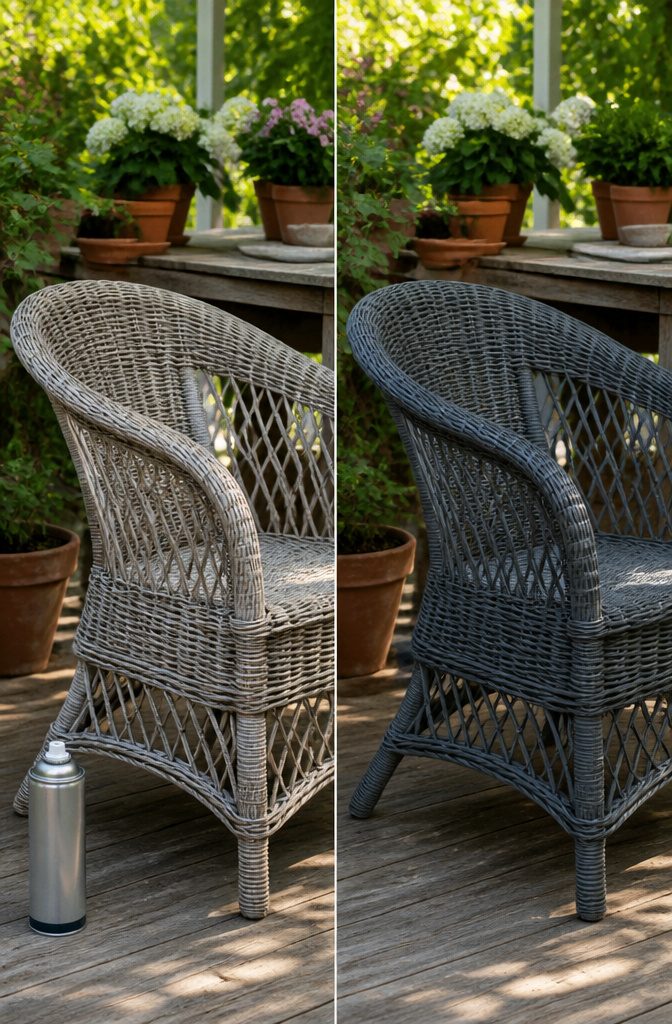
Faded wicker presents a choice most people stall on longer than they should. The repairs are done, the weave is tight, and now the color sits somewhere between "weathered" and "tired." Living with that patina is valid if the frame is sound and the fading is even across the whole piece. It reads as intentional outdoors, especially against greenery.
Spray painting changes the calculation. Rust-Oleum 2X UltraCover Paint + Primer runs $6.48 per can, and outdoor plastic or resin furniture formulas hold up better than standard sprays on synthetic wicker. One can covers roughly six to eight square feet of the uneven surface, so a chair usually needs two. The prep is minimal: 150-grit sandpaper knocks down any gloss or raised fibers from the repair work, then a wipe with a damp cloth and patience until fully dry. Light, overlapping passes at ten to twelve inches keep the weave from clogging. Two thin coats beat one heavy one; thick paint pools in the gaps and cracks when the furniture flexes.
I lean toward painting when the fading is patchy or when the original color was something aggressively dated like that burnt orange that dominated big-box stores a decade back. Patina wins when the piece has uniform wear and the frame style carries it. The mistake is waiting until you have decided; the sanding and painting add maybe ninety minutes to a repair day, but coming back to it later means cleaning the piece twice.
Why Wicker Unravels
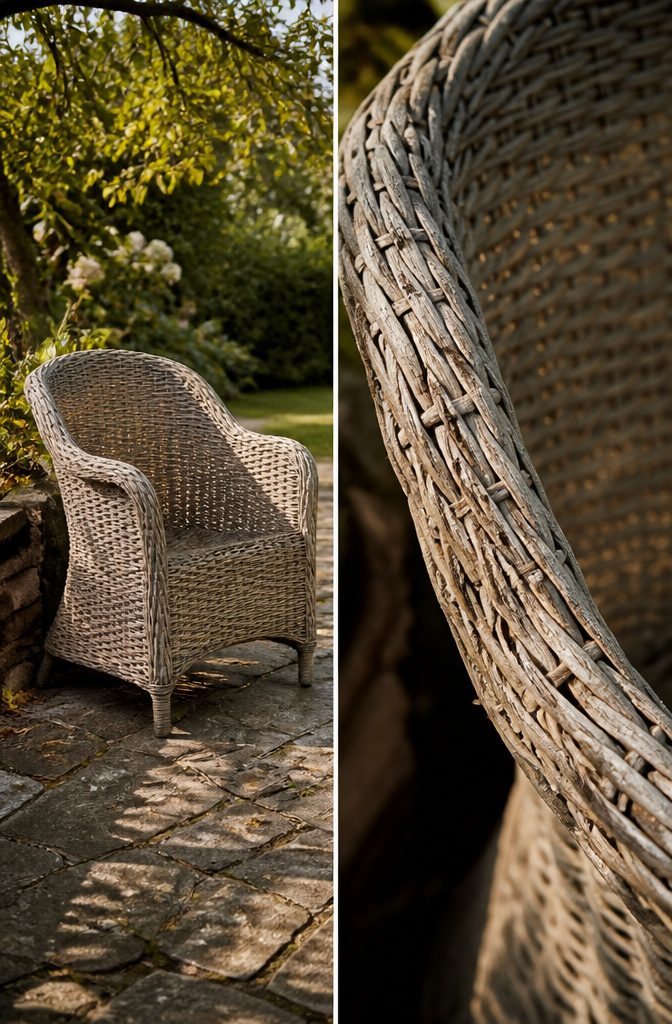
I found the split seat on my synthetic wicker chair last spring, right where the afternoon sun hit it hardest. The plastic strands hadn’t just frayed; they’d gone chalky and snapped clean through when my knee pressed down. UV breaks down the polymers in synthetic wicker, turning flexible strands brittle enough to crack under ordinary weight. Natural wicker fails differently. A friend’s porch set, left through two humid summers, swelled at the weave joints then shrank in dry fall air until the rattan fibers loosened and pulled free. Moisture weakens natural material from the inside out. Physical damage speeds both failures. Dragging a chair across concrete or dropping onto it too hard snaps one strand, and the woven pattern unravels from that single break like a pulled thread. One hard impact on already weathered material, and you’re tracing the damage back to years of sun or rain you never thought to cover against.
The DIY Repair Toolkit
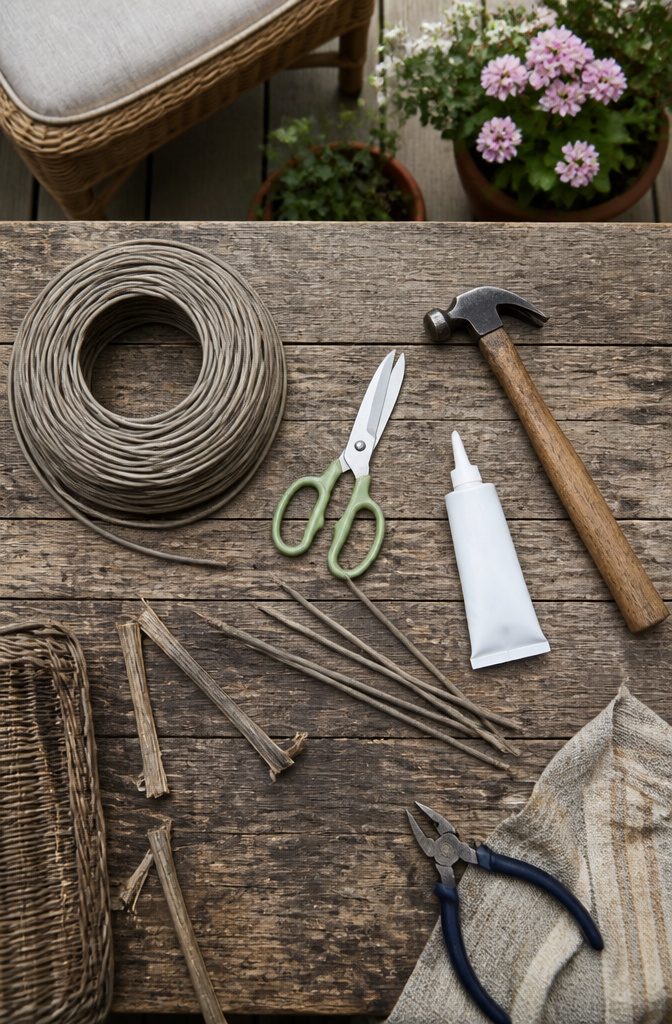
Replacement wicker material comes in kits online, and the match matters more than the brand name. I spent an evening comparing strand width and color against the faded arms of my own chair before ordering, because a half-millimeter difference reads as a glaring stripe once the repair is done. Waterproof adhesive, not wood glue, is what holds up outside; the sources split on whether super glue gel, epoxy, or hot glue wins, but hot glue sets fast and stays workable only if you already own the gun. Clothespins worked fine as clamps for the tight spots where my fingers could not reach. A hair dryer on low softens synthetic wicker enough to bend it through corners; a heat gun does the same job faster but risks melting the strand if you linger. Scissors handled every cut I needed, though a utility knife would have saved time on the frayed ends where the weave had hardened. I borrowed the heat gun, bought the repair kit and the adhesive, and pulled the rest from a drawer that already held too many half-used glues.
Rattan Versus Wicker
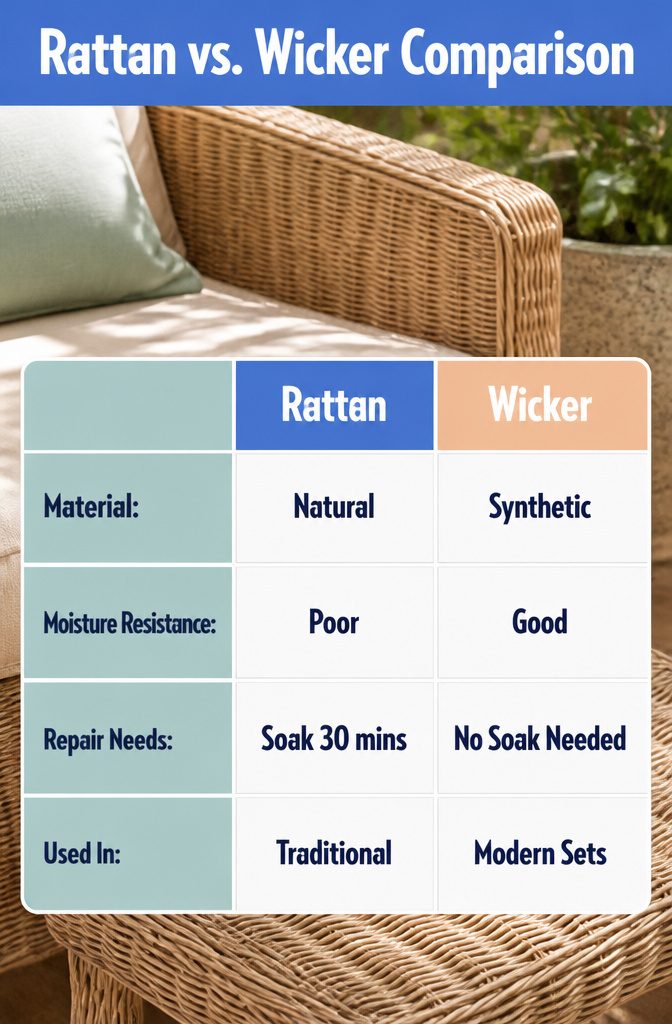
Rattan is a material, and wicker is a weaving style. That distinction matters the moment you walk into a hardware store looking for repair supplies, because the clerk will point you toward "wicker" labels that may or may not match what your chair is actually made from.
Natural rattan soaks up moisture, which makes it a poor choice for furniture that sits outside. Synthetic wicker handles rain and humidity far better, and most patio sets sold today use it for that reason. If you are repairing natural rattan anyway, soak the strands in water for at least 30 minutes before weaving so the fibers bend without snapping.
I spent twenty minutes in the fastener aisle once, holding two packages that both said "wicker repair" while one contained stiff cane strips and the other held flexible synthetic cord. The difference only clicked when I remembered that rattan needs that soak time to become workable, while synthetic wicker does not. For a weekend repair on a real budget, buying the wrong material means starting over on Saturday afternoon with the store about to close.
Prevention and Long-Term Care
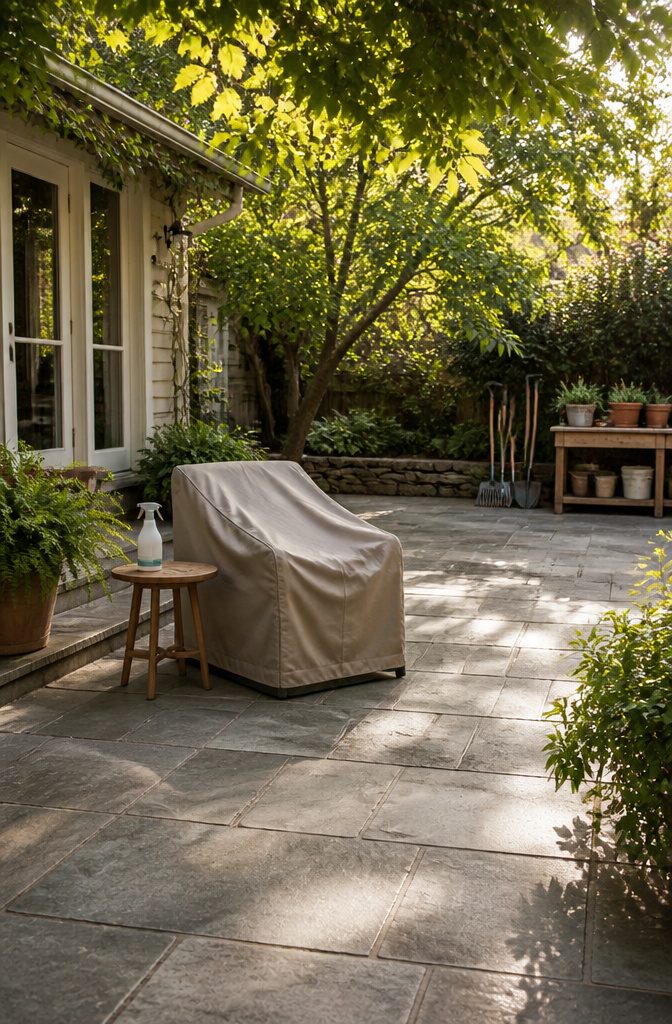
Waterproof covers and UV protectant feel like chores until you skip them once and watch a chair gray out in a single season. The synthetic set on my porch went brittle where the afternoon sun hit longest; the natural wicker in the same spot held moisture against the weave after a rain because I had left it bare. Both unraveled for the same reason: I treated protection as optional.
The routine I keep now costs a Saturday every year and a deeper afternoon every two to three. Annual cleaning with mild soap and water keeps dirt from trapping moisture in natural fibers. Every second or third spring, depending on how harsh the previous winter was and how much direct sun the pieces took, I sand, paint, and seal. Synthetic wicker gets a UV protectant spray twice a season, the kind sold for car dashboards, to keep the plastic from drying out and cracking. Harsh winters mean garage or shed storage; the freeze-thaw cycle does damage that no cover fully stops.
The real investment is the cover itself. Everything else follows from using it consistently.
Frequently Asked Questions
Can I repair broken natural rattan wicker using this same method?
Yes, but soak natural rattan strands in water for at least 30 minutes before weaving so the fibers bend without snapping. Synthetic wicker does not need soaking. The actual weaving process and adhesive choices stay the same for both materials.
What is the best type of glue for synthetic wicker?
Use waterproof super glue gel or marine-grade epoxy. Standard household glues dry too rigid and crack when the frame flexes under weight. The gel sets fast and stays slightly flexible; marine-grade epoxy takes longer but holds through humidity swings.
My wicker is faded. Can I fix that too?
Yes. Clean the piece first, then spray paint with an outdoor plastic or resin furniture formula such as Rust-Oleum 2X UltraCover Paint + Primer. Lightly sand with 150-grit paper first, apply two thin coats rather than one heavy coat, and keep the can ten to twelve inches from the surface so paint does not clog the weave.
How often should I do maintenance on wicker and rattan?
Clean annually with mild soap and water. Sand, paint, and seal every two to three years, depending on how harsh your winters and summers are and how much direct sun the furniture receives. Synthetic wicker also needs UV protectant spray twice per season to keep the plastic resins from turning brittle.