I start by checking my raised beds for winter damage, pressing corners to catch rot or bowing before it spreads.
Next, I clear debris with a spading fork, staying on paths to avoid compacting the soil—a lesson learned through experience.
I test the pH and aim for a range of 6.5 to 6.8, adding lime if necessary.
Then, I install drip irrigation with emitters spaced every 12 inches, followed by sturdy trellises for climbing crops.
I warm the soil with clear plastic until it reaches 65°F, then apply 2 to 3 inches of mulch to retain moisture.
Each step has its own important details.
Inspect Raised Beds for Winter Damage
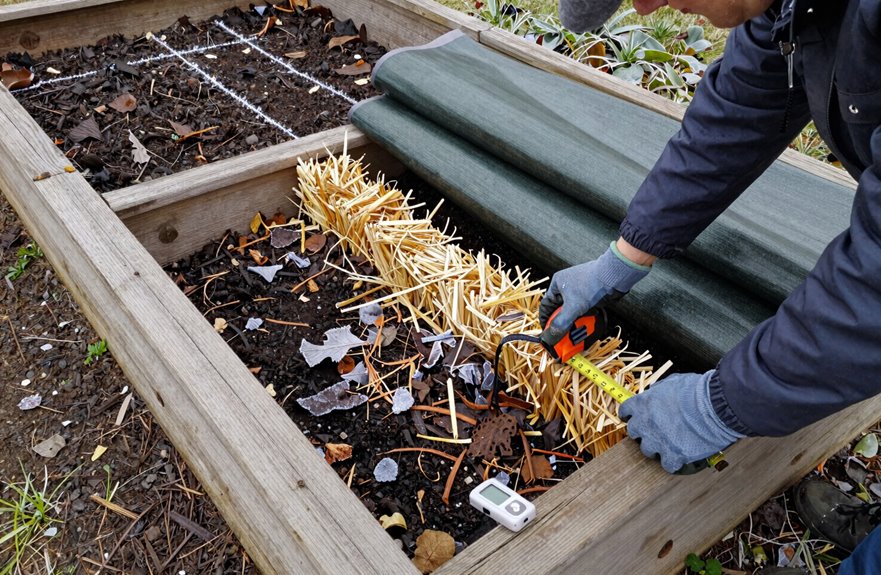
Where do I even start after winter’s affected my garden beds? Skipping this step can lead to mid-season issues.
I grab my coffee and walk the perimeter of my raised beds, checking corners and joints first. Winter moisture adds significant weight; I’ve seen my 8-foot spans bow like a sad smile. I press along each corner, feeling for loosening or rot. Last year, I ignored a wobbly joint and faced the consequences in June.
I peek underneath too. Hardware cloth should still block tunneling pests, and drainage around the edges needs clearing. If I spot bowing, I will add an inside stake or pull the side straight with aluminum flat stock.
Winter damage is often hidden until it becomes obvious. I fix it now to prevent larger problems later.

36 PCS Garden hoops for Raised Bed : Greenhouse Hoops frame widely used indoors and outdoors, great for the yard, vegetable garden, and garden raised beds. DIY Garden Hoops Grow Tunnel Kit works well to protect your plants, seedlings, herbs flowers,strawberry in any season gardening plant.Plant support for climbing plants,plant stakes for outdoor plants,Tomato support garden stakes.

LOW-PROFILE PROTECTION:The 16-inch width fits narrow, low-height projects such as gutter guards, garden borders, raised beds, vent openings, crawl spaces, under-deck gaps, shed edges

Garden Hoops for Raised Beds: Note: There is NO netting included. You are no strangers to voracious critters, disease-ridden bugs and winter harsh weather conditions. FuBegi garden tunnel hoops helped to provide the protection your veggies needed, improving the quality of your harvests big time! You will have a lot fewer problems with insects eating your crop as well as the sun scorching the tender leaves.
Clear Debris and Weeds Without Compacting Soil
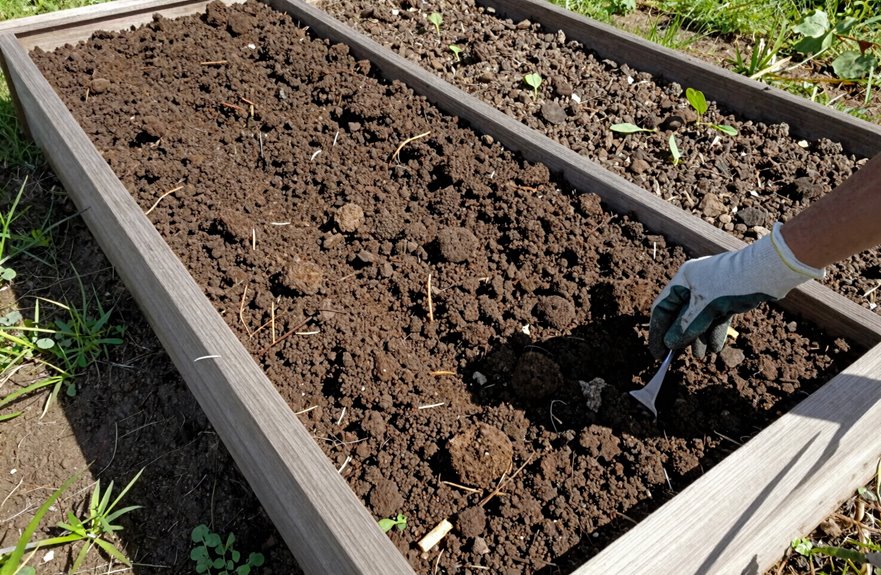
I clear my raised beds by lifting out rocks with a spading fork; I learned that lesson after puncturing a hose on a hidden stone last spring. I dig out perennial weeds for the compost pile, but the truly invasive ones go straight to the dump because I have made the mistake of thinking “maybe this time” with bindweed. I keep my digging shallow, no more than twelve inches, and I avoid the soil when it’s wet to prevent compacting what I’m trying to fix.

Durable & Long-Lasting: The integrated forged digging fork head and fiberglass handle design significantly enhances wear resistance and extends the product's lifespan. Whether for routine yard maintenance or frequent farm tasks, this tool is built to handle it all with exceptional durability.

Ready-to-Use Formula: No mixing or extra steps required. Simply pour and plant - perfect for gardeners of all experience levels.
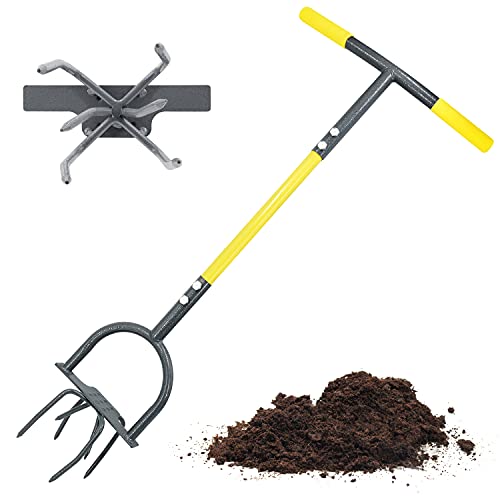
【Anti-Slip Foot Plate - Penetrate Soil with One Tread】- This manual hand tiller comes with anti-slip foot plate, maximize downward force of treading and penetrate into soil easily. The curved handle and long design reduce twisting effort and back strain, ideal for seniors or anyone with joint strain
Remove Debris Carefully
Why start in the middle when you can work smarter? I always begin at the outer edges when tackling raised bed debris. I’ve compacted my share of soil by stomping around.
I grab my spading fork and rake, then lift out rocks and loose plant matter without digging deep. Keeping those top few inches loose preserves soil aeration, something I learned after suffocating my peas one spring. I compost the rocks or pile them for later use.
For weed removal, I avoid burying the truly invasive varieties, as they will just come back. After clearing, I do a quick bed inspection. Loose corners get screws for bed reinforcement. A collapsing wall mid-season can create significant problems.
Clear Weeds Gently
How do you clear a raised bed without turning it into a hard-packed mess? Aggressive weed removal can damage everything.
Here’s what works:
- Loosen roots with a spading fork. I lift perennial weeds gently without flipping soil layers and bringing buried seeds to the surface.
- Stay off the soil. I never step inside my raised beds during soil preparation. If I need to reach the middle, I lay a board across the edges to distribute my weight and avoid soil compaction.
- Add compost smartly. I dig out rocks, shape the bed, then work compost into just the top four inches for drainage and nutrients.
Turn under any cover crops now. This will support healthy root growth in the future.
Protect Soil Structure
Where do you start when your raised bed looks more like a rock garden than prime growing space? I grab my spading fork and tackle those rocks and perennial weeds before shaping anything. It’s tedious, but skipping this step can ruin drainage and damage soil structure later.
I never step inside my beds. I work from the outside paths to keep everything light and fluffy. I have compacted soil by being lazy, which negatively affects plant growth.
For weed suppression, I lay thick mulch or black plastic over stubble. This method smothers growth while preserving what’s underneath. I also turn under green manure carefully, adding organic matter without disturbing the soil structure.
Finally, I inspect my bed edges. Bowing sides get repaired quickly. Stable edges protect soil integrity throughout the season.
Decide: Till In Cover Crops or Smother Them
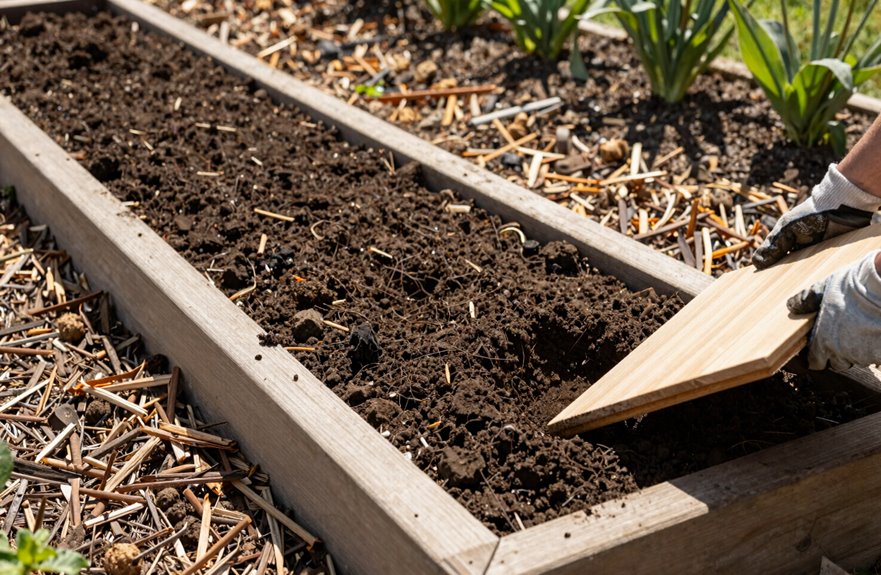
When you’re looking at a patch of cover crops and deciding what to do next, you have two options: tear it all up with a tiller or smother it. I’ve tried both, and smothering works best for my raised beds.
Here’s my method:
cardboard mulch, wet it down, then pile on hay, coffee grounds, leaves, and compost. Six inches deep, and you’re done.
- Lay down cardboard mulch. I use plain corrugated cardboard, avoiding glossy printed boxes due to unknown substances in the glue.
- Wet it thoroughly. Dry cardboard will not stay in place.
- Top with layers. I add hay, coffee grounds from my local shop, shredded leaves, and compost. Six inches total does the trick.
This soil prep method provides excellent weed suppression, breaks down into rich soil, and is cost-effective. Your cover crops become nourishment for worms instead of a weekend task.

KNOW BEFORE YOU GROW | Grow the healthiest, sustainable lawn and garden with the most accurate and easy to use professional soil test kit on the market

Kindly NOTE: This soil tester can not be applied to test pH value of any other liquid. If the soil is too dry the indicator will not move, and water it before testing.

Comprehensive Soil Analysis: Liquid soil test kits offer a comprehensive analysis of essential soil parameters, including pH, ammonia, nitrogen, phosphorus, and potassium. Having all these measurements in one kit provides a holistic understanding of the soil's fertility and health.
Loosen Soil From the Bed’s Edge: Never Step Inside
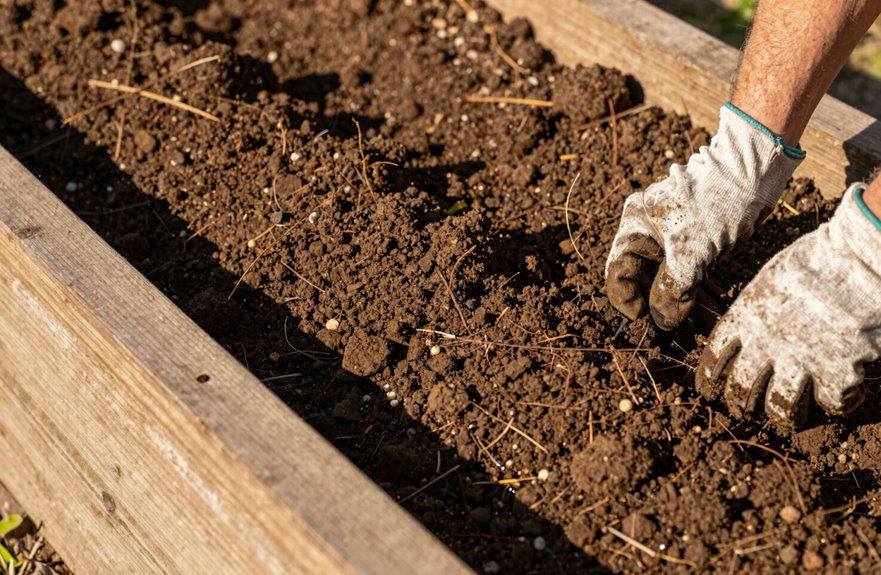
I learned this the hard way, so I never step inside my raised beds anymore. My first season, I stomped right through the center to help things along. It was a mistake. Soil preparation suffers when you compact everything you’re trying to fluff up.
My stepping restriction strategy involves working entirely from outside, keeping the soil loosened from edge to edge without crushing the structure beneath. This keeps my raised beds light and airy, allowing roots to breathe and water to drain. If I absolutely must cross, I lay a 2×10 board across and walk on that instead, with the ends resting on the bed edge, never on the soil itself.
This is crucial. Beneficial microorganisms thrive in loose soil, not compacted environments. Your plants will notice the difference, as I did when my yields doubled.
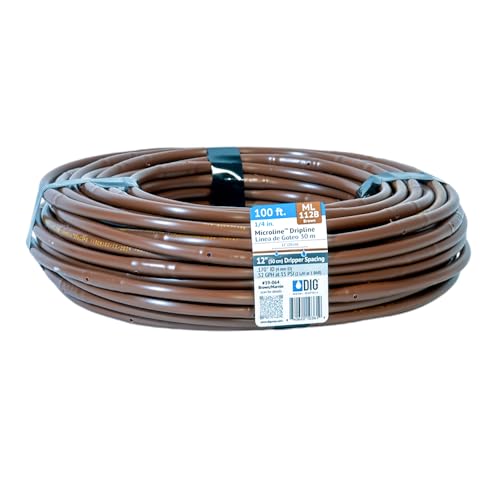
Precise 12” emitter spacing: Ensures water reaches every plant. Optimal Watering Efficiency: Features .52 to .65 GPH emitters every 12 in. at an operating pressure range of 15 to 25 PSI, ensuring efficient and uniform root zone watering.

Works like soaker hose only better because it doesn’t clog and requires no maintenance

【Durable Irrigation Emitters】1/4 drip irrigation emitters made of highly durable plastic material, lasted several hot summers still keep in good condition. 【Note: drip tubing is NOT included!】
Test and Amend Raised Bed Soil pH
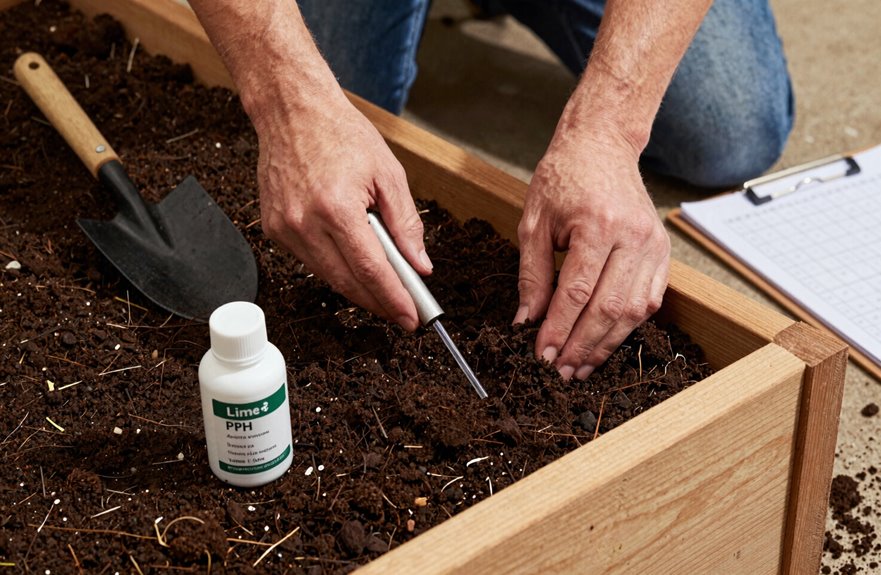
How do I know if my plants are struggling because of me or the dirt they’re in? It’s usually the dirt, and testing pH helps eliminate guesswork. I use a soil pH test kit and aim for a range of 6.5 to 6.8. Potatoes dislike excessive lime, so I adjust my approach for each crop.
It’s usually the dirt, and testing pH helps eliminate guesswork.
Here’s what I do:
- Test first. If pH drops below 6.2, I add ground limestone; I avoid quicklime for safety.
- Cover limed beds with plastic during heavy spring rains to prevent soil amendments from washing away.
- Top-dress with compost regularly; this no-till method gradually alters chemistry without disturbing roots.
Spring soil settles, so I retest before planting. Getting pH correct promotes healthy growth for both my plants and the soil ecosystem.

LOW-PROFILE PROTECTION:The 16-inch width fits narrow, low-height projects such as gutter guards, garden borders, raised beds, vent openings, crawl spaces, under-deck gaps, shed edges
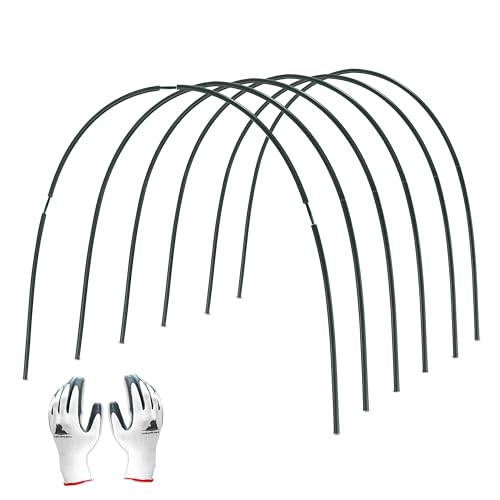
Durable PP Material: Crafted from high quality polypropylene to resist rust and oxidation; provides sturdy support for all weather garden protection; safe to handle without risk of skin irritation

【Complete Garden Netting Kit with Fiberglass Hoops】 This all-in-one raised bed cover kit includes 1 sheet of 10x30FT ultra fine mesh netting, 6 sets or 8sets of fiberglass garden hoops, connectors, and clips—everything you need for immediate installation. The rust-free, flexible fiberglass hoops can be easily bent to fit the contours of your garden bed, then secured with the included clips for a stable grow tunnel frame.
Top Off Beds With Compost to Restore Soil Level
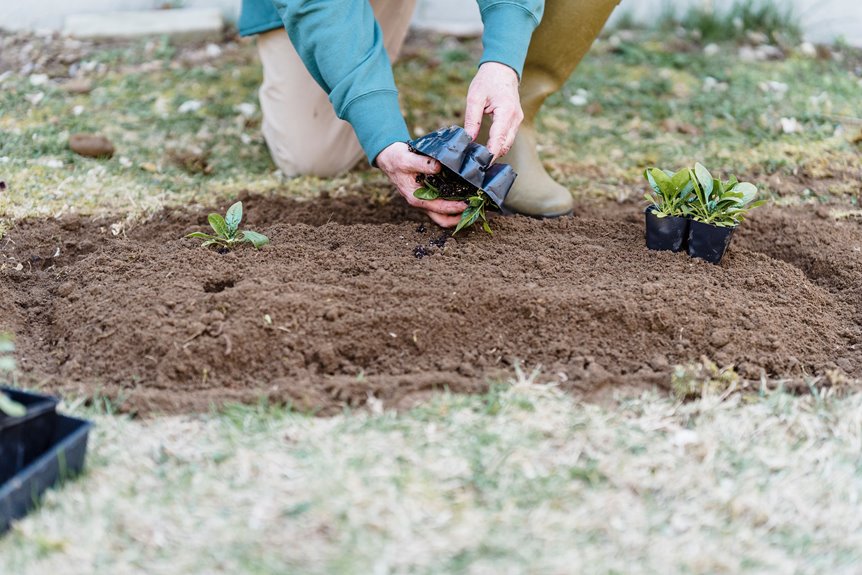
I top off my raised beds with compost every spring because they settle more than I expect, usually losing two to three inches over winter. It’s important to add that layer after your seedlings emerge, not before, or you’ll bury tiny plants under an inch of rich, dark soil. Timing is crucial, nearly as important as the quality of the compost itself.

【48"/60" Two Height Options】Configure the broadfork at 48" or 60" to match different users and gardening tasks. Use the shorter setup for better control in raised beds, or the taller setup for added leverage when loosening deeper soil.

Eco-Friendly Gardening: Ideal for home gardens and raised beds, this innovative 3-in-1 gardening tool combines a mini tiller, weed remover, and auger/drill, making gardening tasks easier and more efficient. It helps you cultivate a more eco-friendly and sustainable garden.
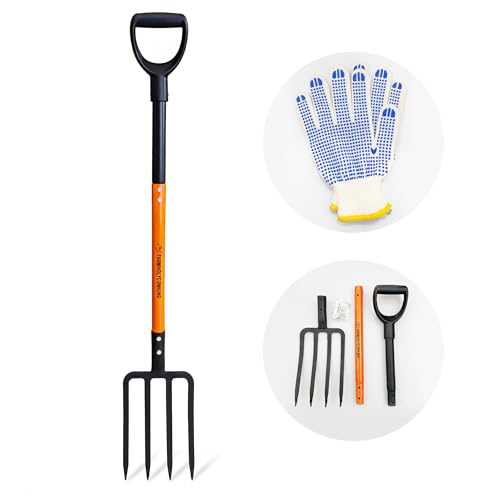
Built for Garden & Compost Work This pitchfork for garden use is designed for everyday digging, turning compost, loosening soil, and moving mulch—ideal for home gardens, raised beds, and backyard landscaping projects.
Soil Level Maintenance
Why do my raised beds always look a little sunken by midsummer? It’s simply bed settling; organic matter breaks down, and my soil level drops by two inches. While it’s not a major issue, it is important.
I address this with compost top-dressing. I sprinkle an inch or two right on top, without the need for digging. This method is ideal for maintaining no-till soil.
Here’s what I’ve figured out:
- Add 1-2 inches after spring crops finish; this keeps roots cozy and irrigation even.
- Fill low spots before fall planting to prevent puddles and spotty germination.
- Skip the rototiller; let worms do the mixing to maintain soil structure.
My raised beds remain full and ready for whatever I plant next. You can achieve similar results.
Compost Application Timing
When should you apply that compost? I learned this through experience; spring rushed me into lumpy beds.
Fall is the best time for this task. I spread one inch of compost topdressing across settled soil after clearing summer crops. No digging is needed. This no-till approach allows worms to work through the winter, enhancing soil health while I enjoy hot cocoa.
By spring, I have fluffy, level soil ready for planting. Once seedlings emerge, I add mulch on top to retain moisture and prevent further bed leveling issues.
Avoid the rototiller. I’ve bent enough tines to understand that. Layer quality organic matter, cover it lightly, and let nature take care of the rest. Your plants will benefit significantly.
Install Drip Irrigation Before Adding Supports
How do you keep plants happy without drowning them or leaving them thirsty? Drip irrigation is the answer, and I always install it before anything else in my raised beds.
Here’s what works for me:
- Space emitters every 12–24 inches along your irrigation tubing, staggering lines on longer beds so no spot stays dry.
- Run tubing along bed edges; this helps when supports go in without snagging lines.
- Add mulch protection after testing for leaks; covering lines keeps everything tidy and functional.
I use lightweight tubing with inline drippers and a pressure regulator because uneven flow leads to unhealthy plants. Get this foundation right, and your garden waters itself efficiently.

Accurate Soil pH Testing: Dewildetradingco Soil pH Test Strips offer measurements of soil pH levels (pH 3.5-9). As an essential tool for every gardener and grower, these test strips help determine the optimal pH for various plants, such as outdoor plants, indoor plants, gardens, grass lawns, fruit trees, flowers, vegetables, and forest shrubs.

How to Accurately Test Garden's Soil pH? Many growers do not able to use the correct tools and methods to obtain accurate soil ph values; NewTest soil ph test kit includes upgraded soil ph test strips, measuring cylinders, and instructions for professional testing methods; it allows even beginners to easily and accurately obtain soil ph values

ACCURATELY MEASURES SOIL PH - Lawns thrive in soil with pH levels between 6.2 and 7.0. Our soil test kit accurately determines soil pH levels in just 10 minutes.
Add Trellises for Climbing Crops
I learned the hard way that cramming tomato vines into a corner without support turns your bed into a jungle of rotting fruit and regret. That’s why I am adding trellises; vertical growing allows me to squeeze cucumbers, pole beans, and indeterminate tomatoes into the same footprint while keeping produce clean and easy to harvest. I will walk you through the sturdy materials I’ve tested, from cattle panels that last a decade to powder-coated arches that won’t rust out after two seasons.

The water pressure is critical.Package Including: 12pcs Drip Irrigation Emitters for 1/4" Drip Irrigation Tubing, featuring Adjustable 360 Degree Water Flow Drippers on 5.8" Arrow Stake. For Garden Irrigation with 1/4 inch tubing watering system. Maximum Recommended Operating Pressure:15-40 PSI,Maximum water flow rate:31GPH.

【Push-to-fit Drip Irrigation Emitters】No tubing softening or special tools required! Our 1/4 inch drip emitters feature a quick-connect design with one-step installation that takes just 1 second. Simply push the 1/4" irrigation tubing into the inlet of the 1/4 irrigation emitters, then insert it into the soil. To detach the irrigation drip heads, just press the inlet and pull out the 1/4" drip tubing【Note: drip tubing is NOT included!】

Water More Plants Without Hand Watering: This 230FT drip irrigation system gives you the reach to cover raised beds, greenhouse rows, flower beds, lawn edges, patio plants, and vegetable gardens. The 33FT 1/2 in main tube feeds 197FT of 1/4 in drip tubing so you can build multiple watering branches from one garden watering kit.
Vertical Growing Benefits
Adding a trellis to your raised bed is a smart move that significantly enhances your gardening experience. Vertical growing changes how we garden together. I used to let my tomatoes sprawl everywhere, resulting in a disorganized mess.
Trellises maximize every inch of your raised beds. Climbing crops like peas and beans grow upward instead of taking up ground space, allowing you to harvest more from the same area.
Air circulation improves dramatically with vertical growing. Since I elevated my vines, I’ve noticed fewer fungal issues. Your plants can breathe more easily, which is beneficial for their health.
- Space efficiency — Grow three times more food in identical square footage.
- Healthier plants — Increased airflow reduces disease pressure significantly.
- Easier maintenance — Pruning and harvesting become back-friendly tasks.
Consider adopting vertical growing techniques for your raised beds. It’s a practical approach that yields better results.
Trellis Material Options
What kind of trellis should you build? I’ve learned the hard way that flimsy trellis materials collapse when my tomatoes get heavy. For raised beds, I stick with wind-resistant support that won’t fail mid-season.
| Design | Best For | Material Tips |
|---|---|---|
| Panel | Cucumbers, peas | Cedar or metal, 6 feet tall |
| Obelisk | Beans, small vines | PVC or bamboo, 5-7 feet |
| Arch | Squash, melons | Steel rebar core, concrete base |
Vertical gardening transforms your space. I doubled my harvest last year by growing upward instead of outward. Climbing crops thrive with the airflow between my raised beds, resulting in fewer fungal issues and more sunlight. Secure your overhead structure with deep posts. I’ve seen too many arches become unstable. Cover with shade cloth when summer heat intensifies.
Warm Soil With Plastic Covers for Early Planting
A sheet of clear plastic can turn your garden bed into a mini greenhouse before you’ve even planted a seed. I learned this trick after jumping the gun on early planting and watching my seeds sulk in cold soil. Tarping with clear plastic is more effective than black sheeting for soil warming because sunlight passes through and traps heat underneath; think of it as a cozy blanket for your raised beds.
Clear plastic turns your garden bed into a mini greenhouse, warming soil like a cozy blanket for your raised beds.
Here’s how I make it work:
- Lay 3-4 mil clear plastic two to three weeks before you want to plant, securing edges with rocks or soil.
- Check soil temperature daily with a simple thermometer; you’re aiming for 65°F before removing the cover.
- Time it right; leave it too long and you risk baking beneficial organisms.
This passive prep enhances your chances for a successful planting season with minimal effort.

Sturdy & Durable Construction: The garden mesh netting is made of high-quality PE material, tear-resistant, reusable and long service life. The metal support stakes feature a rustproof coating, the bottom is designed into fork shape, and provide excellent stability

【Large Kit】 1 pack 10X33FT garden netting, 32pcs clips, 32 connecting tube, 24 straight tube, 16 curved tube, can be used for covering more plants and vegetables, so convenient.

Complete Raised Bed Cover Set: This package includes 2 packs ofgarden netting for raised beds (2x4 Ft), 12 metal clips, and 30 plant tags—all essential accessories for garden protection. The full set meets all your needs for covering raised beds, securing the netting, and marking plants in one purchase
Mulch Bare Soil to Lock In Moisture
Once I stopped fighting my soil’s tendency to dry out and started blanketing it with mulch, my water bill dropped and my plants perked up like I had finally learned their language.
I lay down two to three inches of mulch over bare soil. This locks in moisture retention and stops weeds before they start. It effectively suppresses weeds, eliminating weekend battles with crabgrass.
I made a rookie mistake by mulching too early one spring. Soil warming stalled, and my seeds struggled. Now, I wait until the ground reaches 60°F before I mulch.
Finely ground wood chips cover my cardboard layers nicely. My paths get the same treatment. Consistent mulch provides year-round protection, reduces watering needs, and creates a healthy soil environment.

1. his is you most used tool in the garden! For lifting bulbs, double digging new beds, quick transplants, flipping compost.... The shorter handle makes it easy to get on top of, and since its a fork it takes a lot less effort to get into the soil vs a shovel.

5-Tines Digging Garden Fork - This heavy-duty gardening pitchfork is designed to dig and cut compacted soil easily. It features a tempered steel fork head and a fiberglass handle with a D-grip.

1.Heavy-Duty 4-Tine Design: Perfect for digging,aerating soil,and lifting roots or compost without damaging plants.Ideal for gardening,composting,and harvesting root crops like potatoes.