Hardware swaps and open shelving sit at the cheap end of this list, while recycled glass countertops and cabinet paint run higher in material cost.
The one that fits your timeline depends on whether you have a weekend or an afternoon: scalloped shelf trim attaches with hot glue in an hour, but painting cabinets runs through five stages from degreasing to the final coat.
Reeded-glass film blurs the contents of plain glass doors with a 1/2 inch ribbed sheet applied to the surface, so mismatched plates stay hidden without replacing a single cabinet front.
1. Update Cabinet Hardware
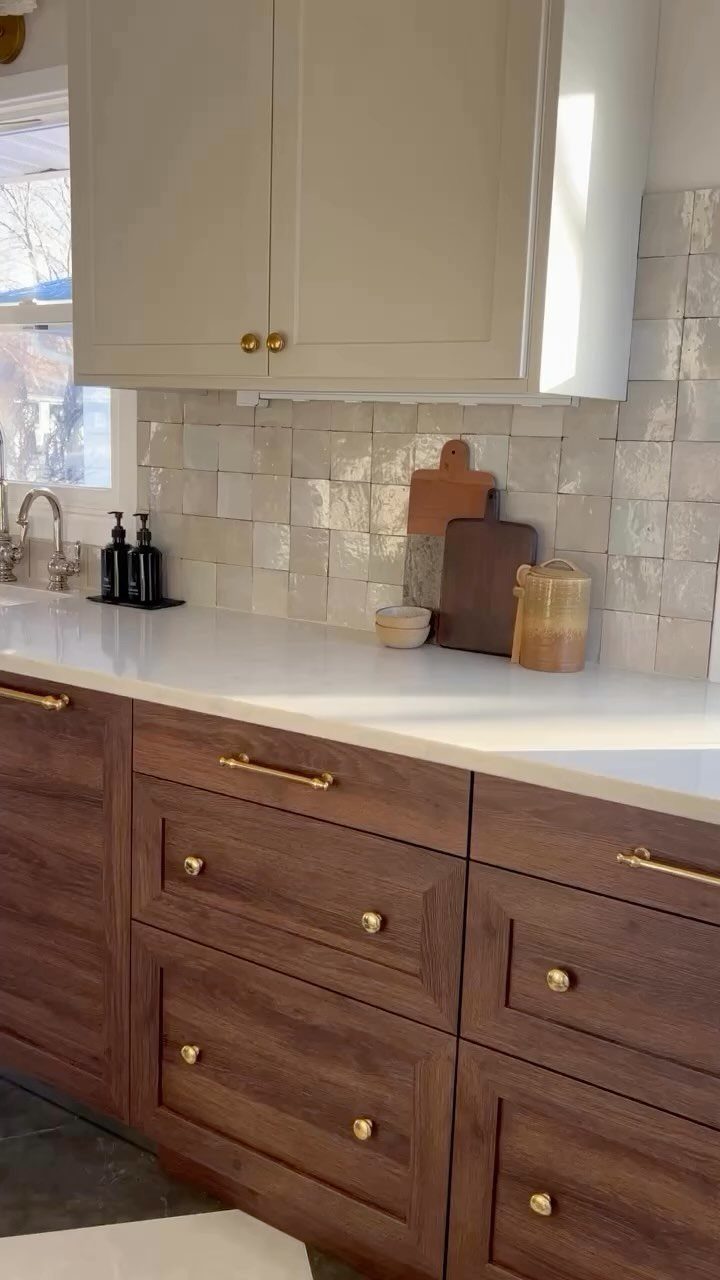
Hardware is the cheapest swap in a kitchen, and the only tool most jobs call for is a screwdriver.
Measure the distance between the 2 screw holes on your current pulls before you shop. Matching that spacing means no new holes and no patching.
I would keep one finish across every door and drawer so the metal reads as a deliberate choice.
2. Add Open Shelving
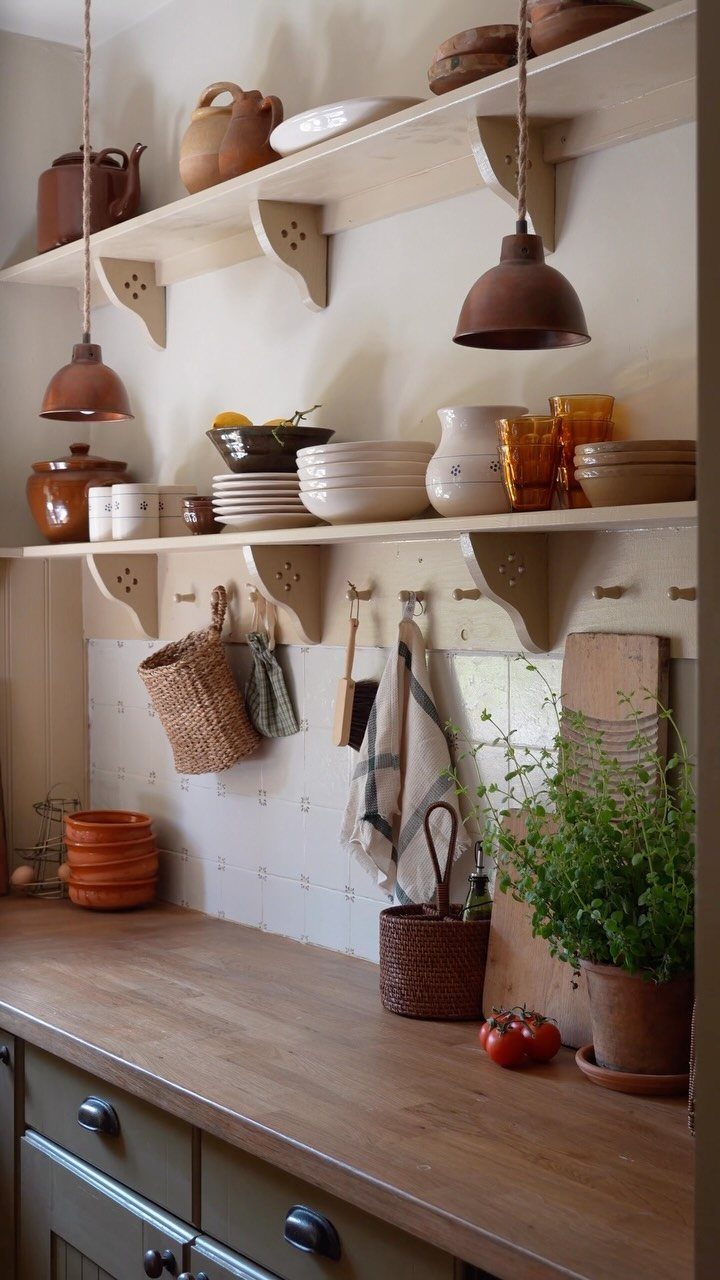
Taking two or three upper doors off and putting a white shelf in their place lets everyday pottery become part of the decor. A potted herb and a pair of hanging baskets add height without crowding the counter.
Start with one section, not the whole wall. Open shelves collect dust and cooking grease, so keep them for dishes you use often and your wash cycle will handle the rest.
Closed cabinets stay below for the clutter. That mix is the version I would pick for a small budget.
3. Pendant Lights
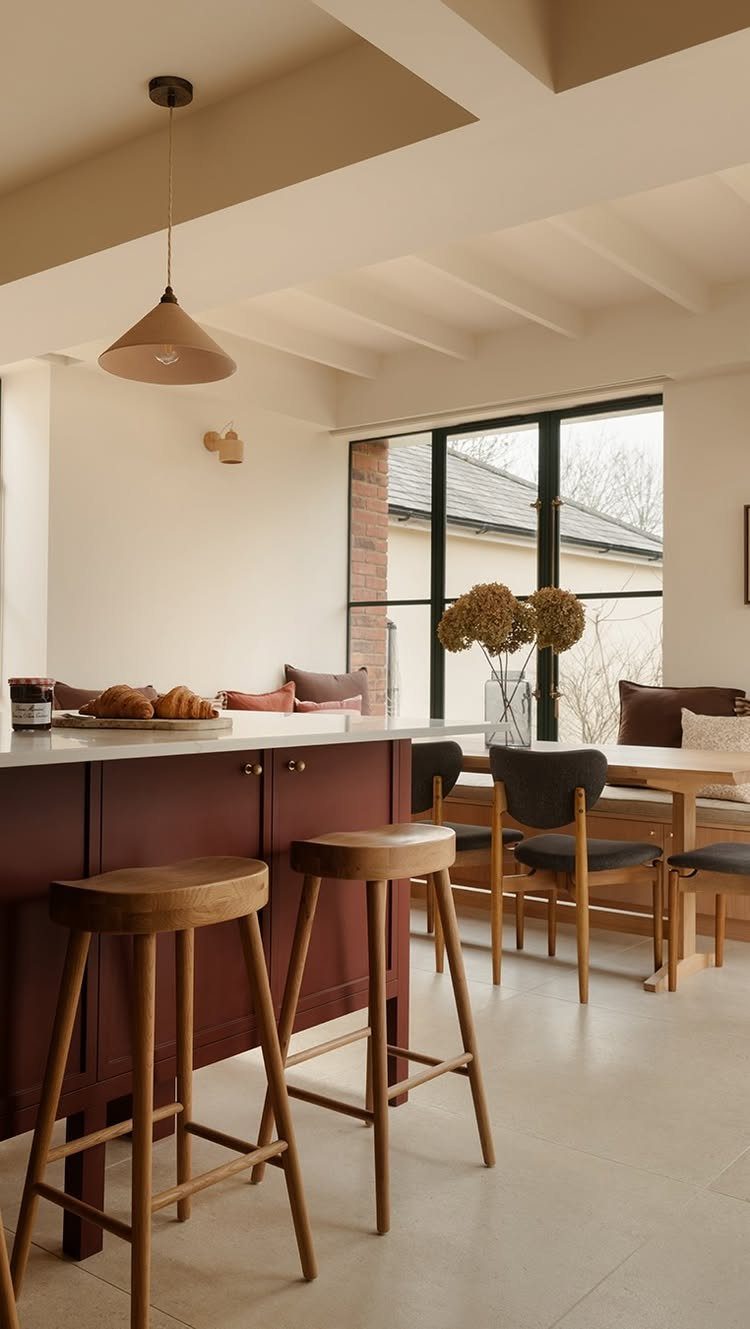
A single cone-shaped pendant over an island does more than add light: it marks the spot where people sit and eat. Over a maroon base with wooden stools, one fixture is enough to tie the seating together.
Hang it centered on the island so it looks built into the layout. For a renter, a plug-in pendant with a cord hook avoids any wiring.
Add a second light source elsewhere in the room, such as under-cabinet strips, so the island is not the only bright spot.
4. Pull-out Bin Systems
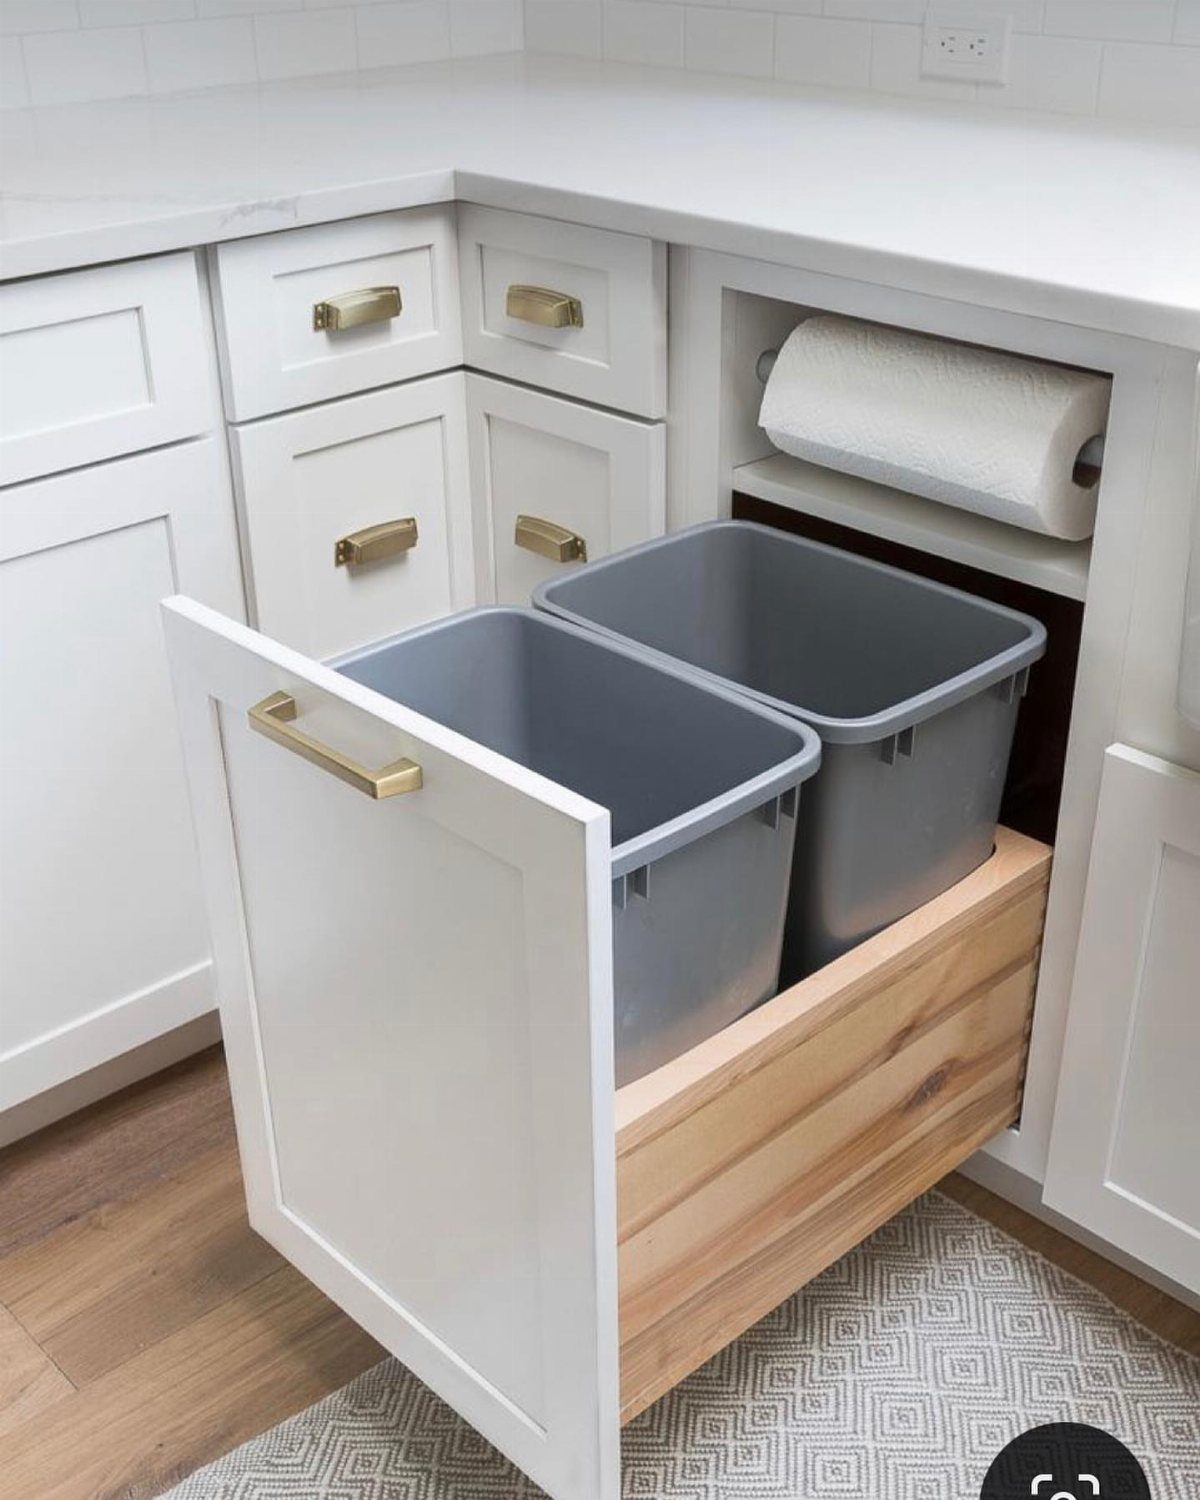
2 grey bins on a pull-out frame turn a deep, dark cabinet into something you can use without kneeling and reaching.
Measure the cabinet’s interior width and depth first, since the bins, runners and door swing all need room. Wood-framed pull-outs look better than bare wire.
I would put this in the cabinet nearest the prep counter, where you reach for the bin most.
5. Scalloped Shelf Trim
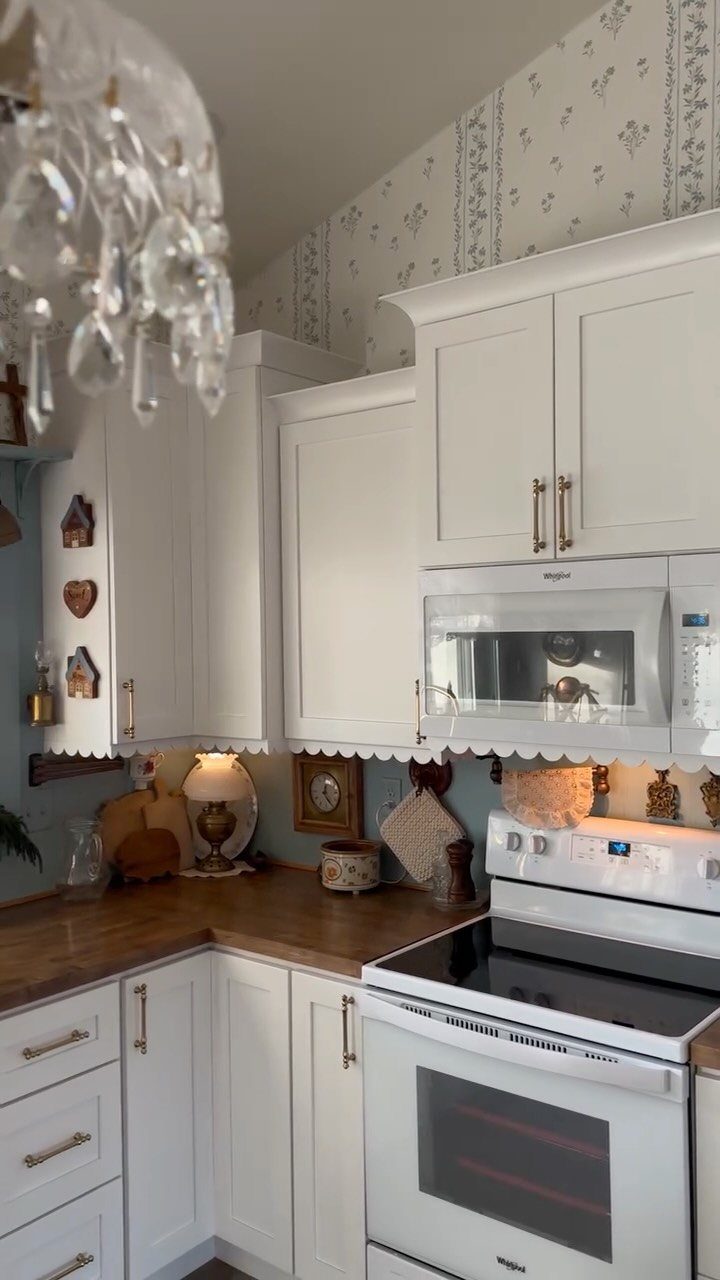
Scalloped trim along the bottom edge of white cabinets gives plain doors a soft, custom look at very little cost. Gold handles pick up the warmth, and the curves sit well against floral wallpaper.
The maker of this kitchen used pre-cut scalloped wood pieces and attached them with hot glue. That is a gentle method for a renter, since glue lets go of a surface more easily than nails.
Paint the trim to match the cabinets before you attach it, so the edge disappears into the door.
6. Reeded-glass Film
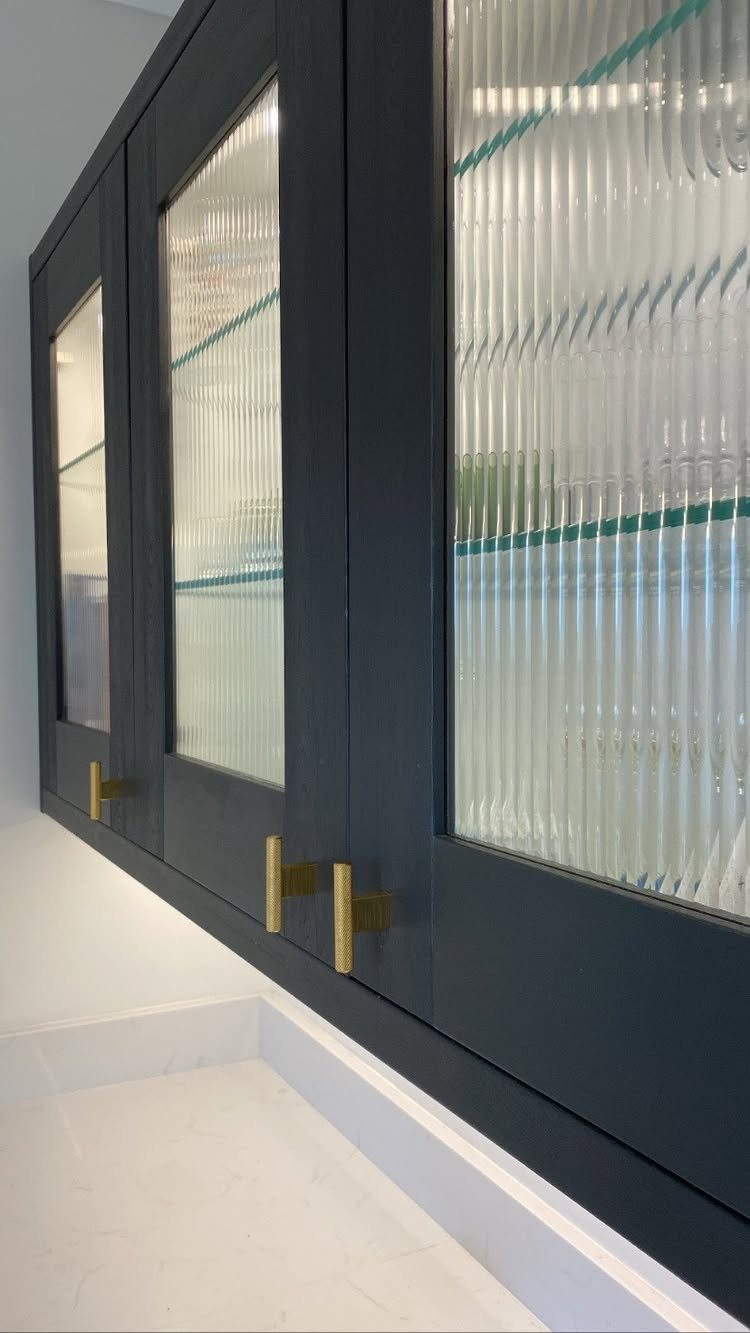
Dark grey cabinets with reeded glass inserts get their texture from a film applied to the glass, not from replacing the doors. The maker of this kitchen used a 1/2 inch reeded film and was delighted with the result.
Plain glass fronts show every mug and mismatched plate. Ribbed film blurs the contents into soft shapes, so the shelves can stay a little messy.
Clean the glass well before you apply the film, and do one door first to check how the ribs line up.
7. Paint Cabinets
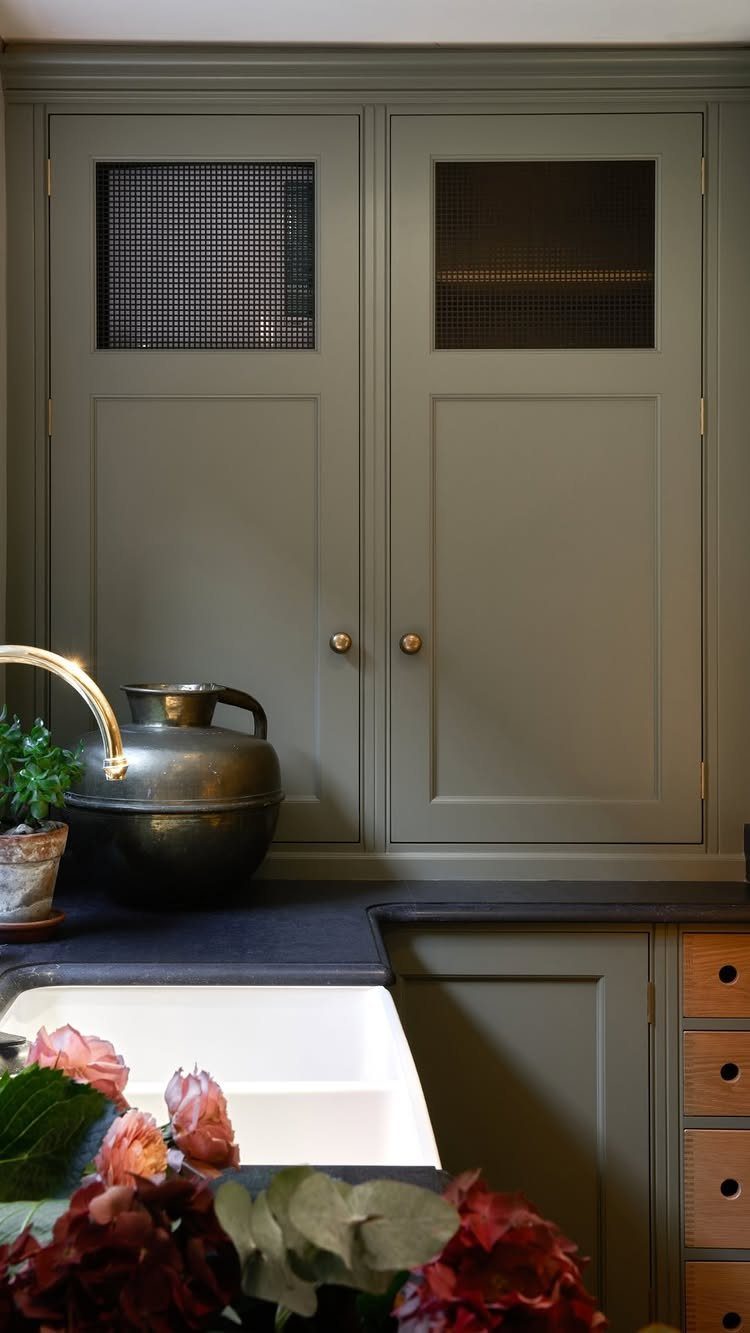
Olive green is a bold pick for cabinets, and gold knobs suit it well, with a dark countertop to ground the color. Giving existing doors a fresh coat runs a fraction of what new ones would set you back.
Keep the existing boxes and doors, and change only the finish. A single door gets my first coat, and I would live with it for a few days, since deep green reads differently at breakfast than it does under lamplight.
8. Recycled Glass Countertops
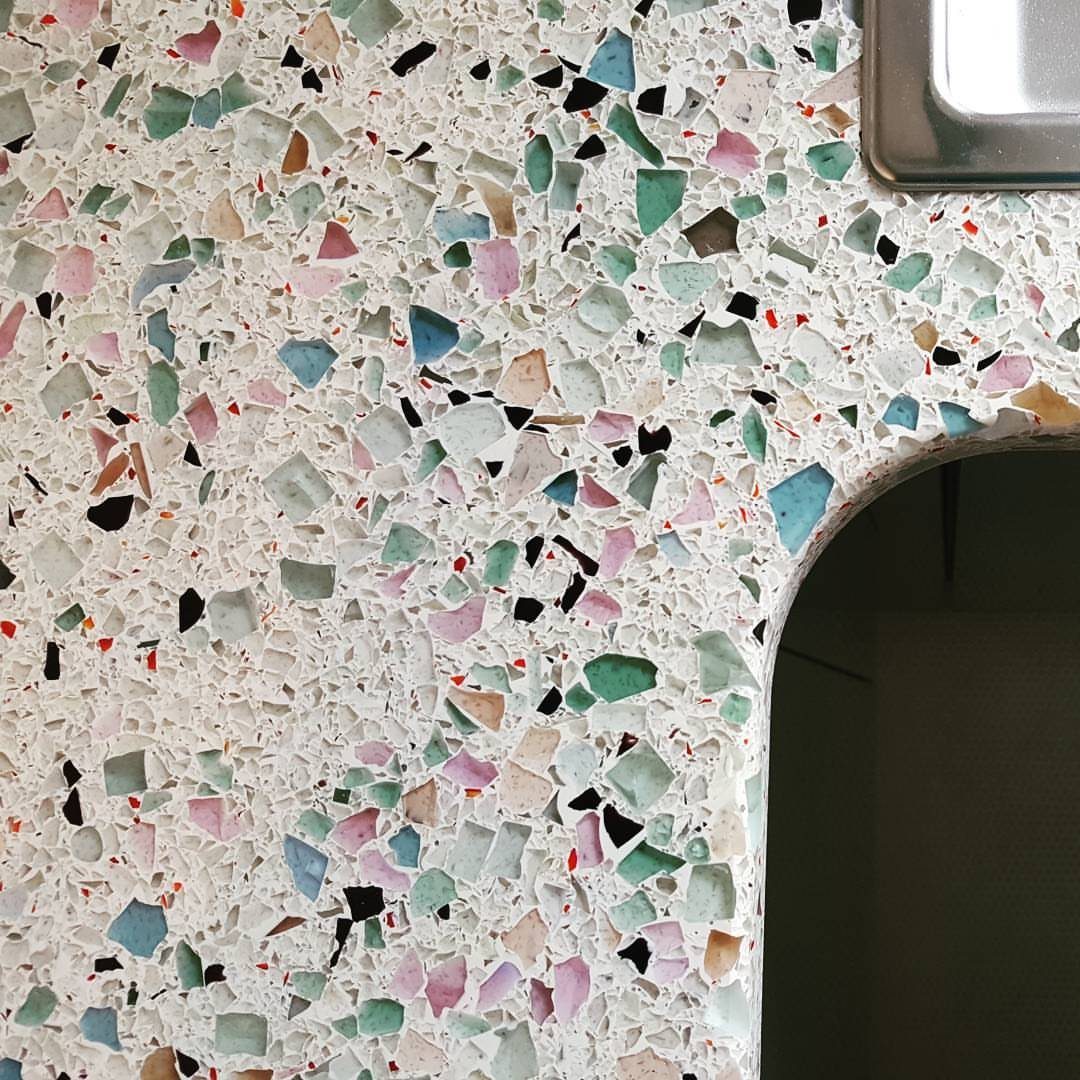
Chips of recycled glass in blue, green and pink, set into a white terrazzo-style surface, give a counter its color without needing a pattern anywhere else in the room.
Recycled material also means you are not buying a slab quarried for the purpose.
Get a sample piece and hold it against your cabinets and sink before you sign off on the order. The curved edge in this one softens the look, and I would choose it over a sharp square corner.
This is the priciest idea on the list for most budgets, so I would treat it as a long-term upgrade.
9. Large Cutting Board
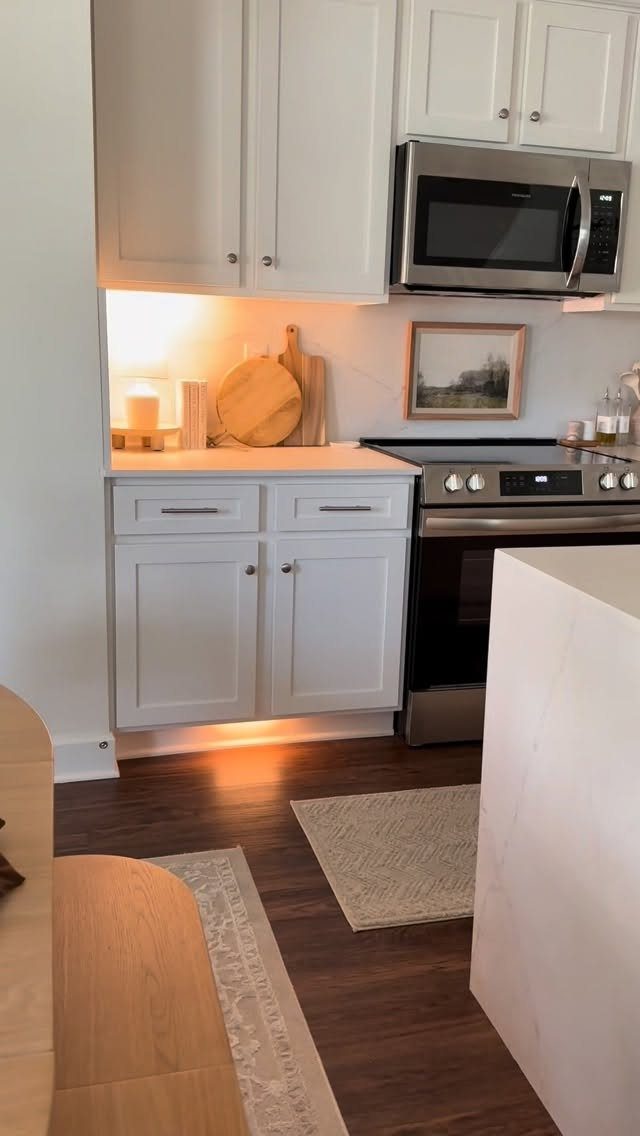
A round wooden board standing against the backsplash fills a bare stretch of wall behind the stove and adds a warm, natural tone to a white-and-steel kitchen. It also stays within reach for chopping.
Pick one big enough to read from across the room. A board that size does double duty as a serving platter on nights you have guests.
Lean it where splatter will not reach it, and it costs a fraction of any backsplash project.
10. Soft Yellow Walls
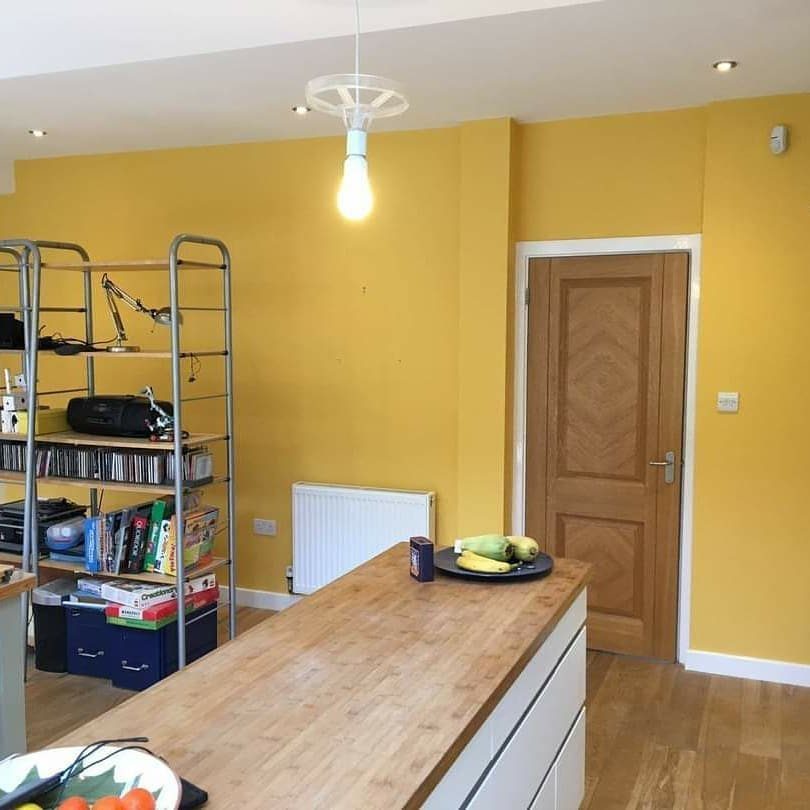
Yellow on the walls makes a kitchen feel sunnier, and a wooden island keeps the brightness from turning harsh.
Paint changes a room’s mood for less money than almost anything else, and one gallon and a roller fit inside a weekend.
Brush a swatch onto 2 walls and check it at midday and again after dark, then buy the full can.
Metal shelving and a white radiator stay neutral against it, so you need no other changes.
But many kitchens don’t actually need gutting. A few thoughtful changes can shift the entire mood of your space without the logistical or financial outlay of a full renovation.
11. Update Window Treatments
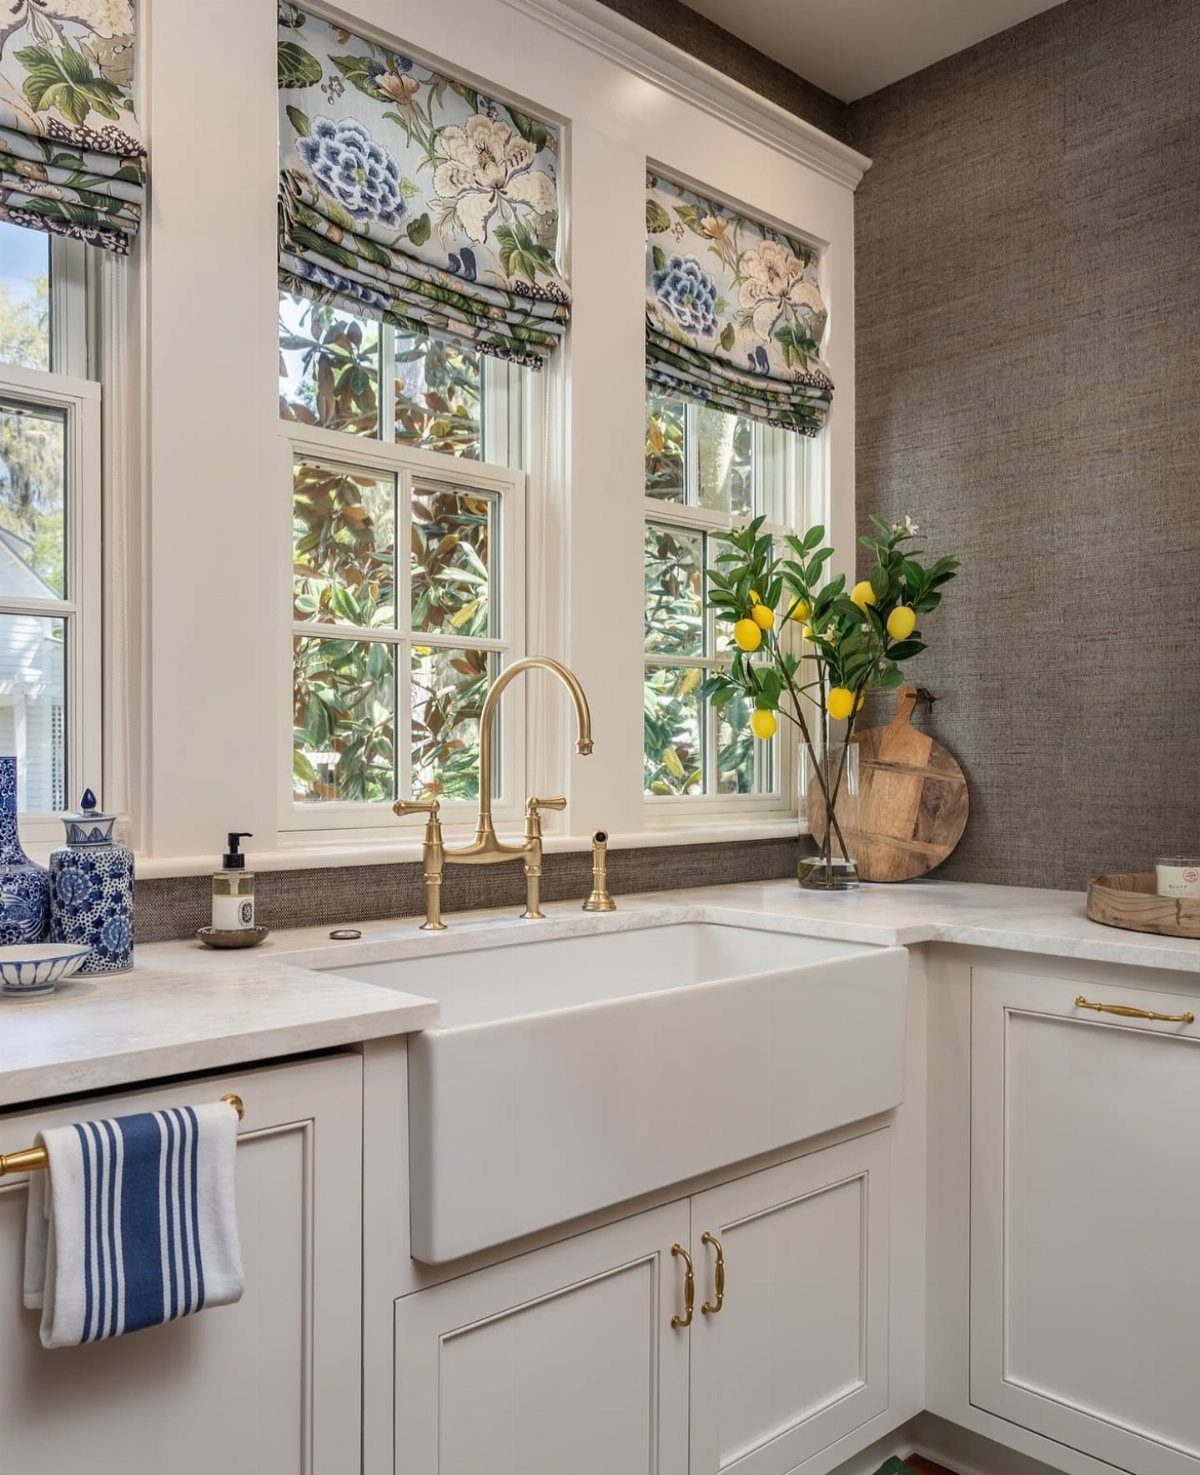
Floral Roman shades over a white farmhouse sink bring pattern and softness to a room full of hard surfaces. Gold fixtures pick up the warm tones in the print.
Measure each window’s width and height before you order, and decide whether the shade sits inside the frame or on top of it.
With three windows in a row, I would use matching shades across all of them so the run looks like one design.
A bolder print works best when everything else on the counter stays simple.
12. Pantry Jars
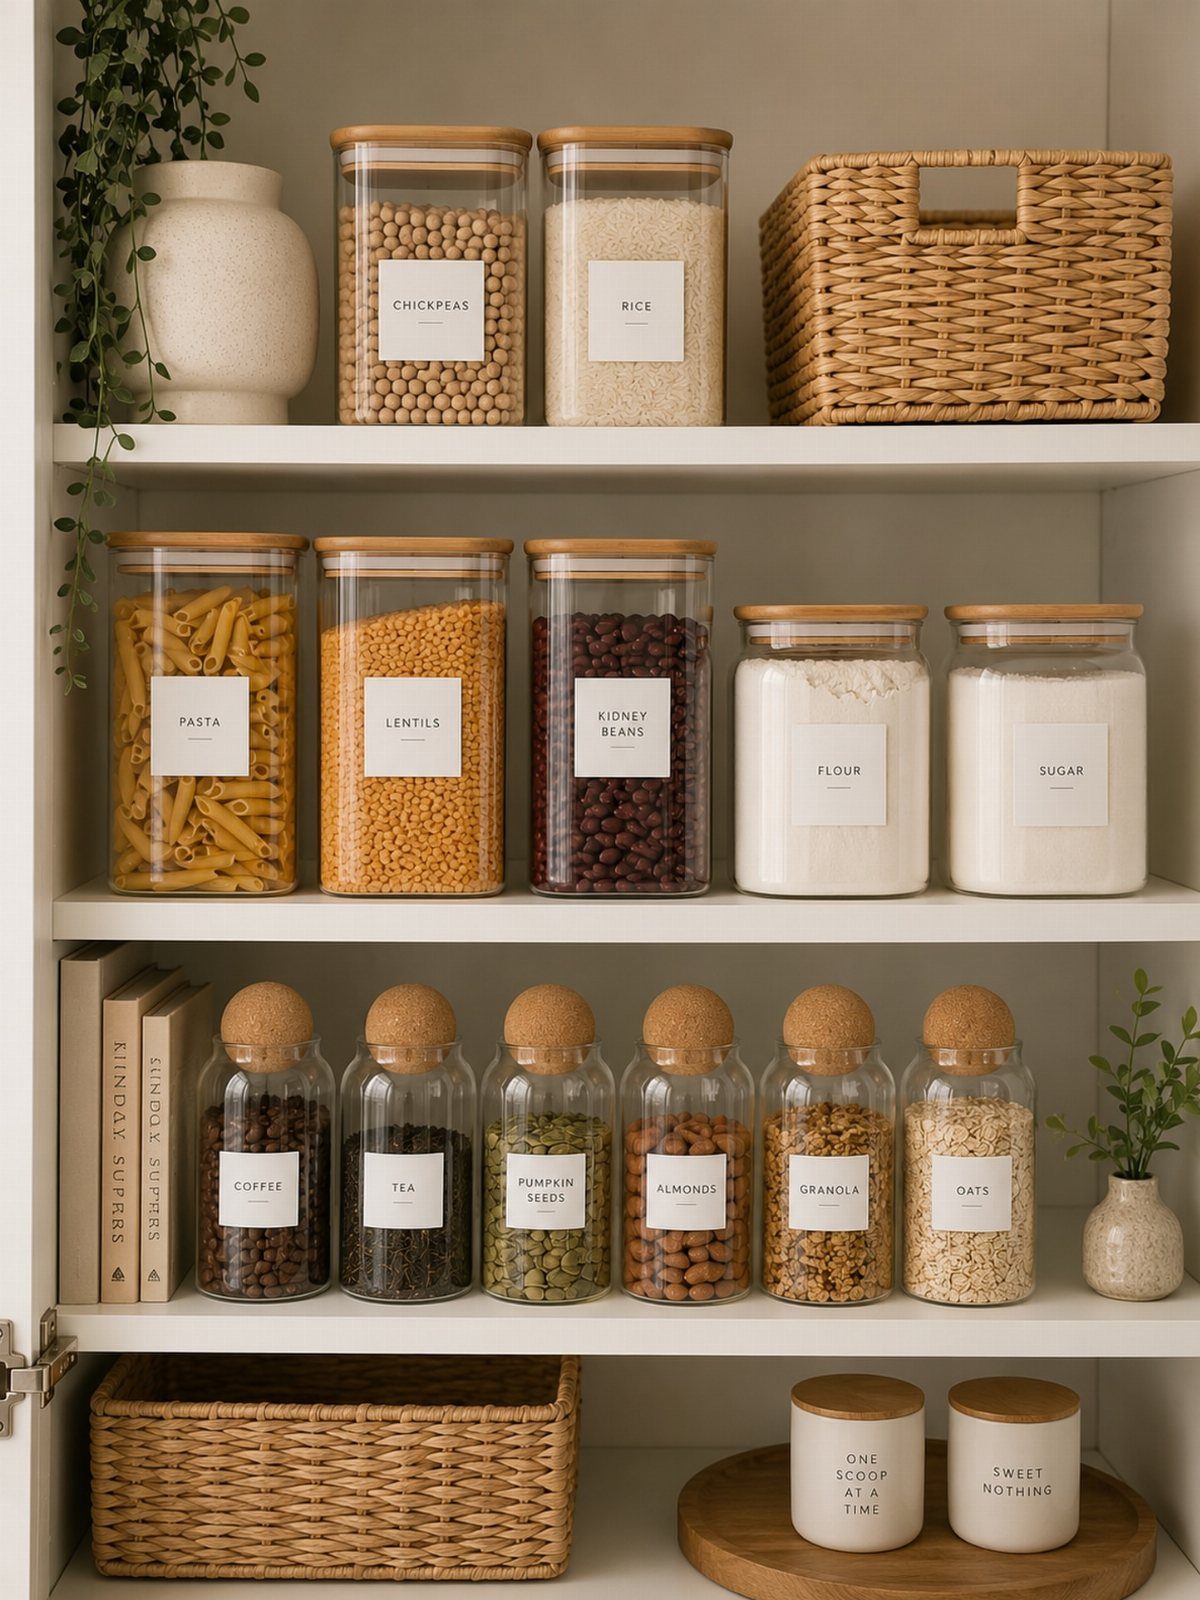
Dry goods look tidier the moment they move into matching glass jars with wooden lids, and the labels mean no one has to guess whether a jar holds rice or flour.
You can see when you are running low on lentils or oats before the shelf is empty.
You do not have to buy a set. Saved pasta sauce and jam jars, washed and dried well, work with a marker or masking tape for labels.
I would group by type, with grains on one shelf, legumes on another and snacks like granola at eye level.
DIY Preparation and Safety
Cabinet paint only holds when the surface under it is ready, and the order matters:
- Remove the doors and lay them flat.
- Degrease every surface, because cooking oil leaves a film that paint will not grip.
- Sand to dull the old finish.
- Prime.
- Finish with paint made for cabinetry, not leftover wall paint.
Tape a number to each door and a matching number inside its opening, so every door goes back where it came from.
Swapping a ceiling fixture starts at the breaker box. Switch the power off there, not just at the wall switch, and confirm the fixture is dead before you touch a wire.
Follow the electrical safety guidelines that come with the new fixture. If the wiring in the ceiling box looks nothing like the instructions, stop and call an electrician; that is a cheap fix compared with a mistake in the wall.
Frequently Asked Questions
How can I update a dated kitchen on a budget?
Swapping the pulls and knobs and repainting the boxes you already own gets you the biggest visible change for the least money, usually under $200 for a standard kitchen.
Pulls swap out with just a screwdriver when the new ones match the spacing between the old screw holes, so no new holes are needed.
Repainting the existing doors costs a fraction of buying new ones, and a quart of cabinet-grade enamel with a small foam roller fits inside a weekend.
Can you paint laminate cabinets?
Yes, as long as the prep is done right.
Laminate does take paint, as long as the doors come off, every face gets cleaned, the glossy skin is scuffed with sandpaper, and a bonding primer goes on before a cabinet-grade topcoat.
Are budget kitchen updates beginner-friendly DIY projects?
Most are, and they need only basic tools and a little patience with prep. Swapping hardware is the easiest, since it takes a screwdriver and nothing else.
Anything wired into the ceiling is the exception: shut the power off at the breaker box first, and call an electrician if the wiring doesn’t match the instructions. Renters can skip wiring altogether with a plug-in pendant light.
Is peel-and-stick tile a good long-term solution?
It works better as a short-term fix than a permanent one. The tiles need no special tools, come in patterns that imitate marble, wood or ceramic, and many can be pulled off later without damage.
That makes them a good stopgap for a renter, or for anyone planning a bigger renovation down the road.