

I learned the hard way that a shed built on uneven ground becomes a leaning shed within two years, so I now clear a level site with three feet of breathing room on all sides and check for buried utilities first.
I spread landscaping fabric and three to four inches of crushed stone for drainage.
I choose my foundation based on how long I’ll need it: wood for temporary, concrete for permanent.
I anchor everything tight with exterior screws or masonry bolts, and I seal every joint as if preparing for an impending storm.
Skipping any of these steps will result in a crooked door every time you walk past it.
Stick around, and I will show you how to avoid these mistakes.
Choose a Site With 3-Foot Clearance and Code-Compliant Placement
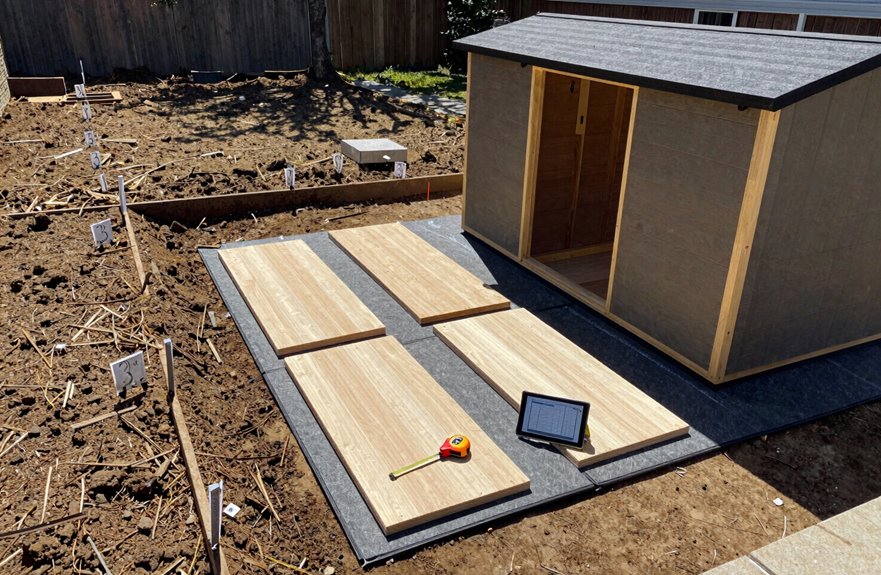
Where do you start with a shed? It’s all about location, and a bit of humility when you realize the wrong spot was chosen.
First, I’m ensuring a three-foot clearance on all sides. This space is necessary for maintenance and airflow. I grab my stakes for footprint marking and outline where the shed will go. Then I check setbacks to avoid any issues with neighbors or fines from the city.
Site preparation involves finding level ground, as flat is non-negotiable. I will address drainage later. I also conduct a utilities check before digging anywhere. I once nicked a sprinkler line, which was a costly error. A quick call to 811 prevents such mistakes.
Level Ground and Add Gravel for Drainage and Weed Control
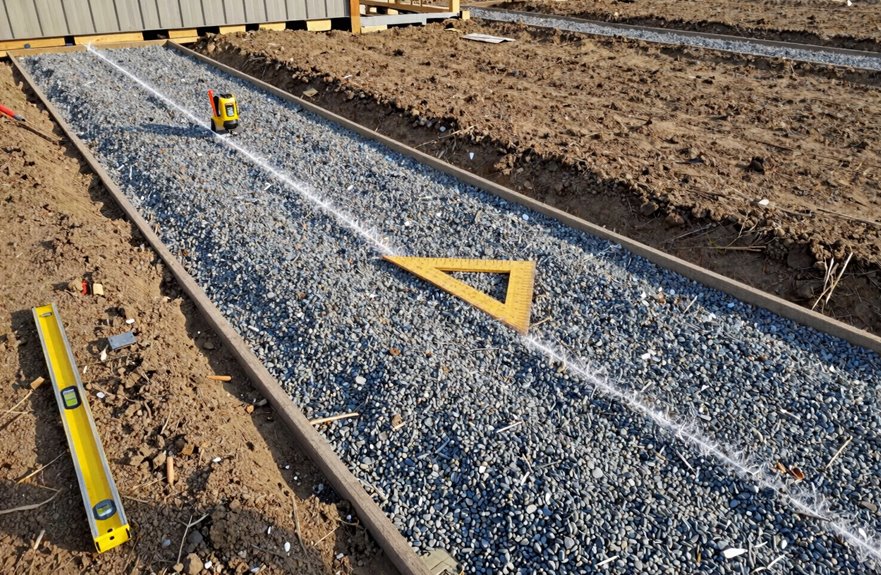
Once I’ve staked out the perfect spot, I grab my shovel and prepare for some serious work. Site preparation means removing every rock, root, and weed I can find; skipping this step will lead to issues later. I fill low spots with soil until I’ve got level ground; uneven bases can warp doors and strain framing over time.
Next is landscaping fabric, which I roll out as a weed barrier, overlapping edges by six inches to prevent pests from finding gaps. Then I dump three to four inches of crushed stone for my gravel foundation. This step is crucial, as proper drainage keeps water from pooling and rotting anything I store inside. I rake it flat, check with a level, and feel accomplished.
Pick a Foundation: Wood Platform, Concrete Slab, or Blocks
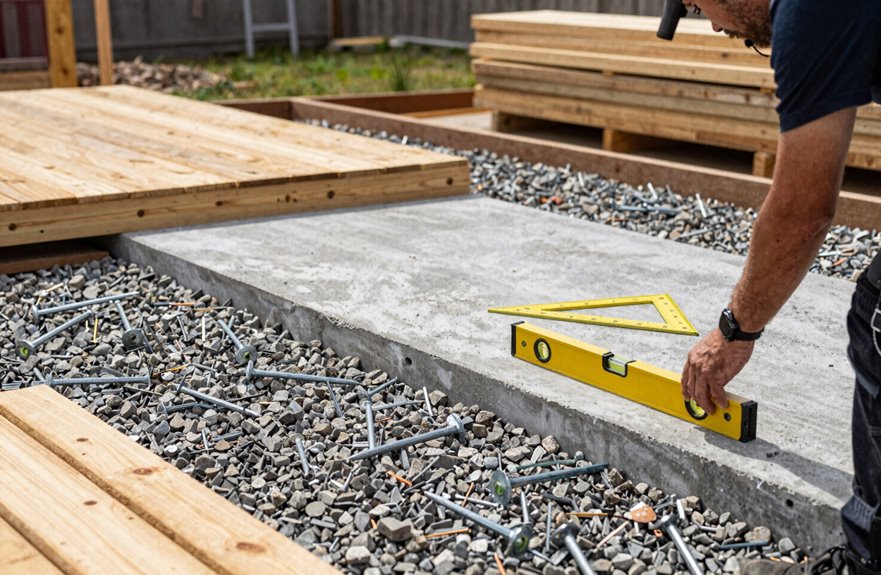
After all that digging and gravel work, I’m finally ready to pick what my shed will actually sit on. I spent quite a while at the hardware store display.
Here’s what I’ve learned about choosing your foundation:
- A wood platform works well for temporary setups; I keep mine elevated six inches for moisture protection.
- A concrete slab lasts decades if you’re storing heavy equipment and want zero maintenance.
- Concrete blocks let me adjust leveling without calling a contractor, which is a back saver.
- The choice of foundation depends on your weather and how long you plan to stay.
- Skipping shortcuts can lead to sagging sheds due to inadequate base preparation.
I’m going with blocks. My budget is tight, and I prefer to fix my own mistakes.
Lock Your Shed Down: Wood Screws vs. Concrete Bolts
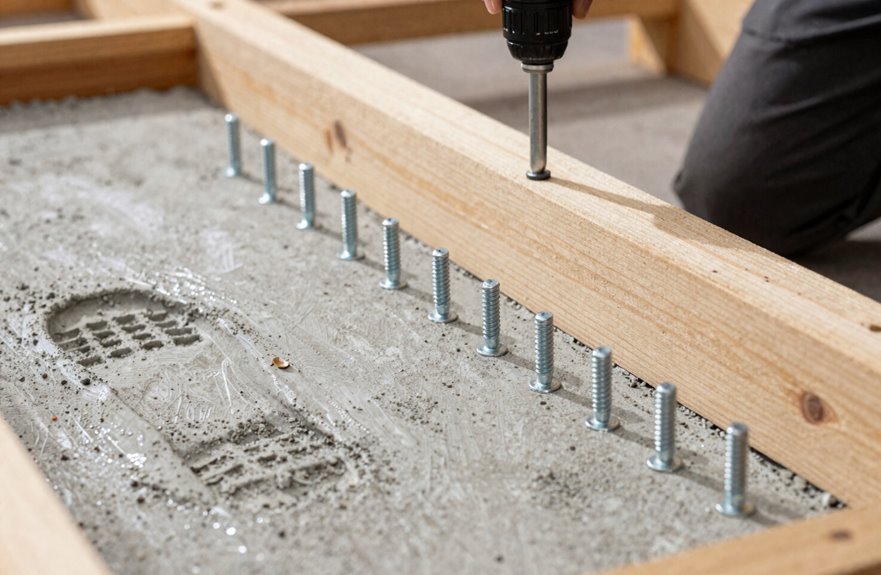
How do you keep a shed from becoming a kite during the first big storm? Anchoring is crucial for stability.
If you’ve got a wooden platform, wood screws are effective. I use exterior-grade screws and drive them straight through the frame into the timber below. It takes about ten minutes, and the structure feels solid.
For a concrete slab, you’ll need concrete bolts with masonry nuts. I use a hammer drill to bore holes with a masonry bit, insert the anchor bolts, and tighten the masonry nuts until the shed is securely fastened to the foundation.
Proper anchoring prevents wind from moving your shed. Skipping steps can lead to problems, so ensure you secure it correctly. This will also make weatherproofing your joints easier later.
Install Walls, Roof, Doors, and Windows With Weatherproof Sealing
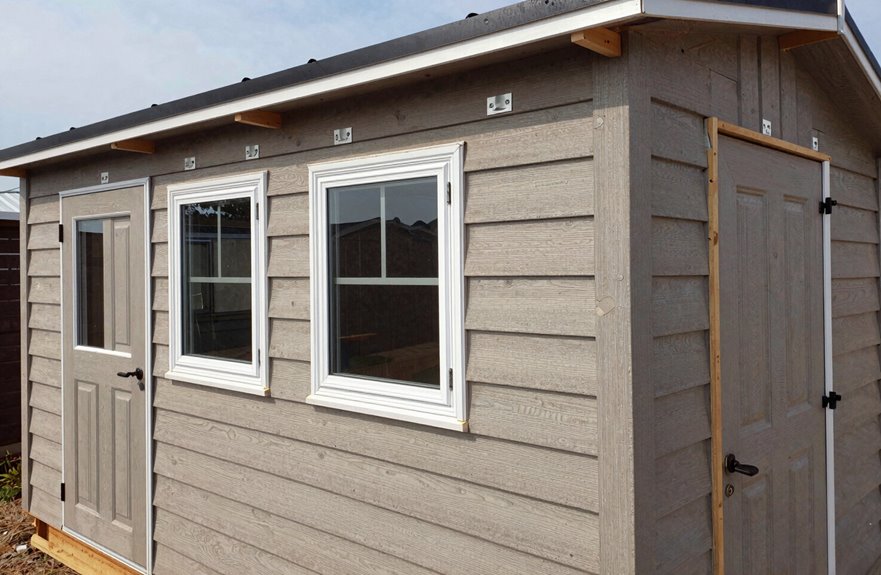
Since you’ve got your shed anchored tight, it’s time to make it actually look like a shed: walls, roof, doors, the works.
Rushing this part invites leaks. Here’s what works:
- Grab a buddy and stand those wall panels up straight; wrestling 8-foot sheets alone can lead to accidents.
- Secure walls and foundation with exterior-grade screws, not whatever’s in your junk drawer.
- Add flashing and sealant at every joint; water finds gaps you might miss.
- Set roof beams and panels with weatherproof sealing; skipping a fastener can lead to problems later.
- Finish doors and windows seals with silicone, then test each one twice.
Our backyard shed installation depends on giving serious attention to weatherproof sealing.