
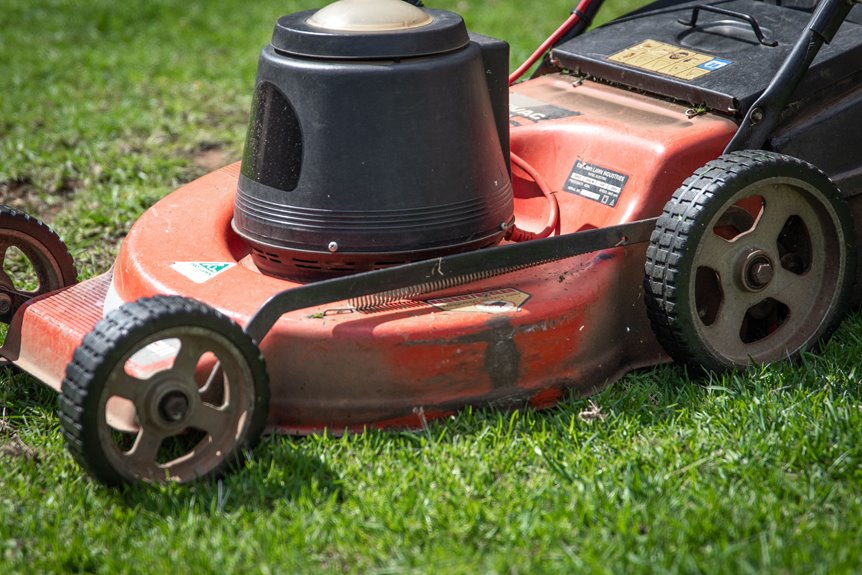
I’ve sharpened my reel mower blades more times than I can count, and while I made it harder than necessary during my first attempts, the process is straightforward. It consists of five manageable steps: reversing your drive gears so the reel spins backward, setting the blade-to-bed-knife clearance to a precise 0.005 to 0.010 inches, applying some lapping compound, back-lapping until you see shiny edges across every blade, and then reassembling everything and testing your cut. Most people can complete this in under an hour once they get the hang of it; you’ll know you did it right when you hear that satisfying snickety-snickety sound as it slices through grass like scissors through paper.
Reverse the Drive Gears to Enable Back-Lapping
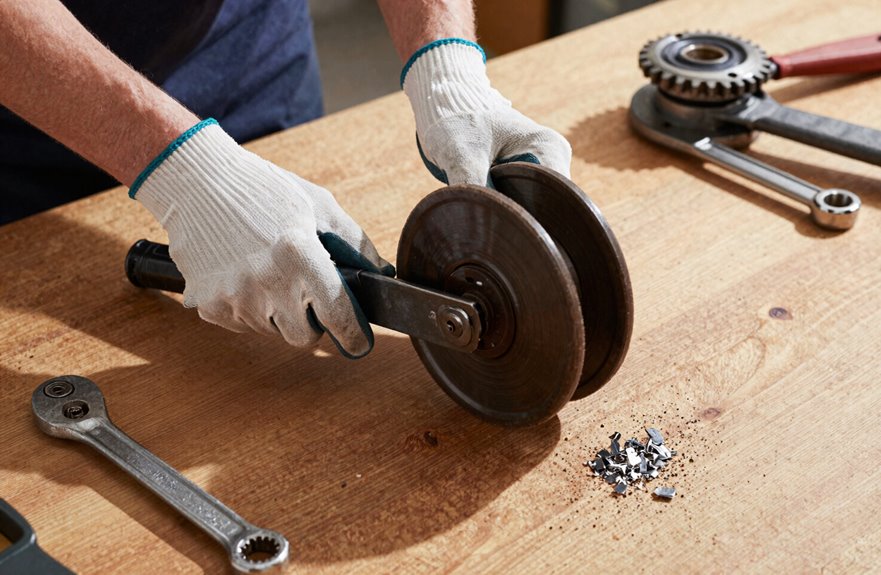
I’ll start by swapping the drive gears to back-lap my reel blades. This method allows me to sharpen without specialized tools. First, I remove the wheels; it’s an essential step. Then I pull the gears and swap them: left goes to the right, right goes to the left. It gives my reel mower a temporary change in function.
After reassembling with the wheels back on, pushing forward now spins the reel backward. This is the effect of the reverse gears. I apply lapping compound to the bed knife and push slowly. The mower blades grind against the bed knife at the correct angle. Back-lapping becomes straightforward with practice. Just pay attention to the gear pins—my model’s pins face up, but yours might differ. Always check your manual.

Push blade lawn mower sharpening kit to maintain the cutting power of the blades

Back Lapping Sharpening Kit: includes 80 grit and 120 grit grinding compound, a dedicated application brush, and a pair of gloves—everything needed for reel mower back lapping and routine blade maintenance

【Versatility】It can be used for grinding and maintenance of a variety of tools, including scissors, knives, gardening tools, etc., and has a wide range of applications.
Set Blade-to-Bed-Knife Clearance for Even Contact
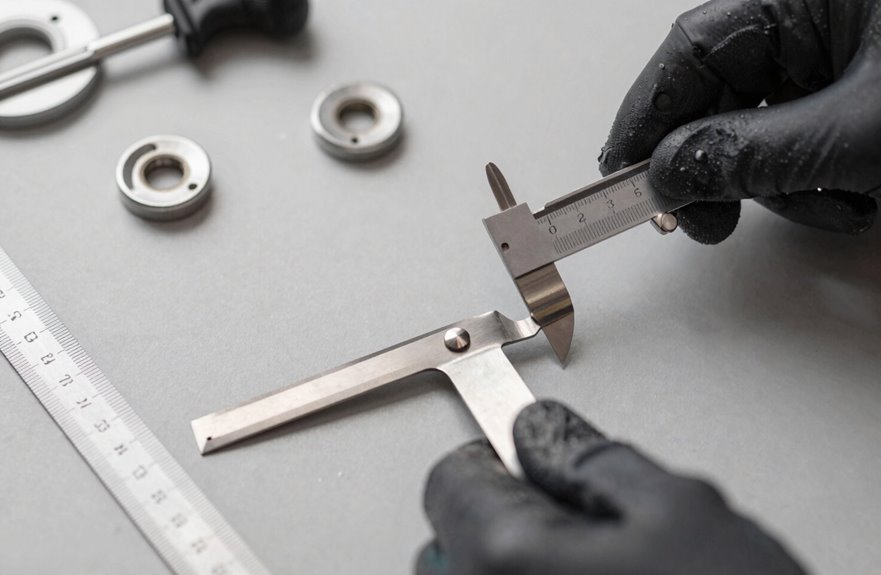
Once the back-lapping is complete, it’s essential to get the clearance right. I’m referring to the blade-to-bed-knife clearance—the thin gap between your fixed bed knife and the spinning reel blades. If it’s too tight, the lawn mower will sound as if it’s grinding on gravel. If it’s too loose, the cutting efficiency will suffer significantly.
Your sharpening kit should include the necessary wrenches. First, adjust the height on the reel-side bolts to bring the cutters closer. Then, tweak the cutting-bar bolts in the opposite direction for even spacing across the entire bar. After making these adjustments, give it a spin. You should hear a light “click,” not a scrape. Ensure that the reel blades spin freely with minimal resistance—no contact, just smooth operation. Achieving this balance is satisfying.

【Ready-to-use】The product is fully pre-mixed, so users don't need to mix it up and use it right out of the box, saving time and effort.

For Effective Reel Sharpening: medium coarse 80 grit grinding compound designed for back lapping reel lawn mowers. Helps restore cutting edges and improve cutting performance without aggressive metal removal

For Fine Reel Sharpening: fine 120 grit grinding compound designed for back lapping reel lawn mowers. Helps refine blade edges and improve cutting smoothness with minimal metal removal
Apply Lapping Compound to Start the Honing Process
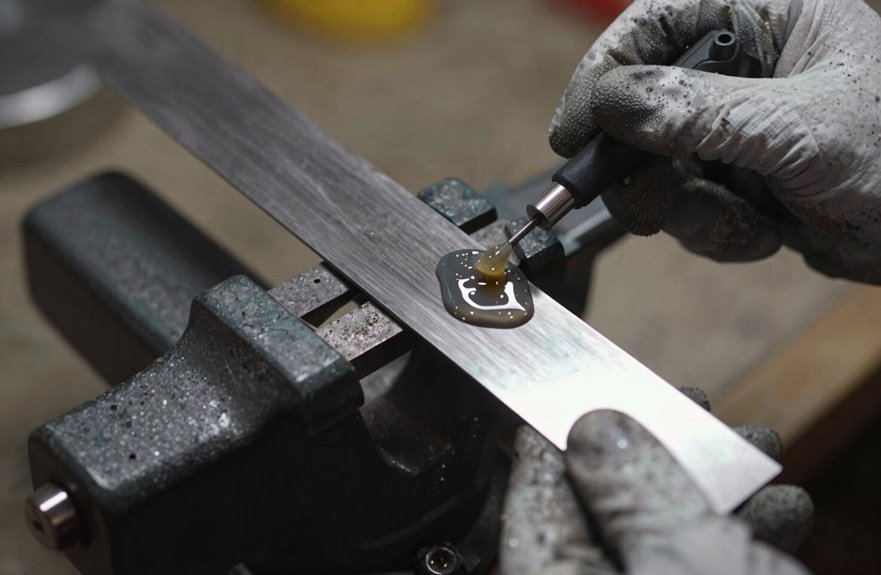
Grab your lapping compound; it’s time to get those blades working together again. I dab it directly onto the cutting edges of my reel blades, then spread it with a lapping pad. No fancy tools are necessary; just patience.
The sharpening sequence is crucial. I spin the reel in the opposite direction, cranking backward while maintaining steady pressure. This builds an even bevel across every blade. I pay close attention to my bed knife clearance—it’s important to keep it close without making contact. I’ve made that mistake before, and it’s not enjoyable.
The honing process requires focus. I wipe away excess lapping compound after a few passes and check my progress. Shiny edges indicate I’m on the right track, while dull spots mean I need to continue honing. Over time, you’ll develop the ability to read the metal accurately.
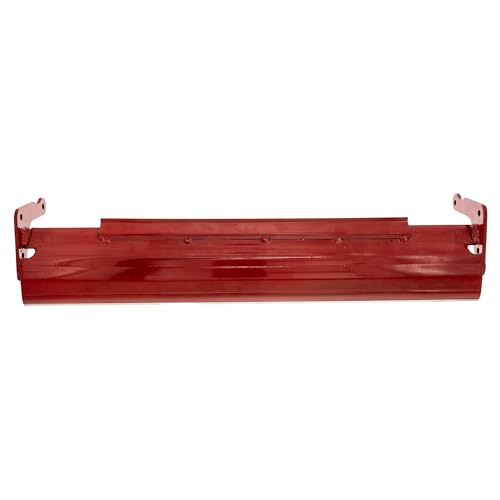
OEM REPLACEMENT PART: Genuine Mclane OEM 20" bed knife replacement, Part# 1103-A, designed specifically for front throw reel mowers.

This part is compatible with models including; 328395200,25-3.5RP-10,20-3.5RP-10,20-3.5RP-7,328375203,328375303,328395900

🌿 Restore Clean Cutting Performance---Designed to replace worn or damaged bed knives that can lead to ragged grass edges and inconsistent cutting. Helps maintain proper reel-to-bed knife contact for cleaner mowing.
Back-Lap Until Blades Show Clean, Shiny Edges
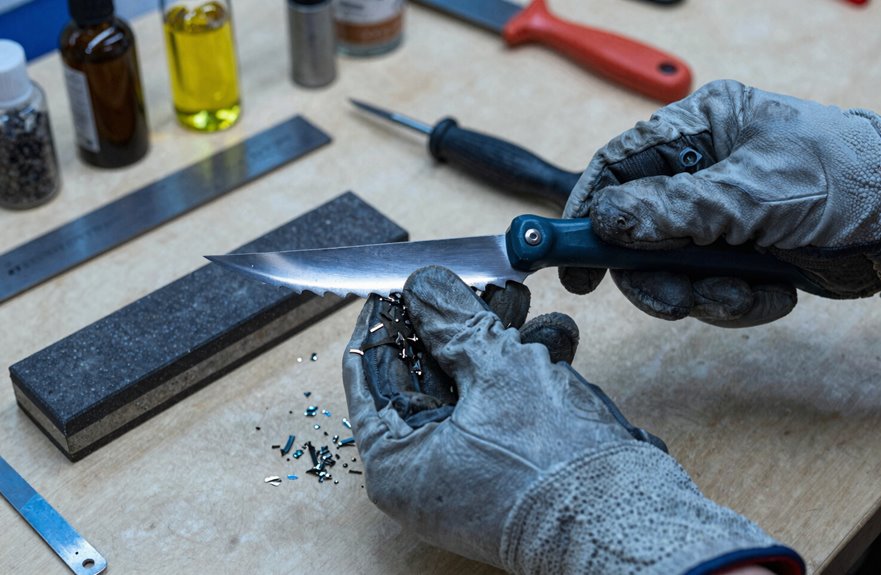
How do you know when to stop back-lapping? You’ll see it. I keep pushing the mower backwards, letting the reel spin against the bedknife with that gritty lapping compound doing its work. The dull metal disappears, and then there’s a glint. That’s your signal.
During reel mower sharpening, I’ve learned to watch for these signs:
- A consistent reflective line across every blade, not just patches
- The gritty sound softens to something smoother
- Your arms feel like they’ve done actual work, because they have
Once I have those shiny blade edges, I back off the adjustment a bit. If it’s too tight, the mower blades scrape and complain. After cleaning and testing on paper—yes, I’m that person—you’ll hear the satisfying snip of scissors. This indicates that the back-lapping was effective.

【Wide Compatibility】 Lawn Mower Blade Sharpener Compatible with Great States, Ameri-can Lawn Mower, Earthwise, and Scotts manual reel lawn mowers, not compatible with Fiskars, Gilmour, Scott, Sears Craftsman.

【Wide Compatibility】 Lawn Mower Blade Sharpener compatible with many brand Manual Push Reel Lawn Mowers

Highly Effective Grinding: This premium 200g reel mower sharpening compound features a precisely formulated 280-grit formula that restores blades to optimal cutting condition with minimal effort. Its powerful yet controlled grinding action ensures your roller mower delivers a clean, scissor-like cut. Achieve professional-grade sharpness without expensive sharpening services, keeping your lawn equipment performing at its best year after year
Reassemble and Test Cut Quality on Grass
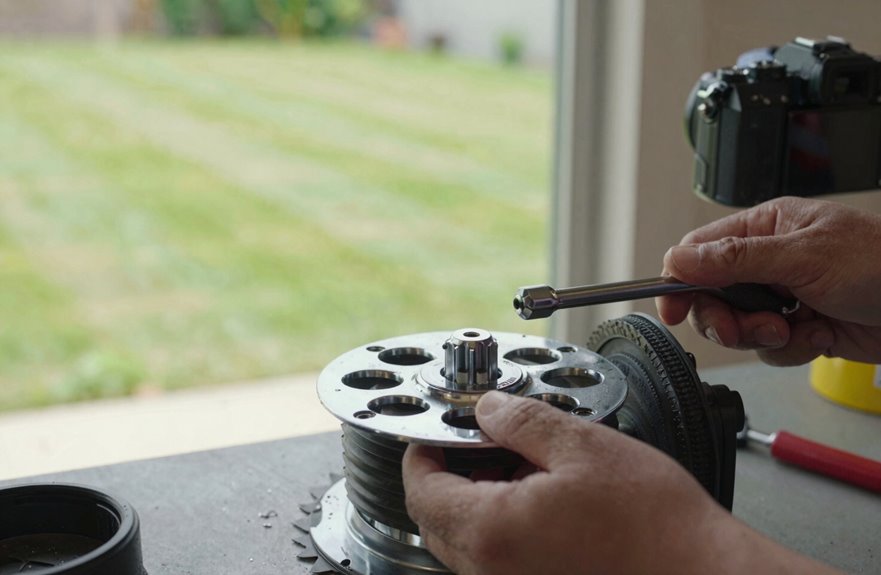
Since I’ve got those blades gleaming, I put everything back together in the exact opposite order I took it apart. I learned that guessing leads to extra parts and confusion. I re-grease the gears and bearings as I go, ensuring nothing squeaks or binds.
For bedknife alignment, I adjust the blade clearance so the reel nearly kisses the cutting bar without actually touching—about 0.005 to 0.010 inches, or roughly a business card’s thickness. Proper height adjustment comes next, usually around one to two inches for most grasses.
I push through a patch of lawn and listen. That snickety-snickety sound indicates I’ve nailed it. If I hear scraping or see ragged, brown tips, I tweak the screws and try again. Reassembling and testing cut quality is essential for a well-maintained lawn.

【Fit For】SK-2 reel lawn mower hand sharpener is compatible with Earthwise and most rreel mowers.not for use on rotary mower blades.

【Fit For】Lawn mower hand sharpener compatible with Earthwise reel mowers,fits all reel lawn mower .not for use on rotary mower blades.

Compatible with Multiple Brands: This reel lawn mower sharpener is compatible with reel trimmers, making it a versatile choice for reel lawn mower owners. Please note: Only for REEL lawn mowers.