
The ideas below range from a screwdriver swap of brass cabinet hardware to cutting a dining pass-through, and what’s hidden inside your walls and under your floor decides which ones fit your kitchen.
Renters can stick to paint, styling and freestanding pieces like a Hoosier cabinet, since nothing gets bolted to plaster.
1. Walk-in Pantry
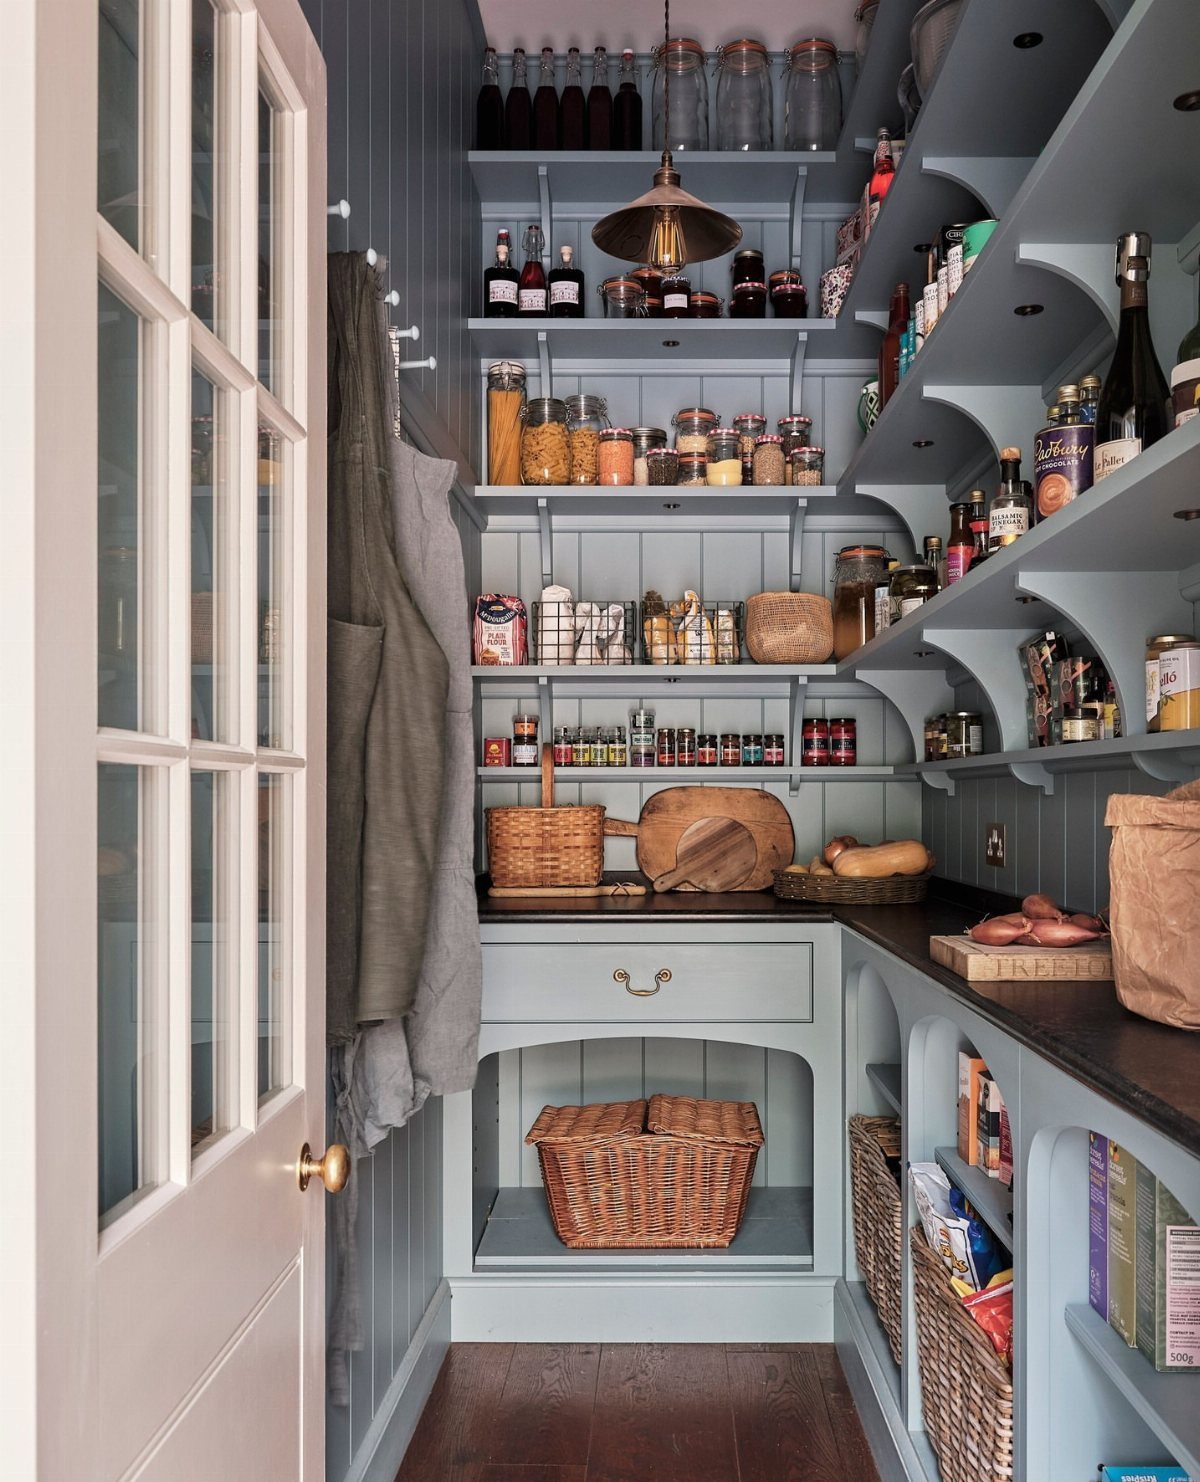
A closet, a back hall or a spare corner can become the pantry a 1920s kitchen never had. Shelves painted a soft blue-grey keep the pantry feeling like part of the house instead of a storage cabinet.
A countertop at waist height gives you somewhere to set a bag down while you unpack it.
I would put the shelves in before anything else and add the counter later.
2. Brass Cabinet Hardware
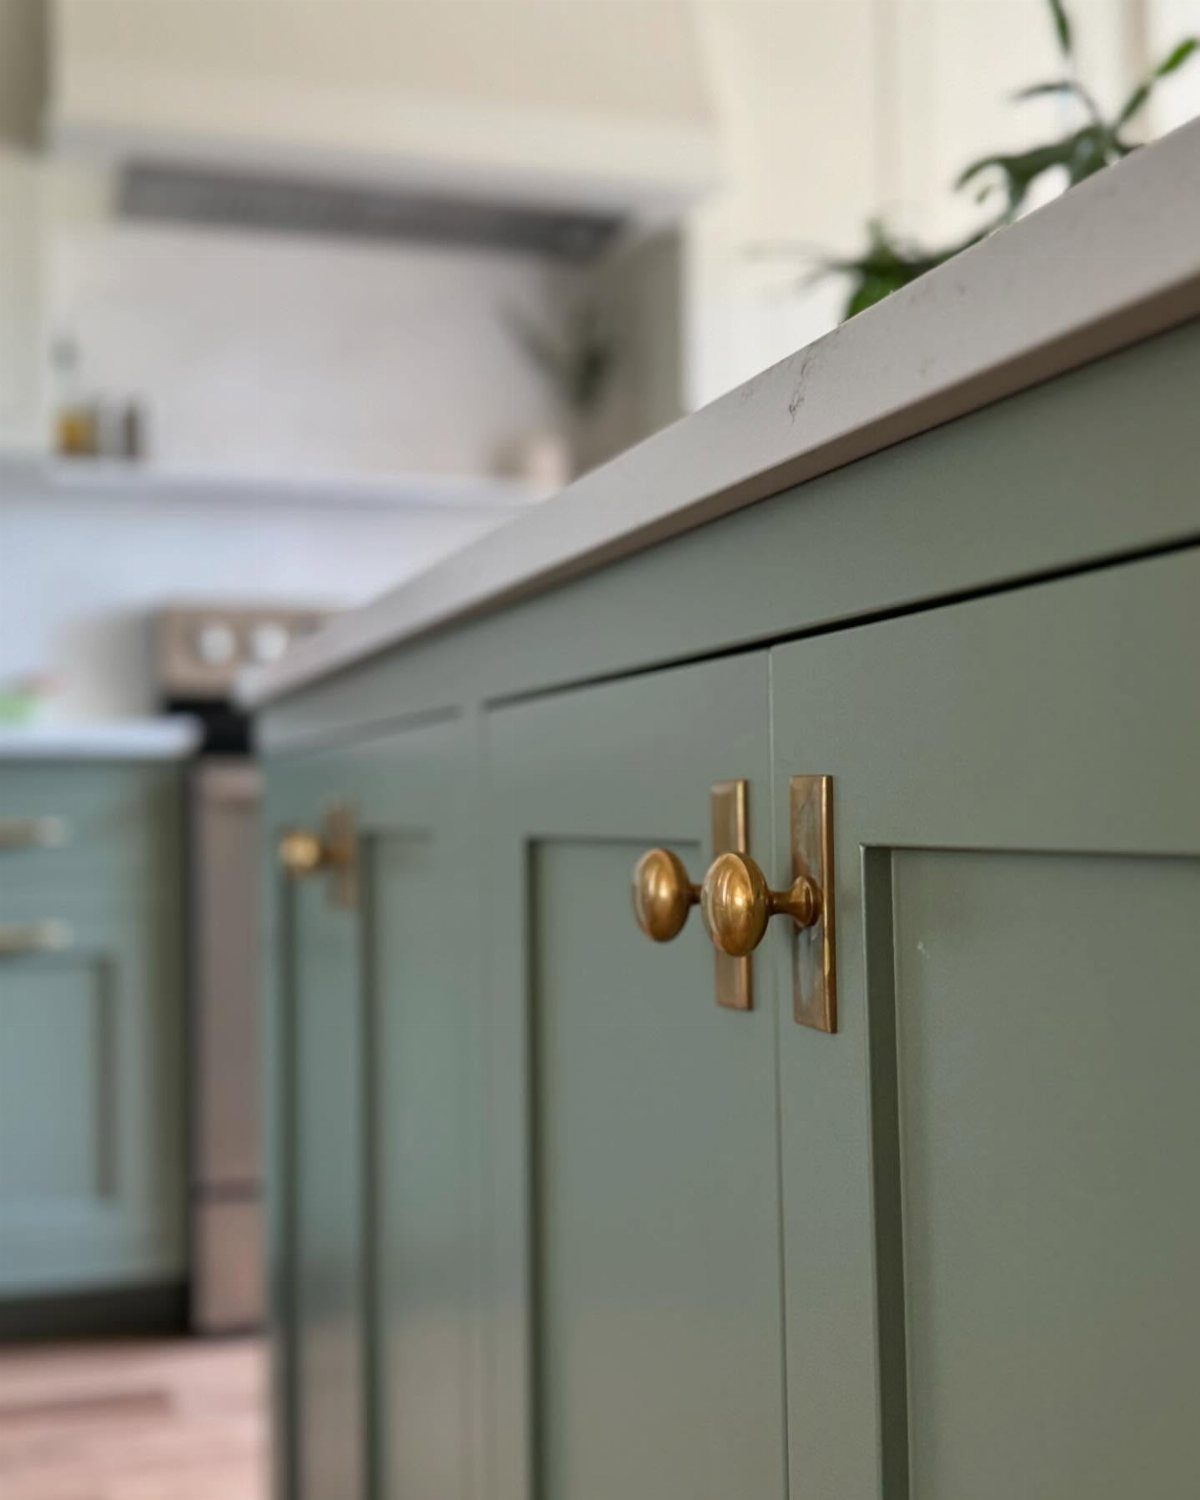
Brass knobs and backplates are a small swap that adds more warmth than almost any other change in the room. Against sage green cabinets, the metal reads as period-correct without looking like a museum piece.
Backplates do real work, too: they hide the wear around a knob on older doors and make a plain cabinet look finished. Swapping hardware is a screwdriver job, so it fits a weekend and a small budget.
I prefer a matching set across every door and drawer, since mixing finishes in a small kitchen gets busy fast.
3. Install a Farmhouse Sink
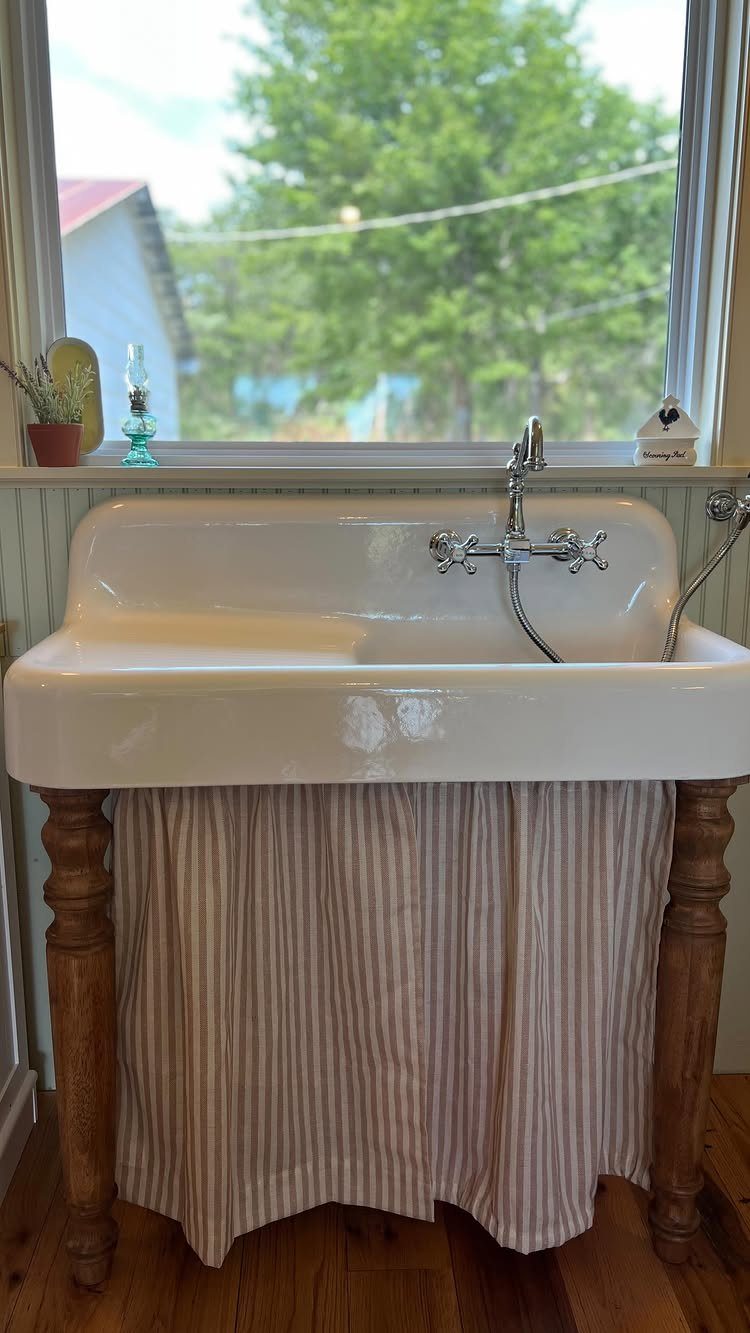
A farmhouse sink with a front apron looks like a piece of furniture, and the skirt hides the plumbing and cleaning supplies underneath.
A window above the sink makes the whole setup feel original to the room. Chrome fittings keep the look clean against all that white.
The skirt is the budget-friendly part: a striped fabric panel on a tension rod is easy to swap when you want a new look, and you can wash it.
4. Floating Shelves
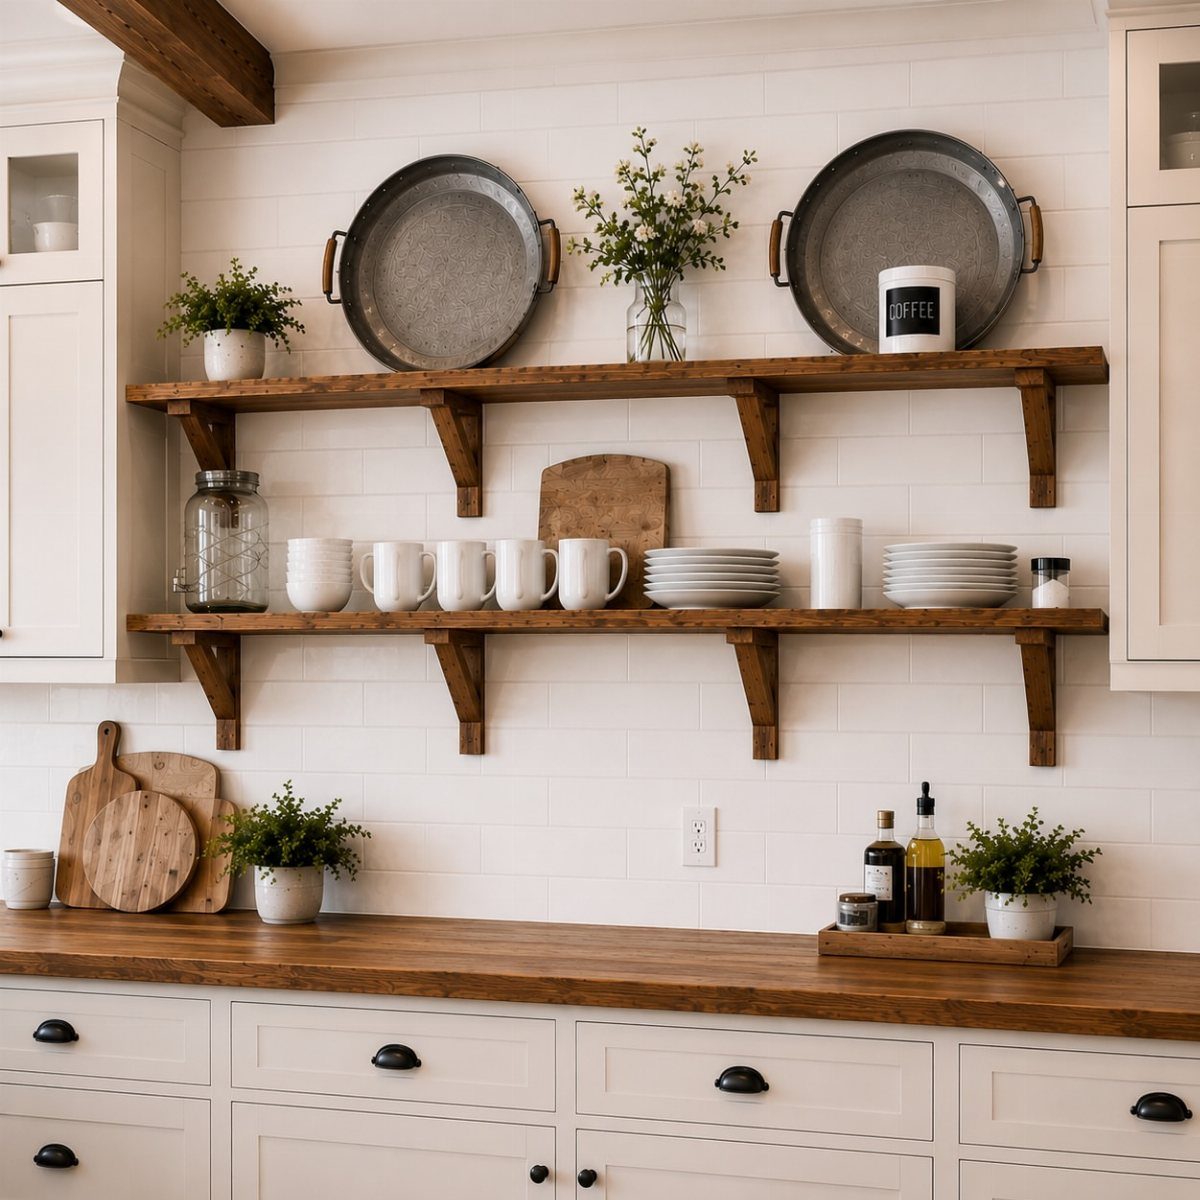
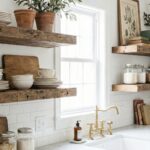
Floating shelves make a good swap for upper cabinets in a 1920s kitchen where the walls feel crowded.
Keep the everyday items you reach for most on them, so the shelves earn their space, and save the plants for the ends. Wood warms up all that white tile.
Expect to dust and wipe them more often than a closed cabinet, which is the honest cost of open storage.
5. French-door Refrigerator
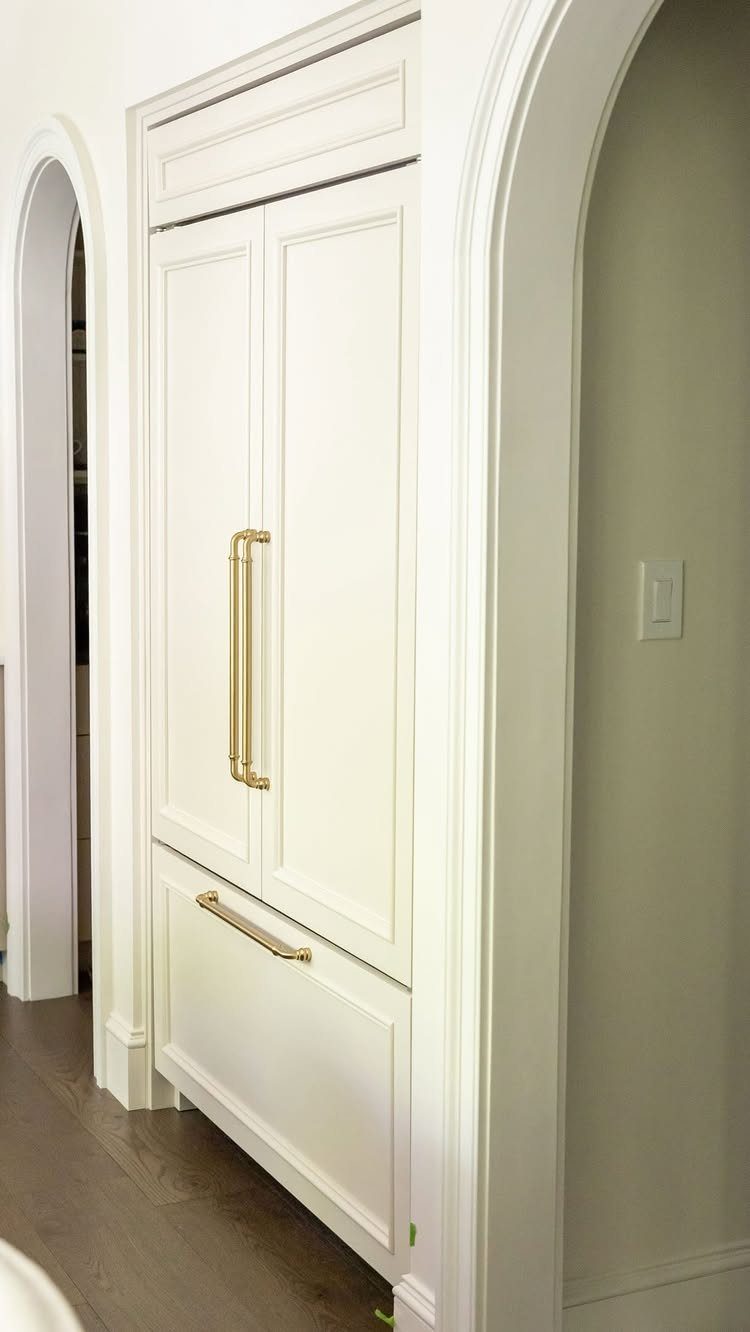
White cabinet panels, gold handles and a pair of arches can hide a French-door refrigerator so well that it looks like part of the architecture.
Built in this way, the appliance stops being the biggest object in a small period kitchen and starts blending with the millwork.
Matching the surround to your cabinet color is what makes it work. Gold handles on the refrigerator tie in with brass hardware elsewhere in the room.
A built-in surround like this takes carpentry, so plan for it as a bigger project than a simple appliance swap.
6. Add a Banquette
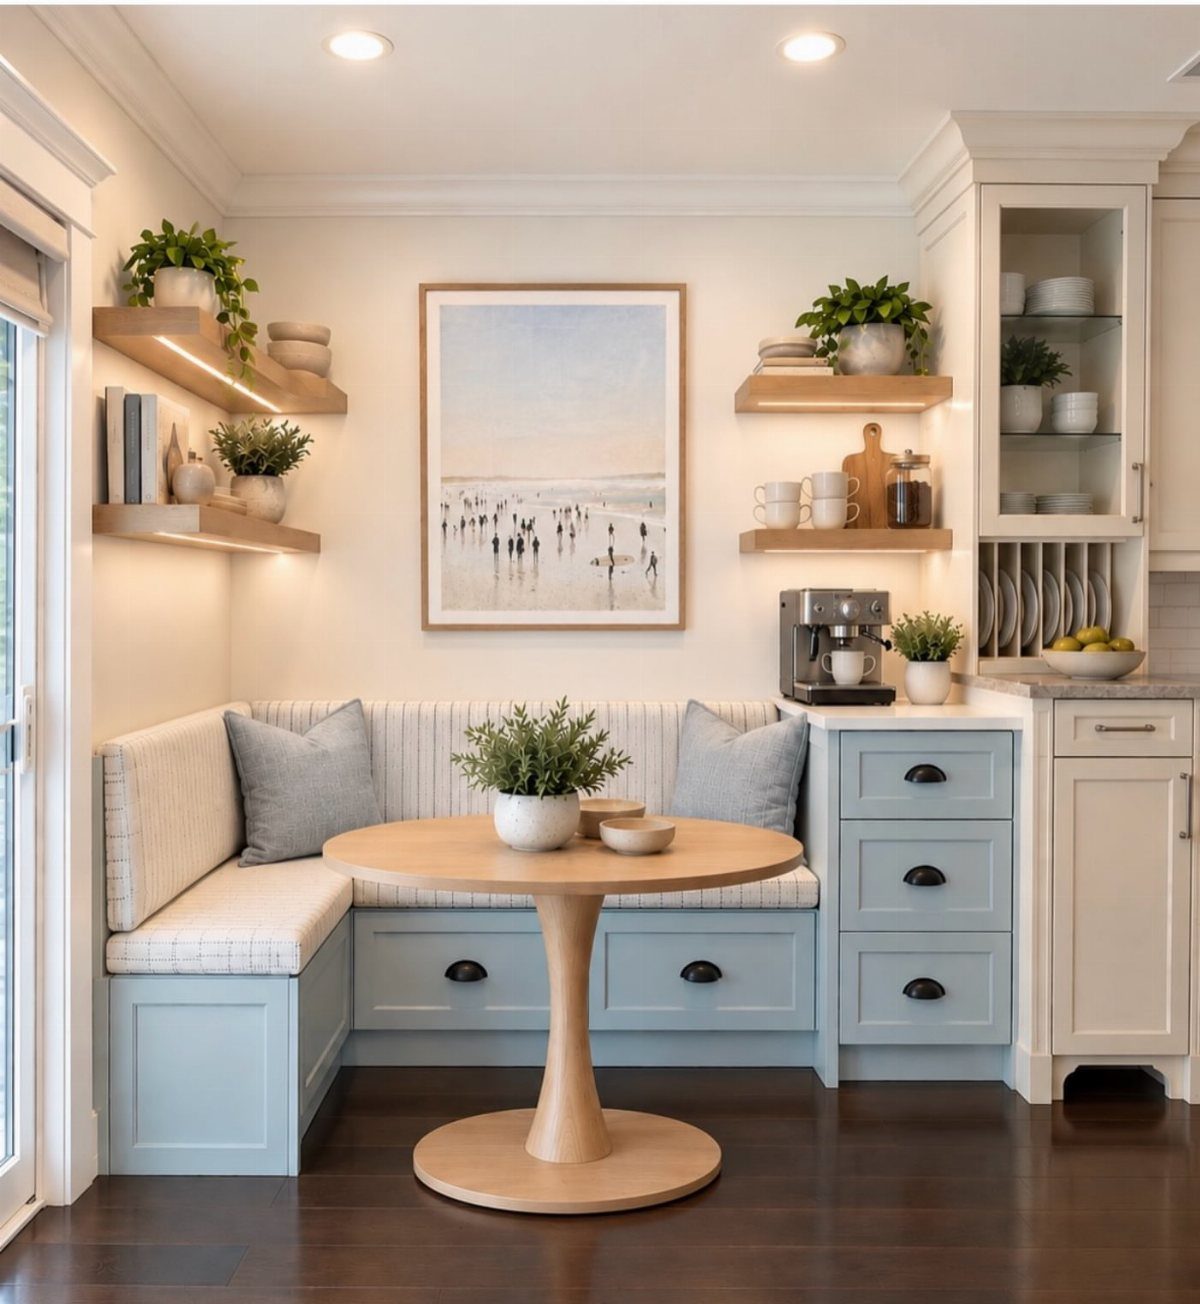
Corner seating built into the wall turns an awkward nook into the best spot in the kitchen. A banquette painted light blue and white, with a round wooden table in front, fits a small footprint without crowding the floor.
A round table is the right call in tight rooms because nobody gets stuck on a corner. The seat base can hold storage, which matters when a 1920s kitchen has few cabinets.
Add a small coffee station nearby and the nook works from morning to evening.
7. Use a Checkerboard Floor
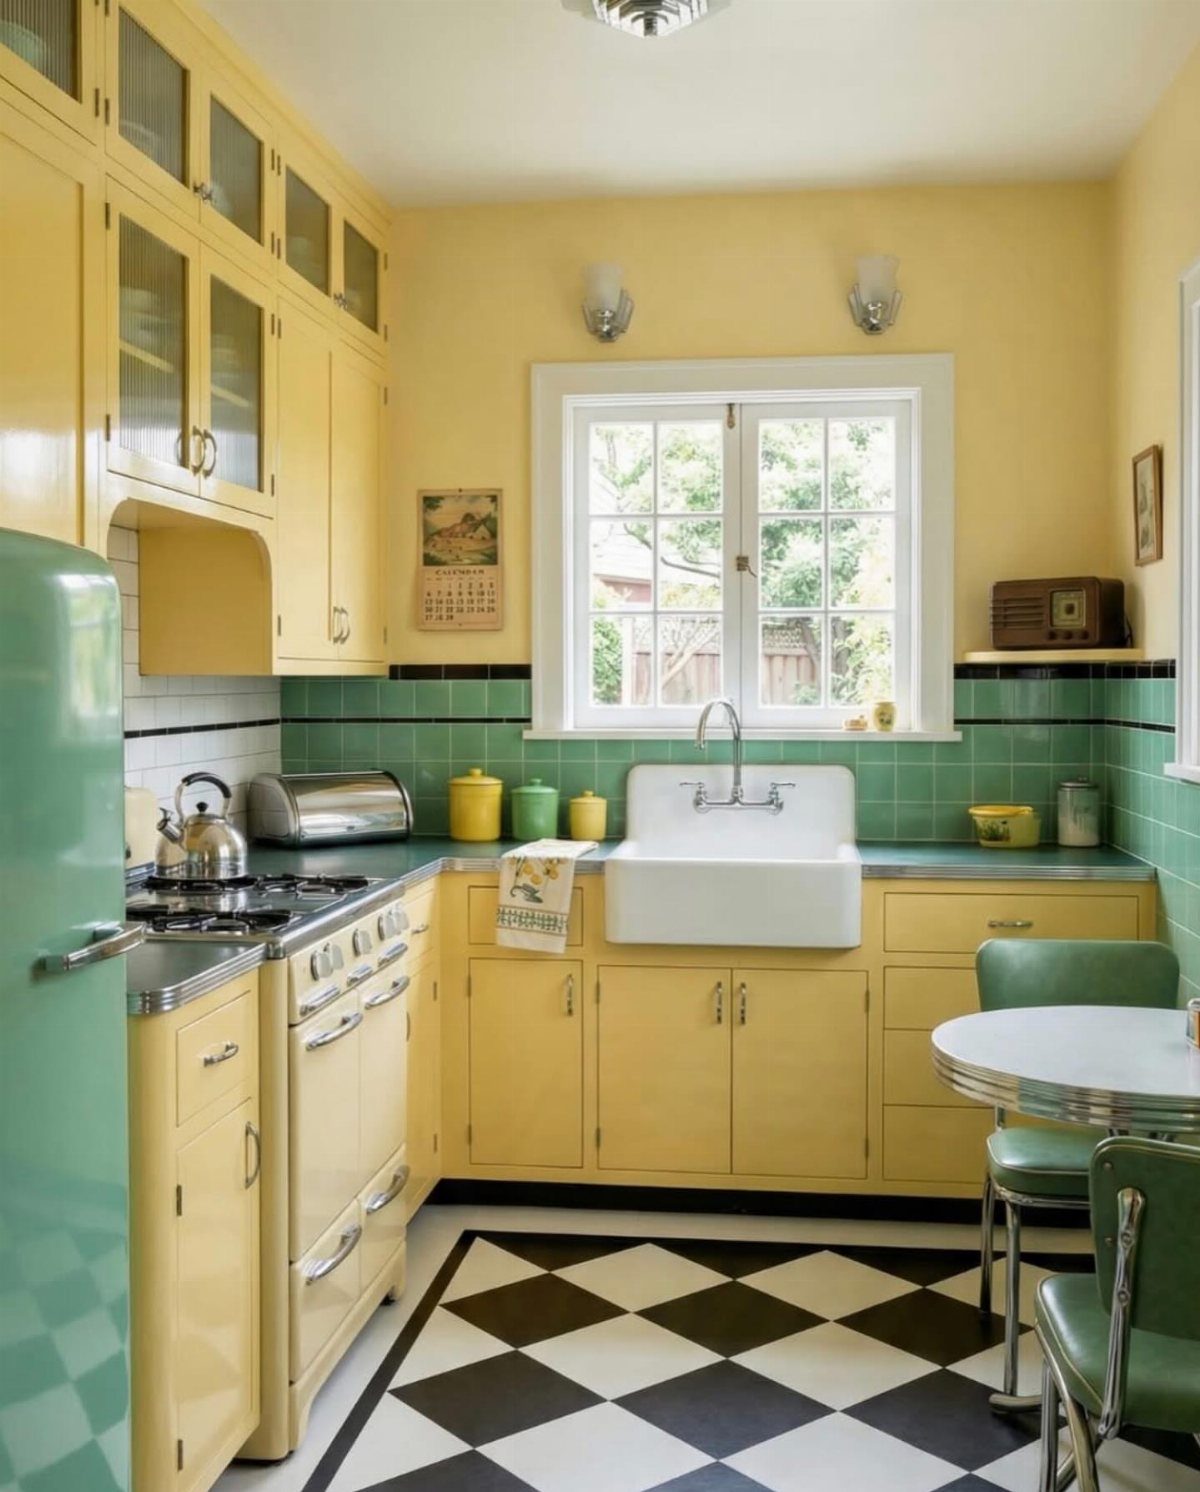
Black and white squares are the 1920s-inspired floor detail that does the most work for the least fuss.
Pick a pattern with equal-size squares, with the cabinets carrying the color, so the floor stays the calm, graphic base of the room.
A small kitchen suits this well, since the grid makes the room read as a deliberate design.
8. Add a Kitchen Island
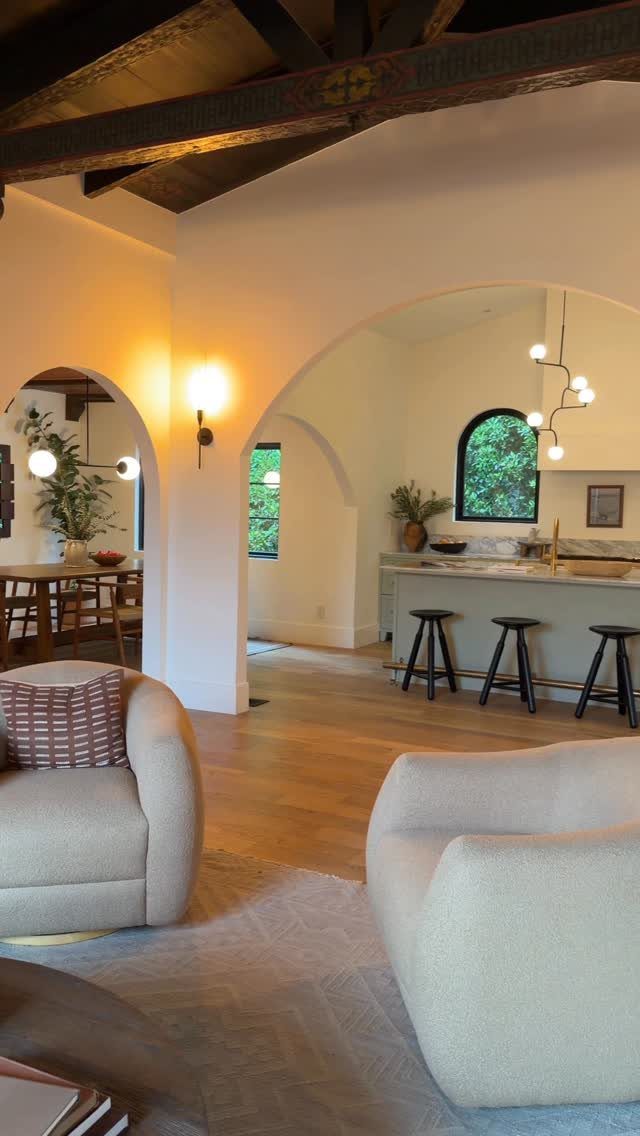
A grey island in front of lighter walls and cabinets gives a period kitchen a second color to rest the eye on.
Painting or finishing it differently from the perimeter makes it look like a piece of furniture rather than another run of cabinets.
Black stools keep the contrast going without adding clutter. Three along one side is plenty.
Check the clearance first: an island only pays off if you can still walk around it with the oven door open, and in many 1920s footprints that rules it out.
9. Black Honed Granite Countertops
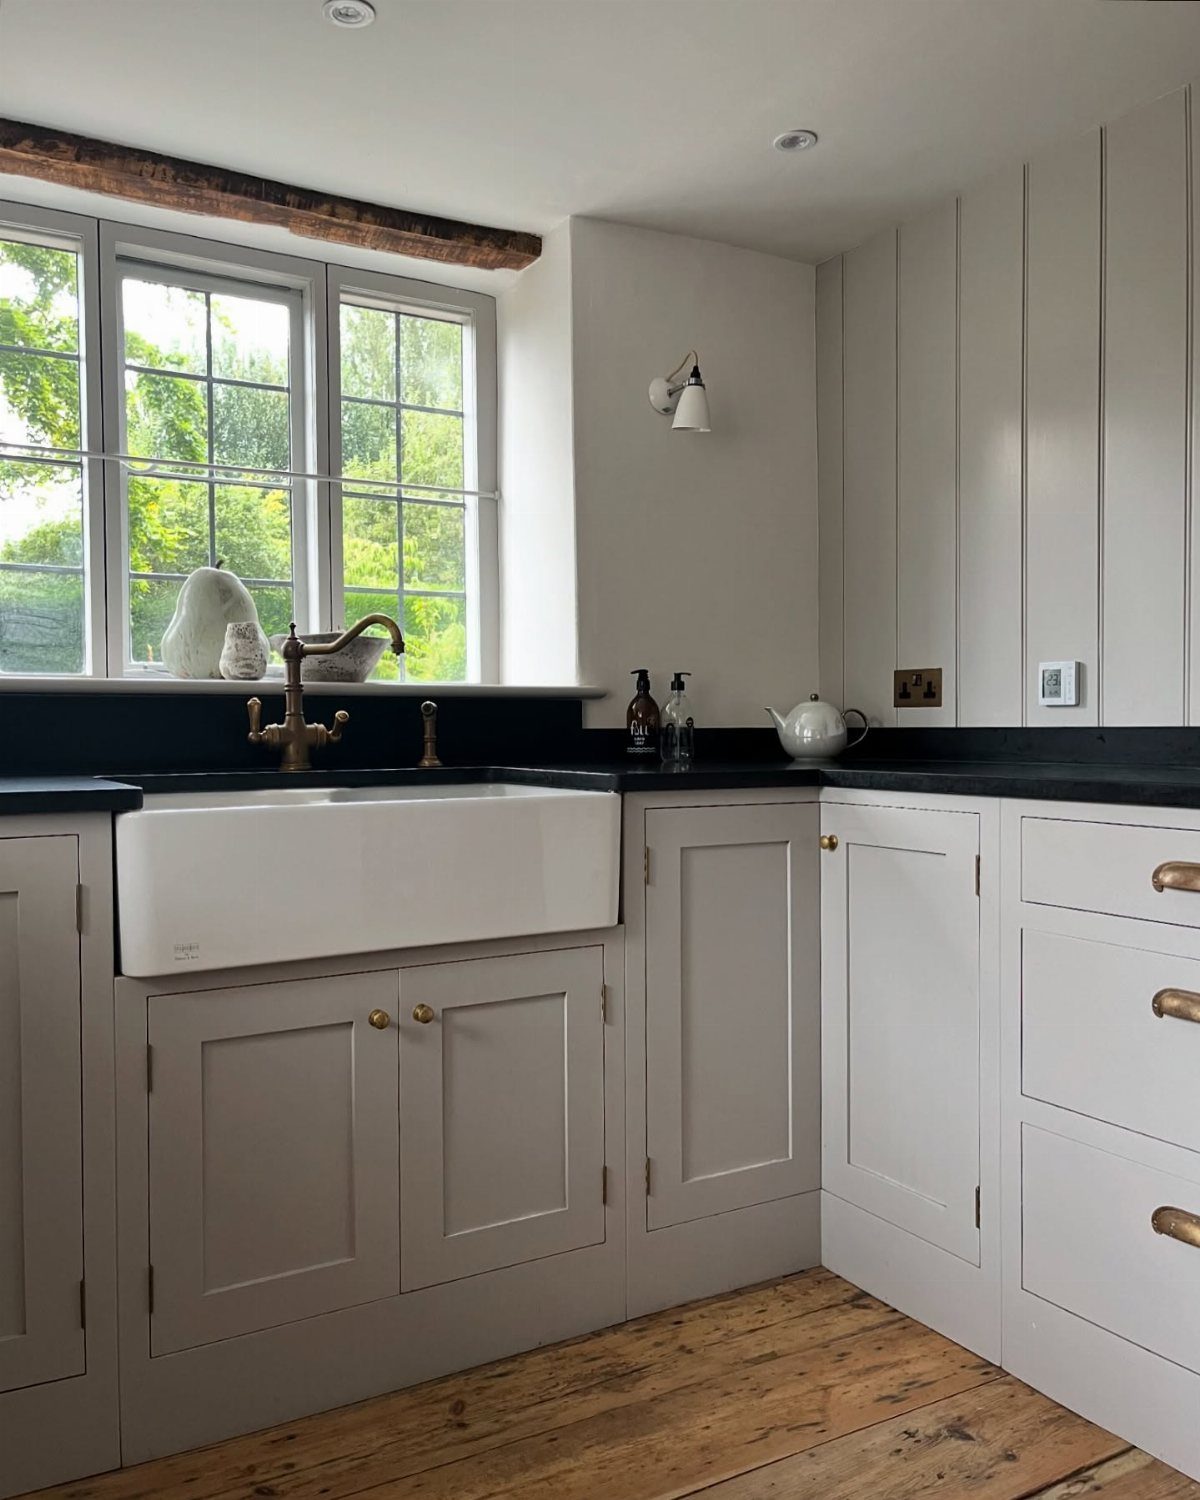
Black honed granite has a matte, soft finish, so it sits quietly under a white farmhouse sink instead of competing with it. Against light grey cabinets, the dark counter gives the room a clear edge line.
I like honed over polished here because it suits an older house better than a mirror shine would.
Granite is a bigger purchase than paint or hardware, so price a slab and fabrication before you commit to it.
10. Use Reclaimed Fir
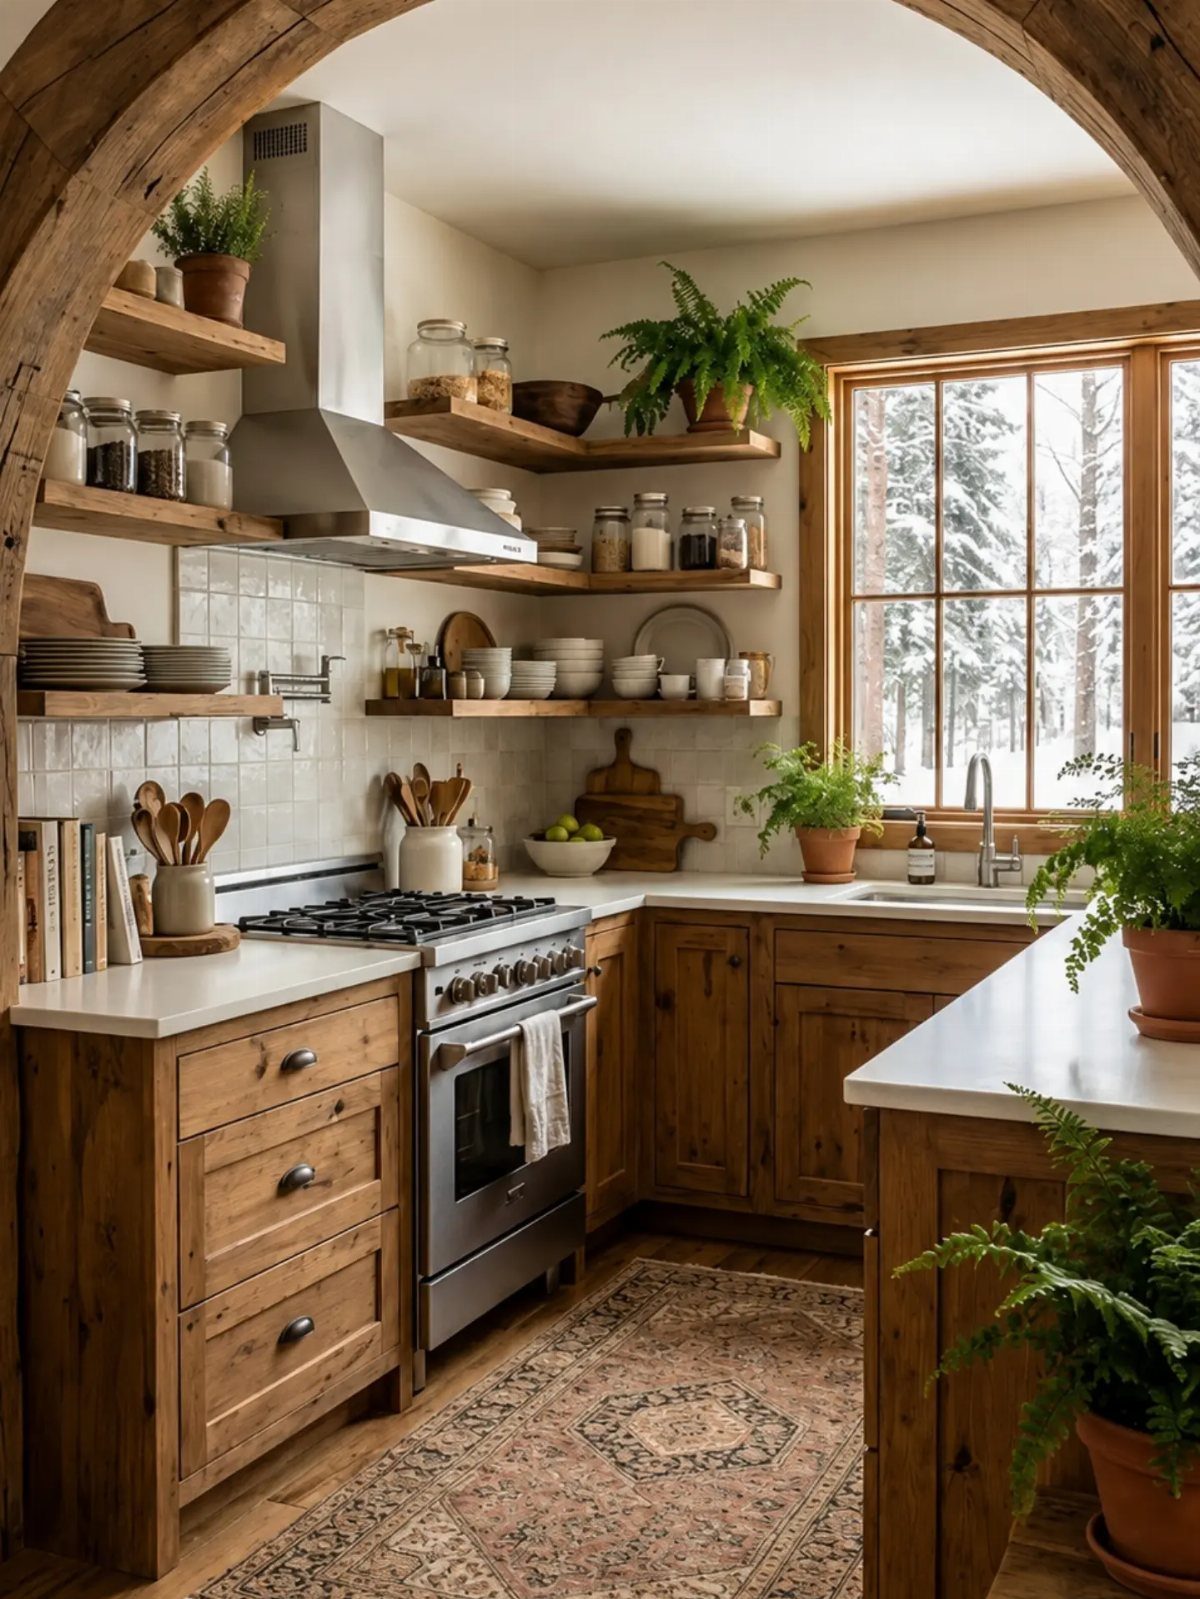
Reclaimed fir is my pick when a 1920s kitchen has lost its original woodwork and you want something that looks like it belonged.
Shelving and cabinet fronts cut from old fir give the room age that new lumber takes years to earn.
Next to white countertops and a stainless stove, the warm grain keeps the room from feeling cold. Potted plants on the open shelves finish the look.
Use the fir where you want it noticed, such as shelves and an arched doorway, and keep the rest plain.
11. Use Vintage Appliances
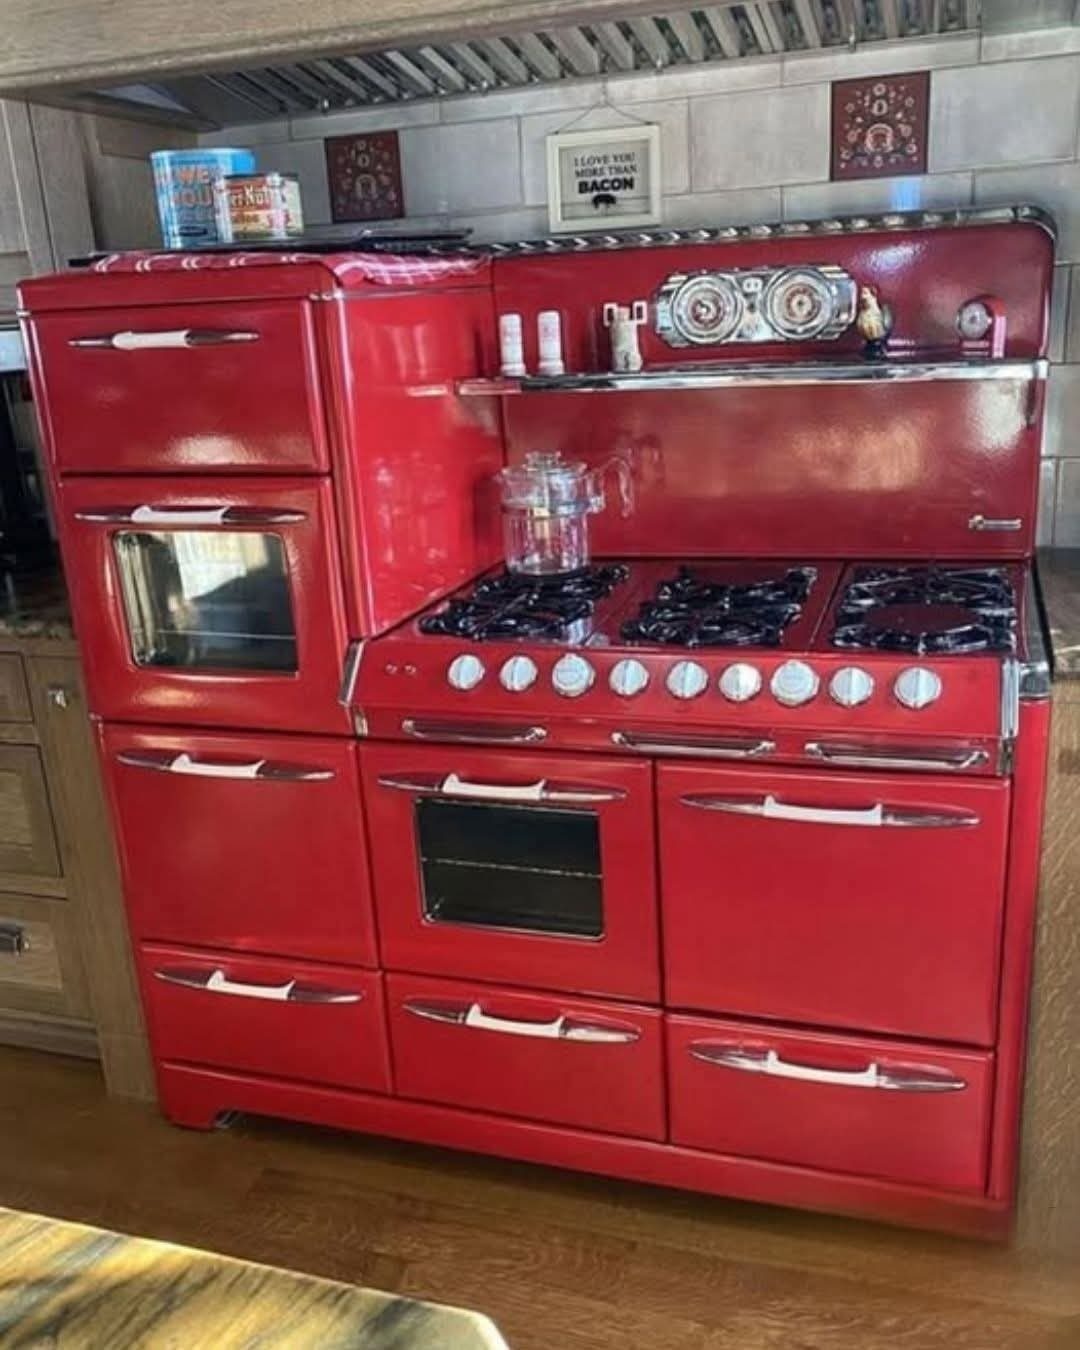
A red range with chrome handles tells the whole story of a period-inspired kitchen in one object. Against a white tiled wall, a color that bold needs nothing else around it to compete.
Retro-style appliances give you the 1920s look with a modern oven inside, which suits anyone who wants the character without cooking on an antique.
I would choose one standout appliance and keep the rest of the room quiet, since a red range already carries the color.
12. Add Period-style Tile
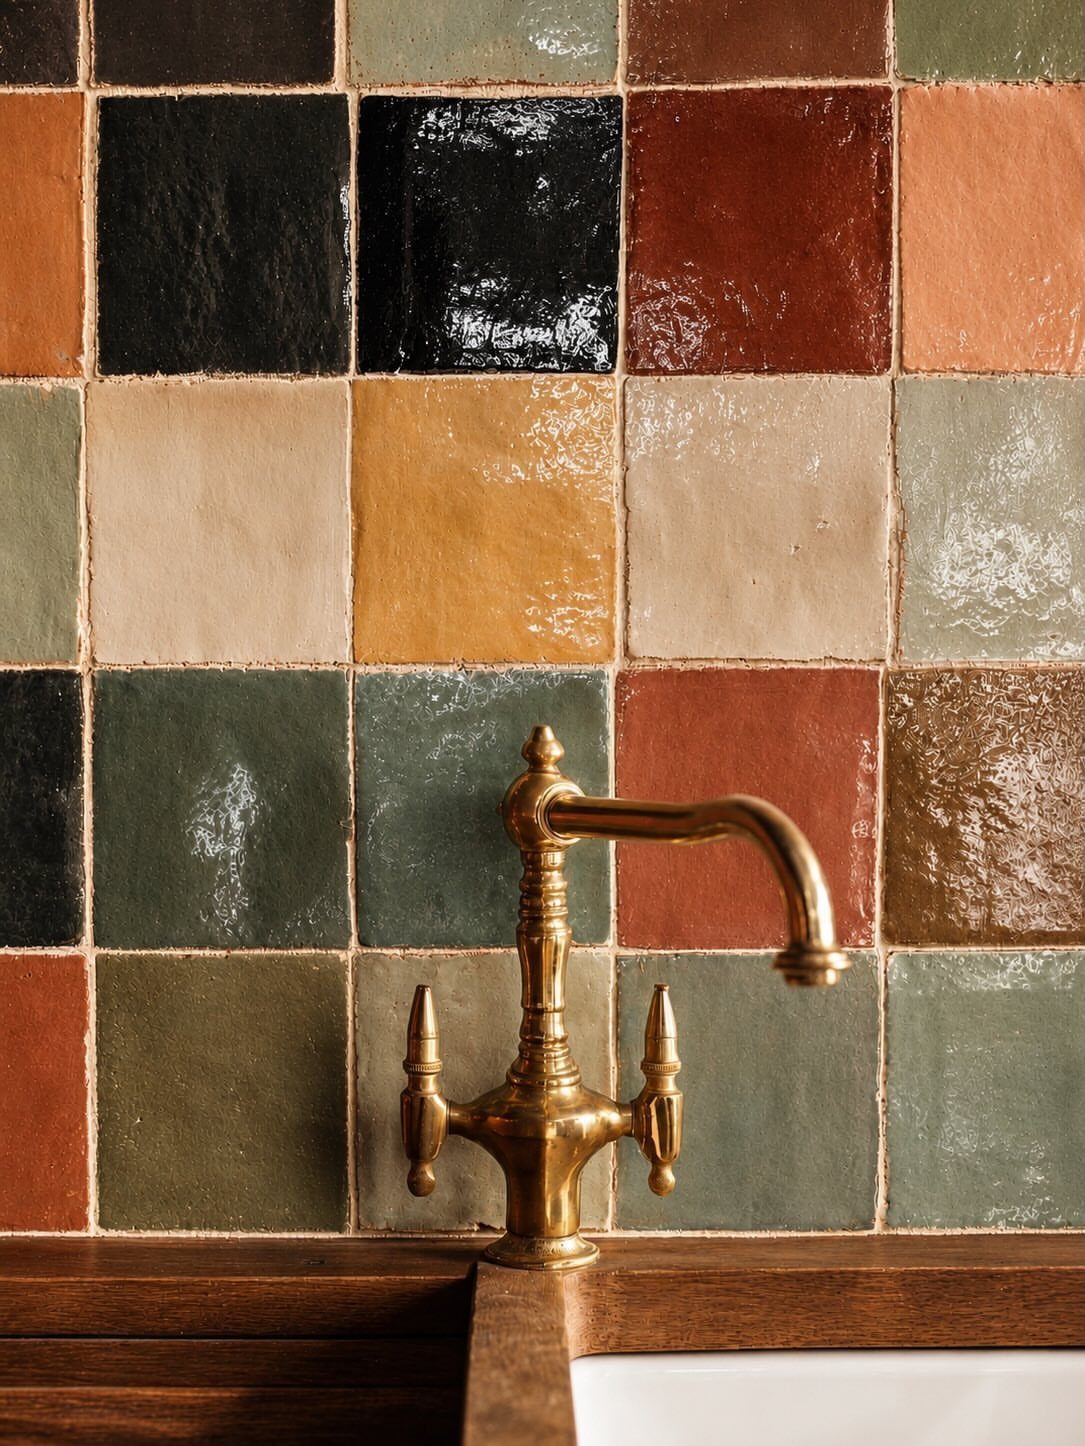
Handmade square tile in earthy tones gives a backsplash the slight variation that machine-made sets lack. Glossy glazes catch the light, and no 2 tiles read exactly the same.
A brass faucet against a wall like this looks right at home, and a wooden countertop below it keeps the palette warm.
Use mixed colors in a pattern you can live with every day, since a busy tile wall is a big commitment to change later.
13. Use a Cooking Range
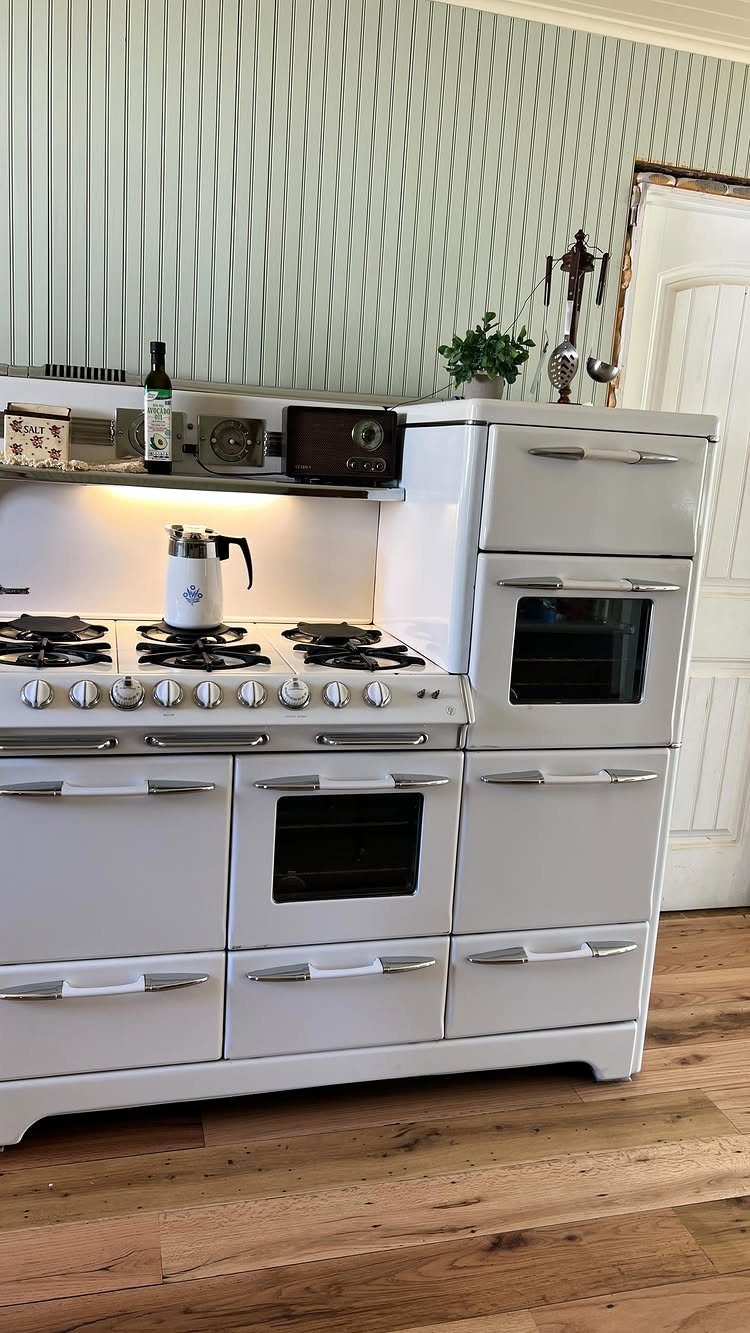
A white range with multiple ovens and burners can anchor a whole 1920s kitchen, and against light blue paneled walls it looks like it came with the house.
The owner of this one says cooking on a stove roughly 80 years old feels different from anything modern.
Count the ovens and burners against how you actually cook, then measure the wall before you fall for one. A big range in a small room swallows the counter beside it.
Leave a moka pot on the back burner and the stove earns its spot as the room’s centerpiece.
14. Install a Range Hood
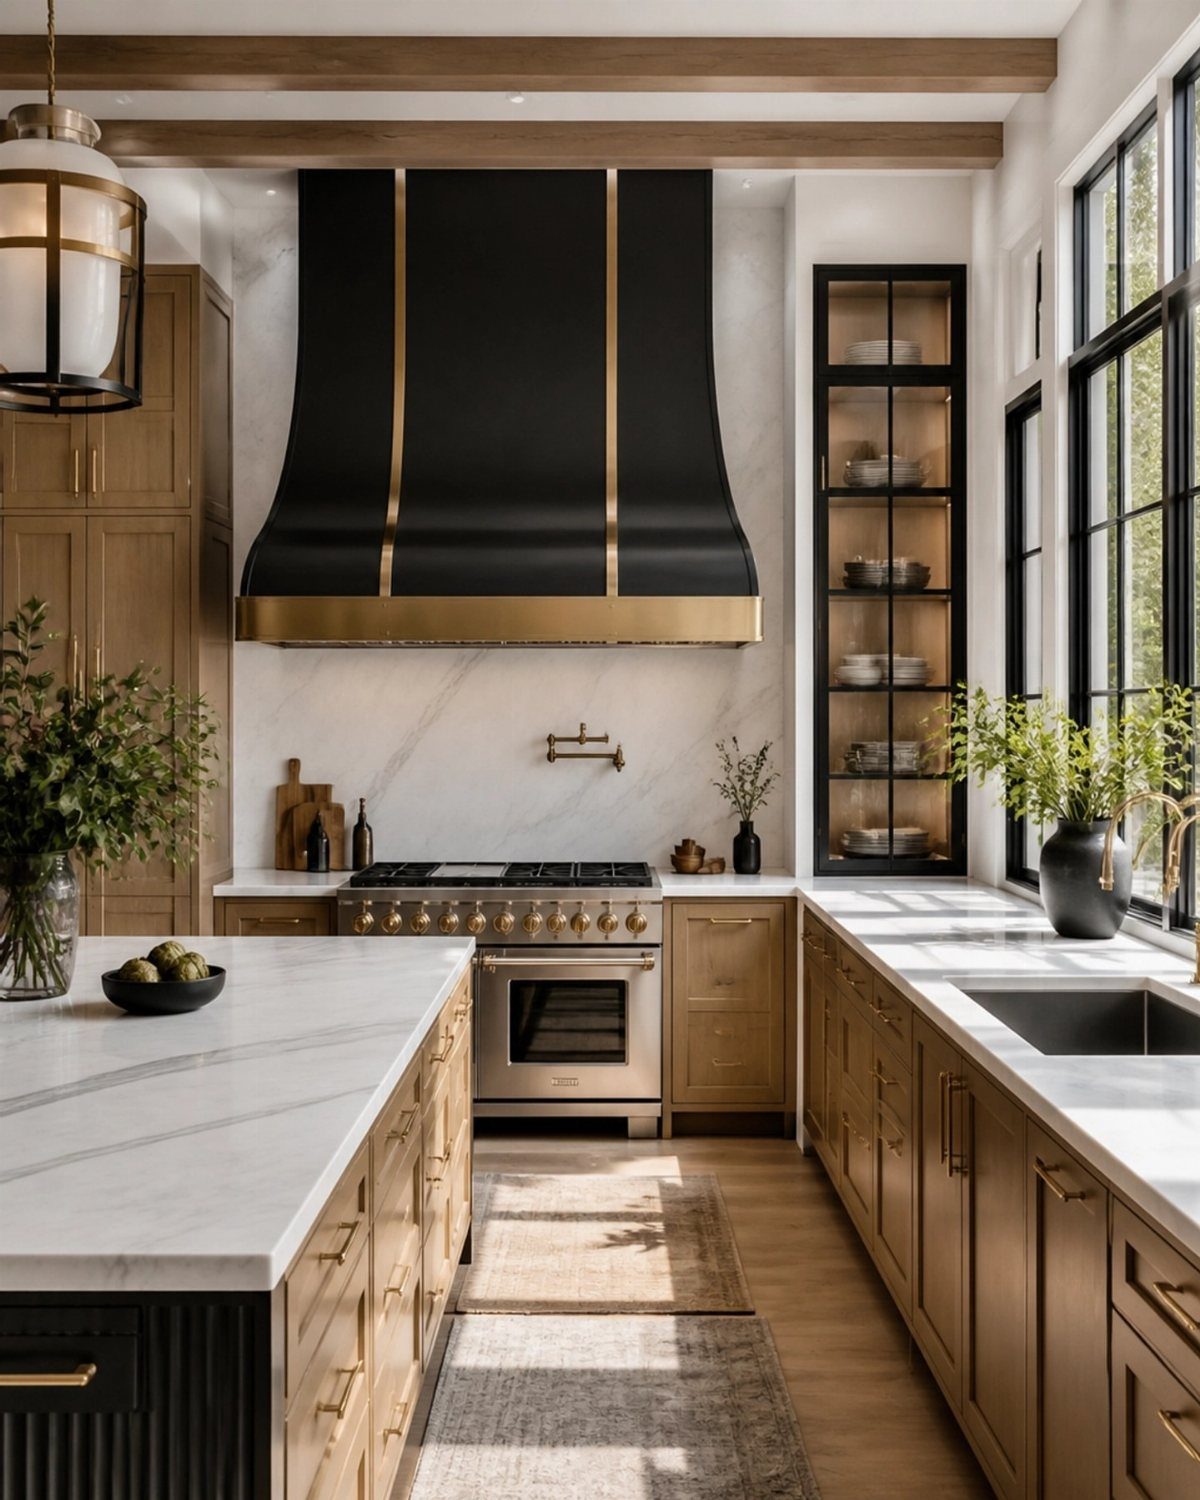
Black with gold accents makes a range hood the focal point of its wall, and it picks up the black frame on the glass cabinet beside it.
Against light wood and white marble, that dark shape gives the eye somewhere to land.
A hood also vents the cooking, so size it to the range underneath. I would go bold on the hood and keep everything around it quiet.
15. Add a Pot Filler
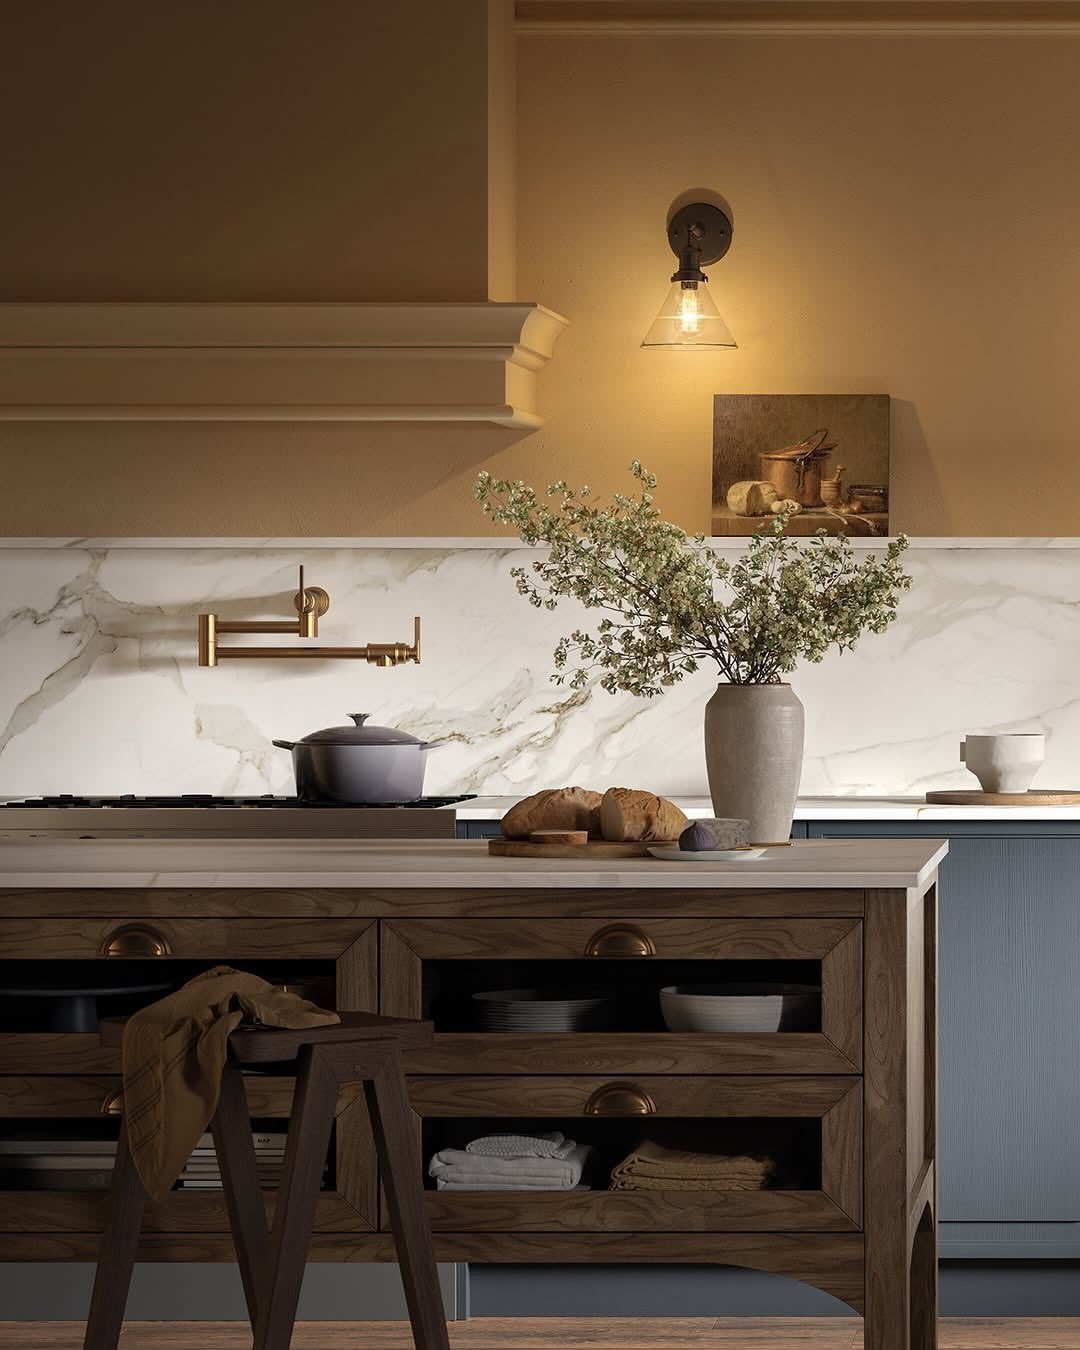
Filling a stockpot right at the burner beats carrying it from the sink, and that is all a pot filler does. The brass arm sits flat against a marble backsplash and looks like jewelry for the wall.
It needs a water line run to the wall behind the stove, so plan on a plumber and a bigger job than swapping a faucet.
Unlacquered brass suits a 1920s kitchen because it darkens over time and matches the cup pulls and latches that period cabinets usually carried.
16. Open a Dining Pass-through
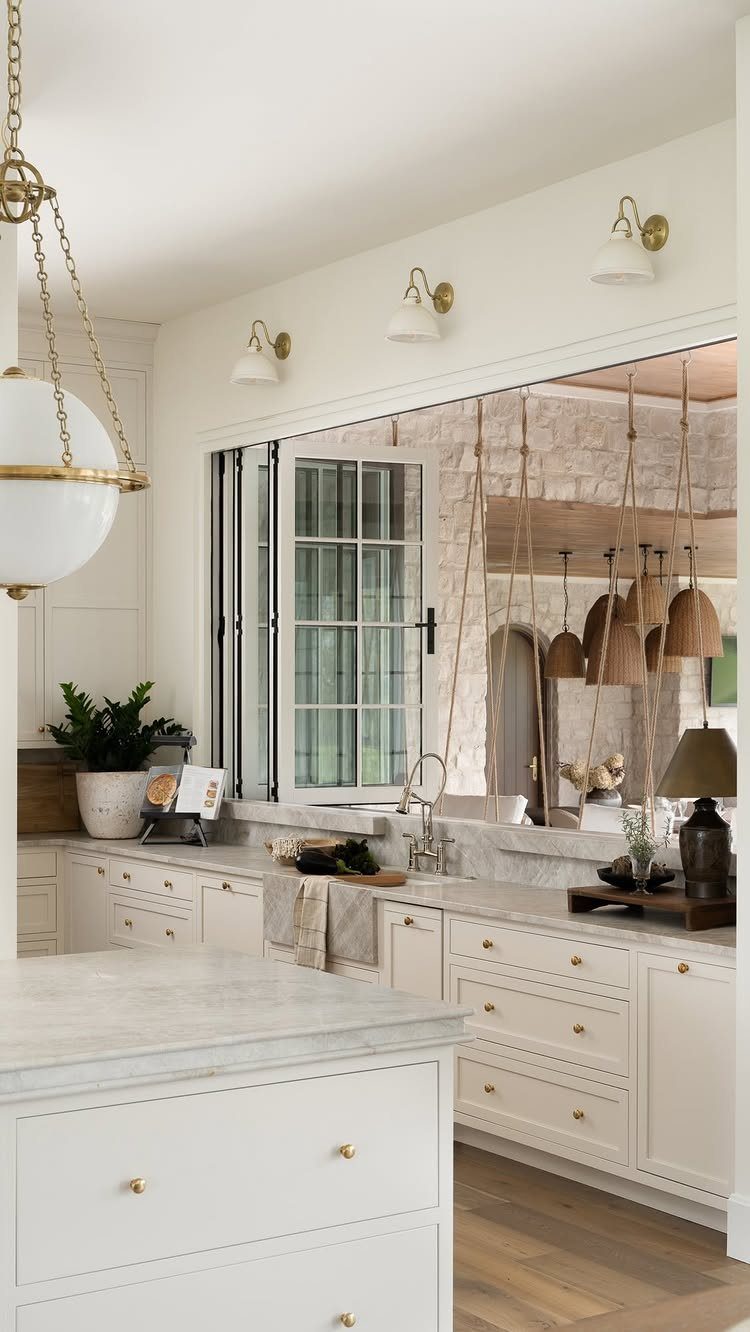
Opening only part of the wall between kitchen and dining room keeps both rooms distinct while letting light and conversation pass through. A wide opening over a marble counter turns the sill into a serving ledge.
Before anyone picks up a saw, find out whether that wall carries weight and what runs inside it, such as wiring or pipes. In an older house, have a contractor look first.
17. Add Sconces by Windows
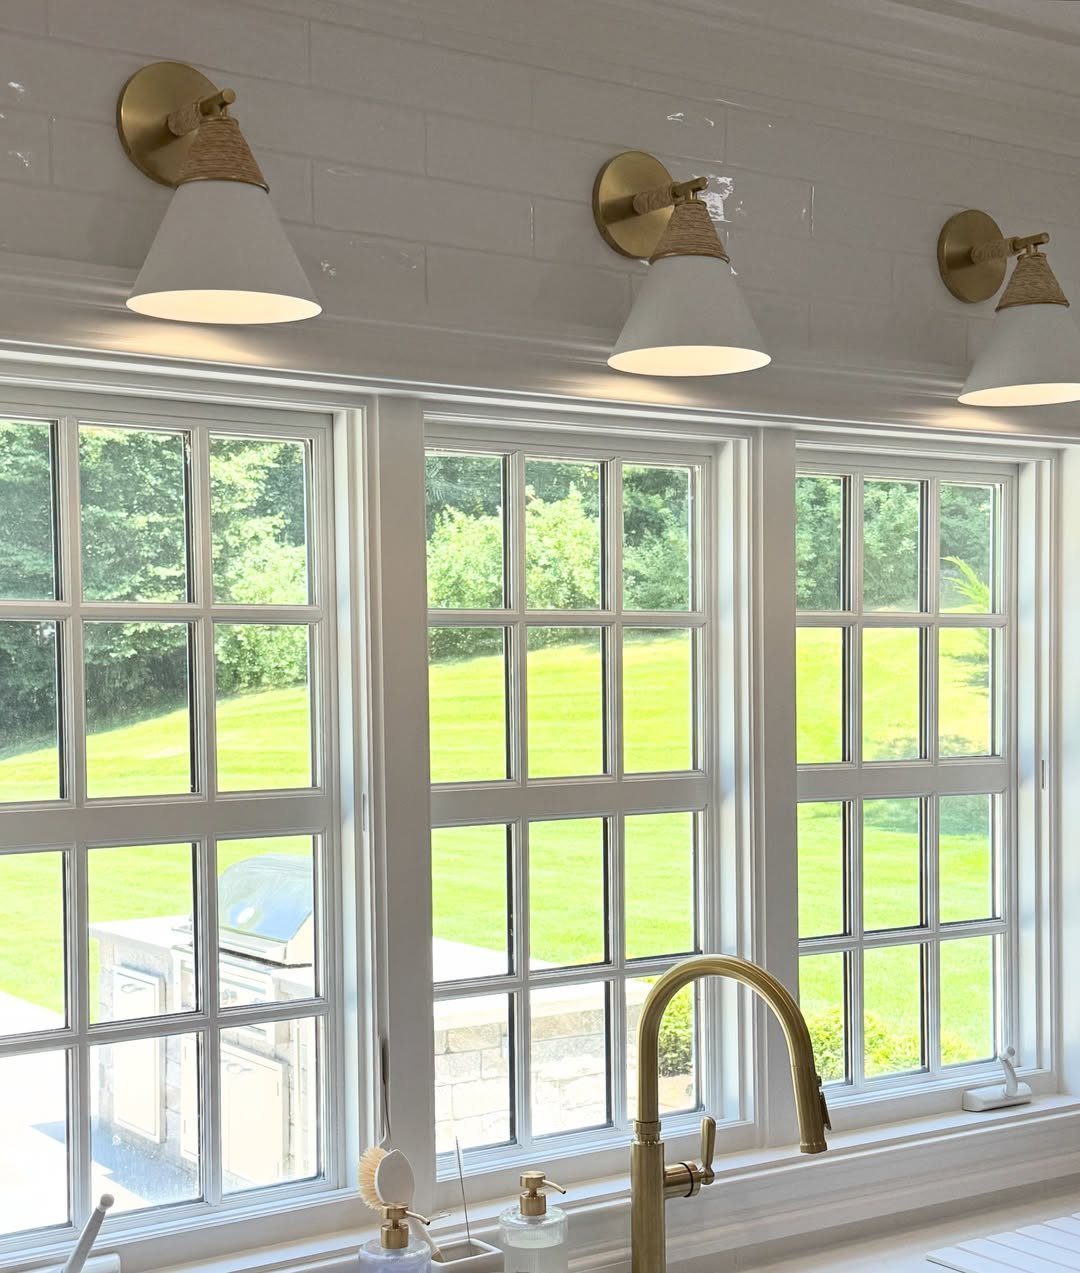
Three white conical sconces with brass mounts, one above each window, line up like a row of lanterns and light the sink area without taking counter space. Matching the count to the windows keeps the wall orderly.
Hardwired fixtures mean opening plaster to run wire, which suits a larger remodel. If that is too much, plug-in sconces with a cord cover give nearly the same look.
18. Porcelain Enamel Stove
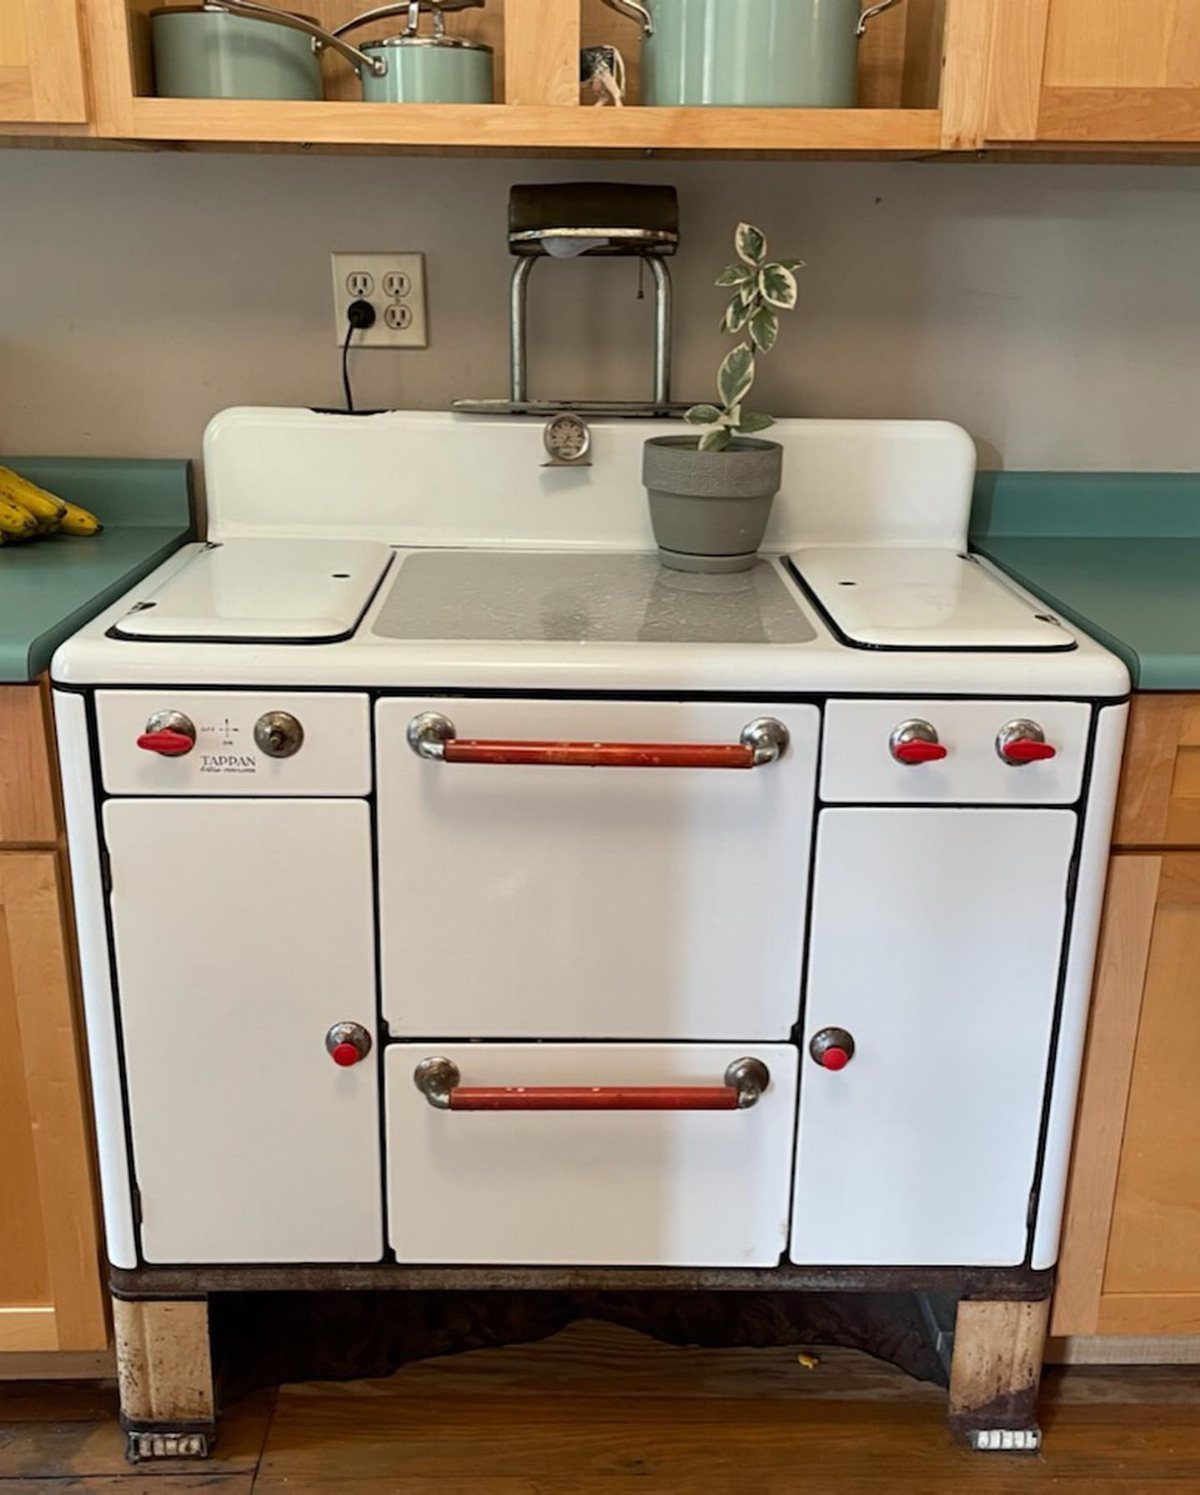
Red knobs and handles on a white porcelain enamel stove, with TAPPAN lettering still on it, make the stove the star against teal counters. A small plant on top softens all that glossy surface.
Buying used, check that every knob and burner is present and that the enamel is not chipped before you pay. Missing original parts are hard to replace.
19. Hoosier Cabinet
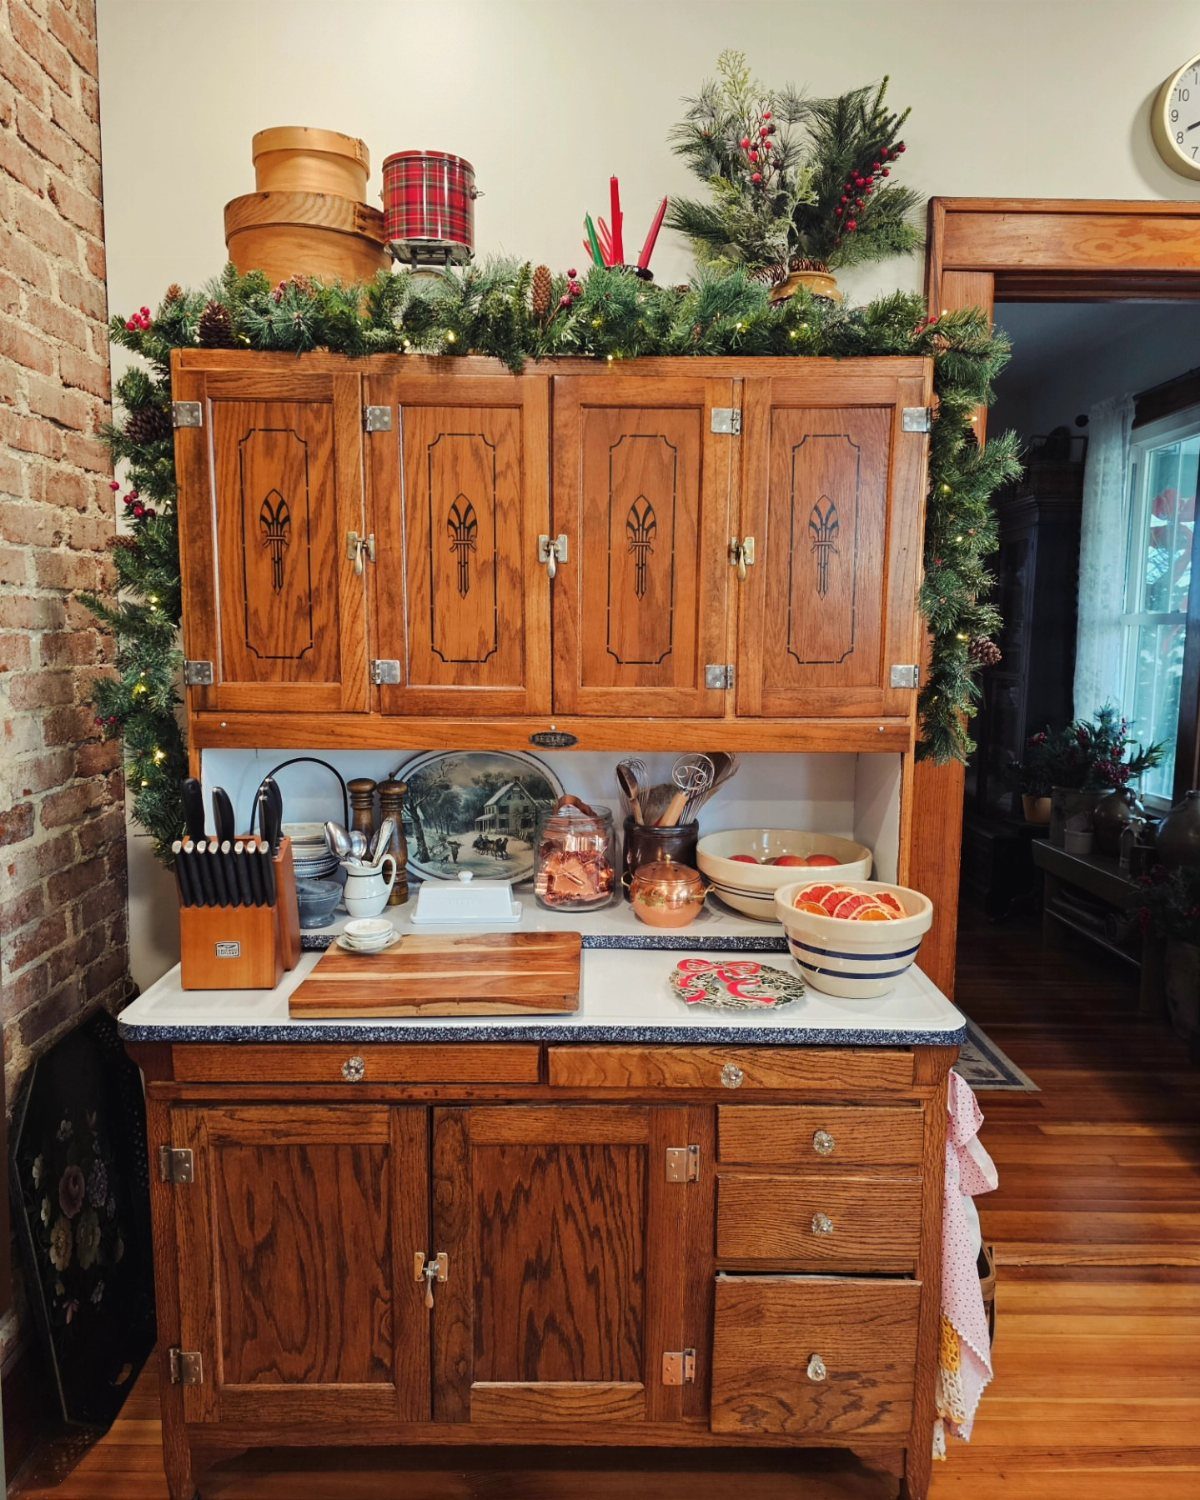
A freestanding cabinet with a work surface and cupboards above is storage and prep space in one piece, which suits a 1920s kitchen with few built-ins. Nothing gets bolted to plaster, so it also works for renters.
Measure the wall before shopping, then keep the lower counter clear enough to roll dough or chop on. Garland and lights are a seasonal extra, not part of the cabinet.
I would keep the top shelves for the dishes you reach for daily.
20. Period Icebox
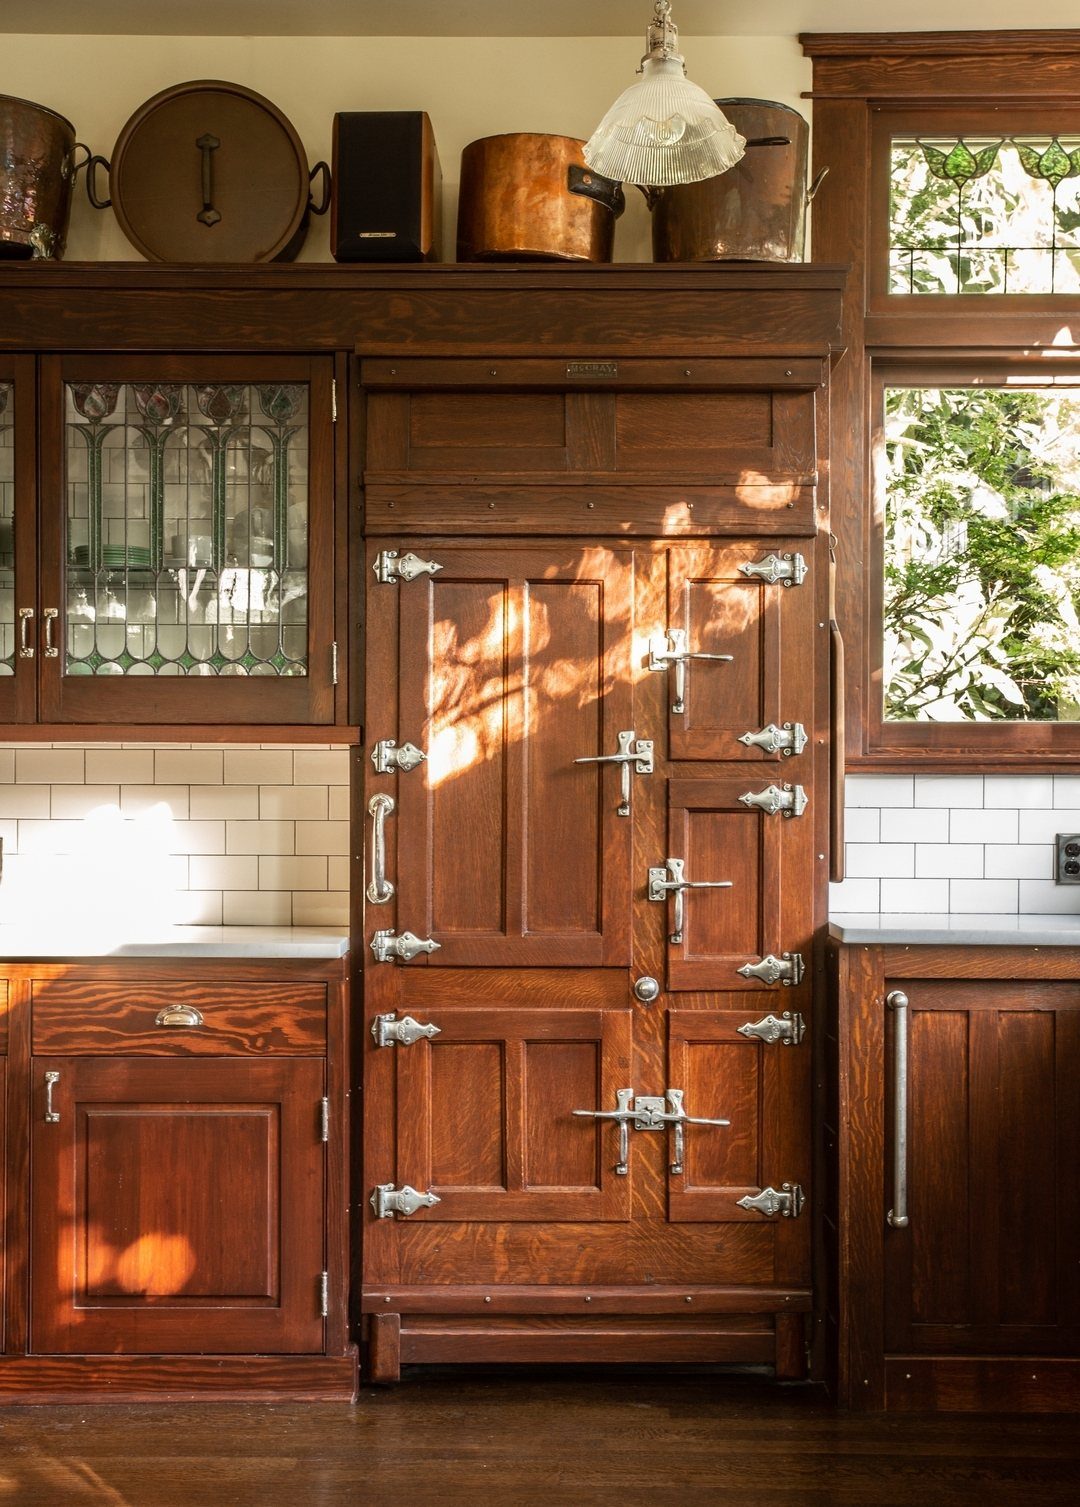
Wood with metal latches is what makes an icebox read as period, and set into dark cabinetry it can look like it was built with the room.
Choose one if historical accuracy matters more to you than convenience. Food storage in daily life still belongs to a modern refrigerator, so I would treat an icebox as a feature piece, not your only cold storage.
21. Add a Built-in Hutch
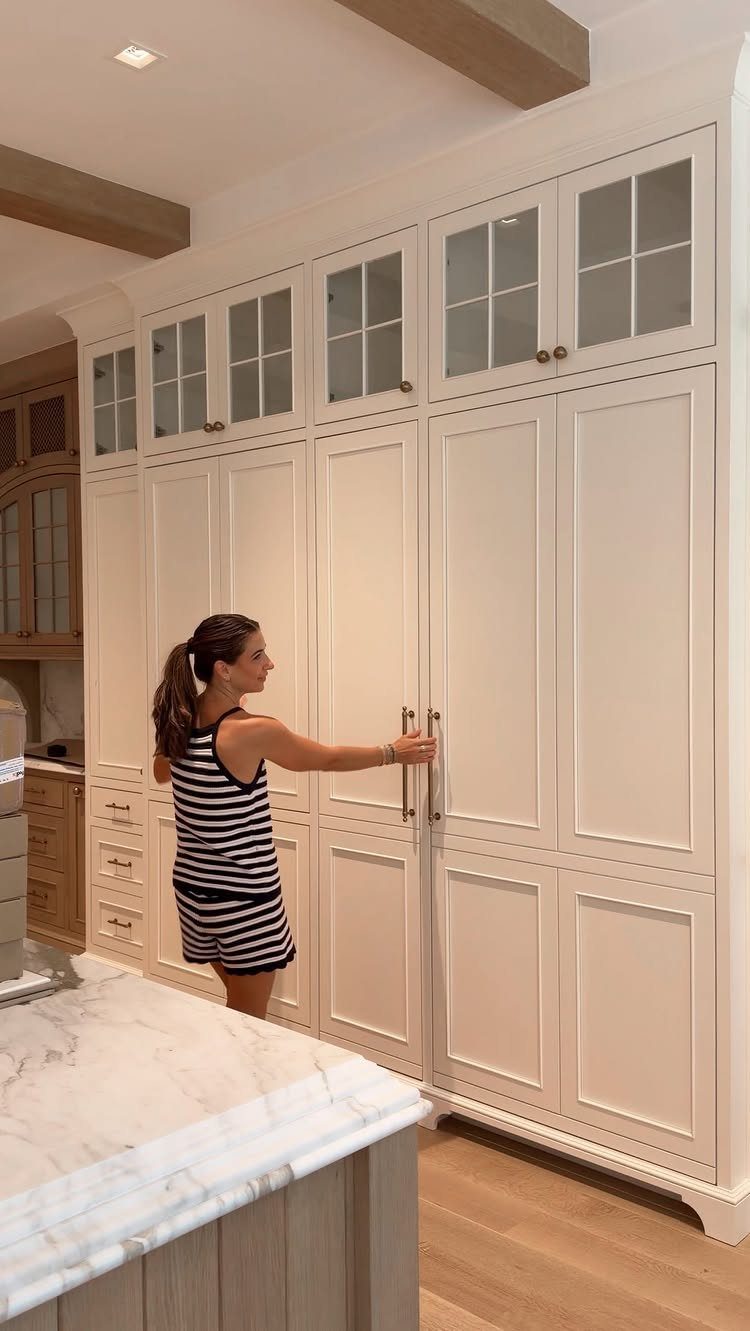
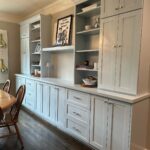
Cabinets beside the sink can be dressed up to look like a true hutch: white paint, glass upper doors and brass hardware are the details that sell it.
Glass fronts mean what sits behind them is on display, so give the shelves a tidy edit.
Marble countertops and light wood floors keep a tall white unit from looking bulky. Hardware is the cheap part of this change and can be swapped in an afternoon.
Taller glass uppers cost more than paint, so price them first.
22. Paint Walls Yellow
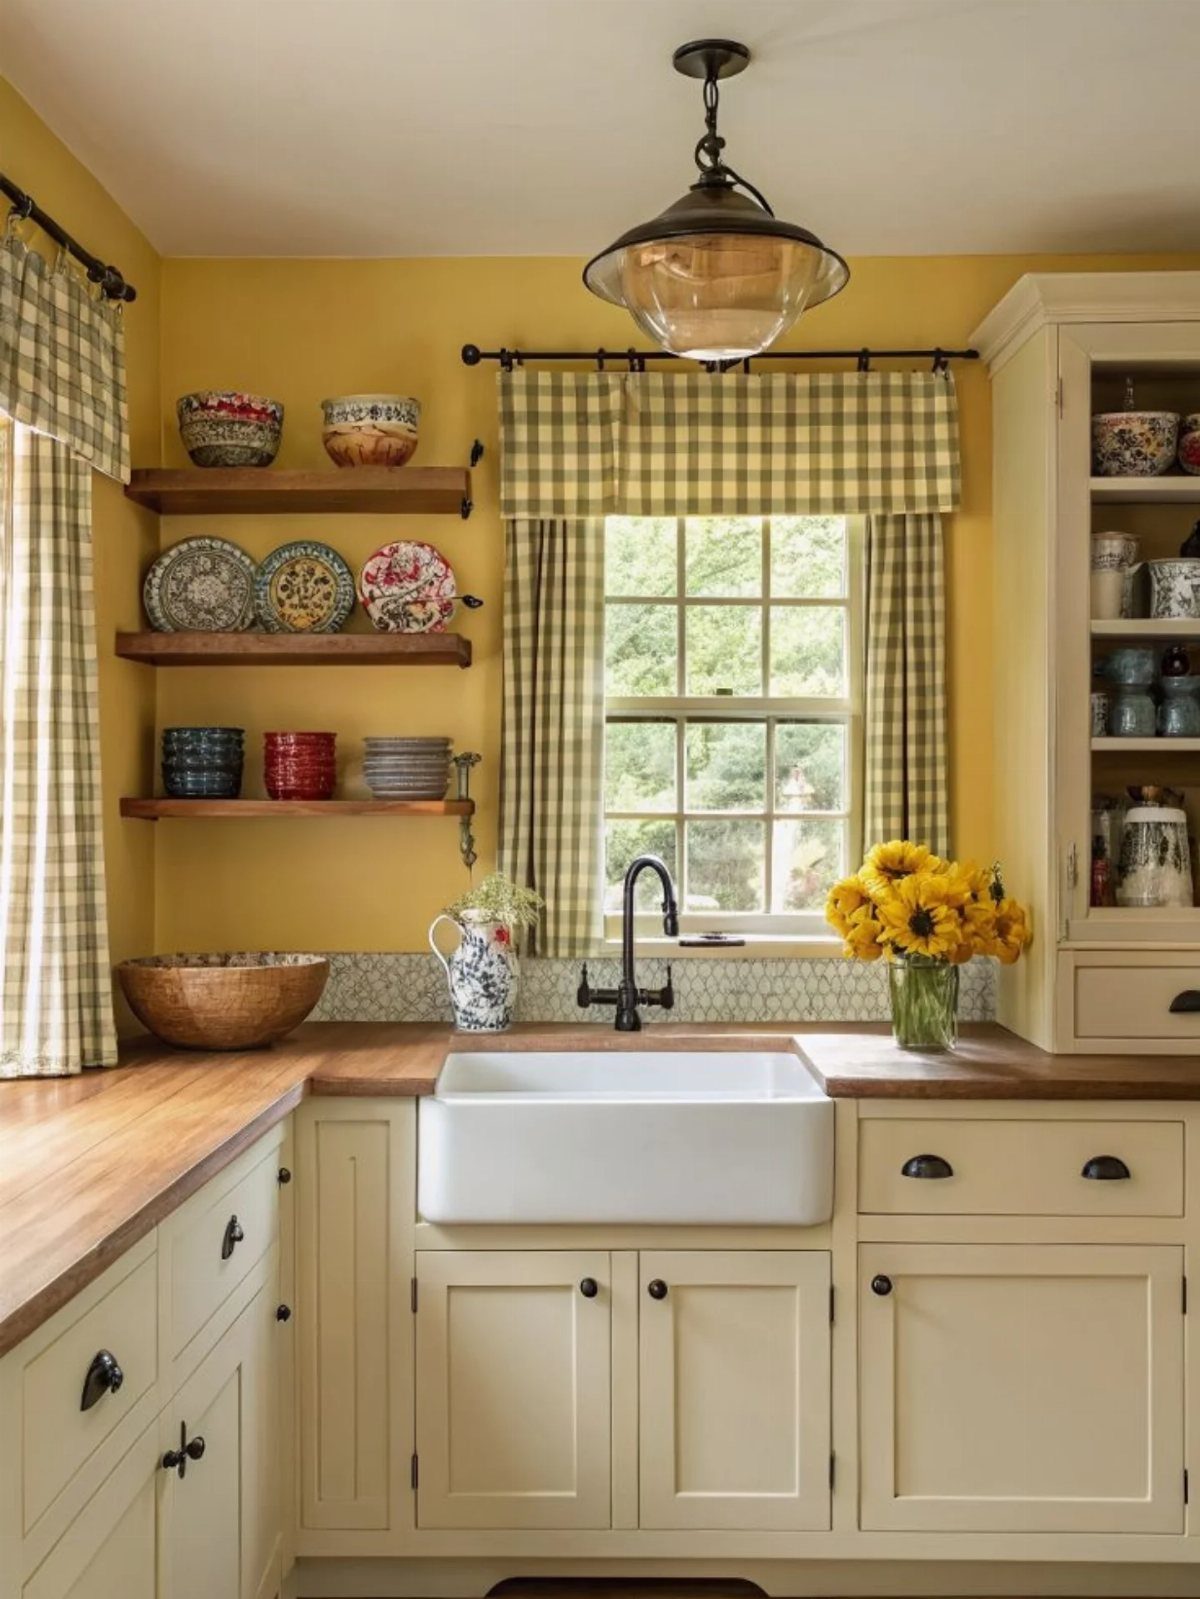
Yellow paint is the cheapest way to make a dim 1920s kitchen feel sunny, and a gallon covers a lot of wall for a weekend project.
Cream cabinets, wood counters and a black pendant keep a bright wall from getting loud.
Test a sample patch beside the window and look at it morning and evening, because yellow shifts more than most colors with the light. Pick a softer tone if the room gets strong sun.
Checkered curtains are a simple way to add pattern against yellow walls.
23. Ornate Wood Cabinetry
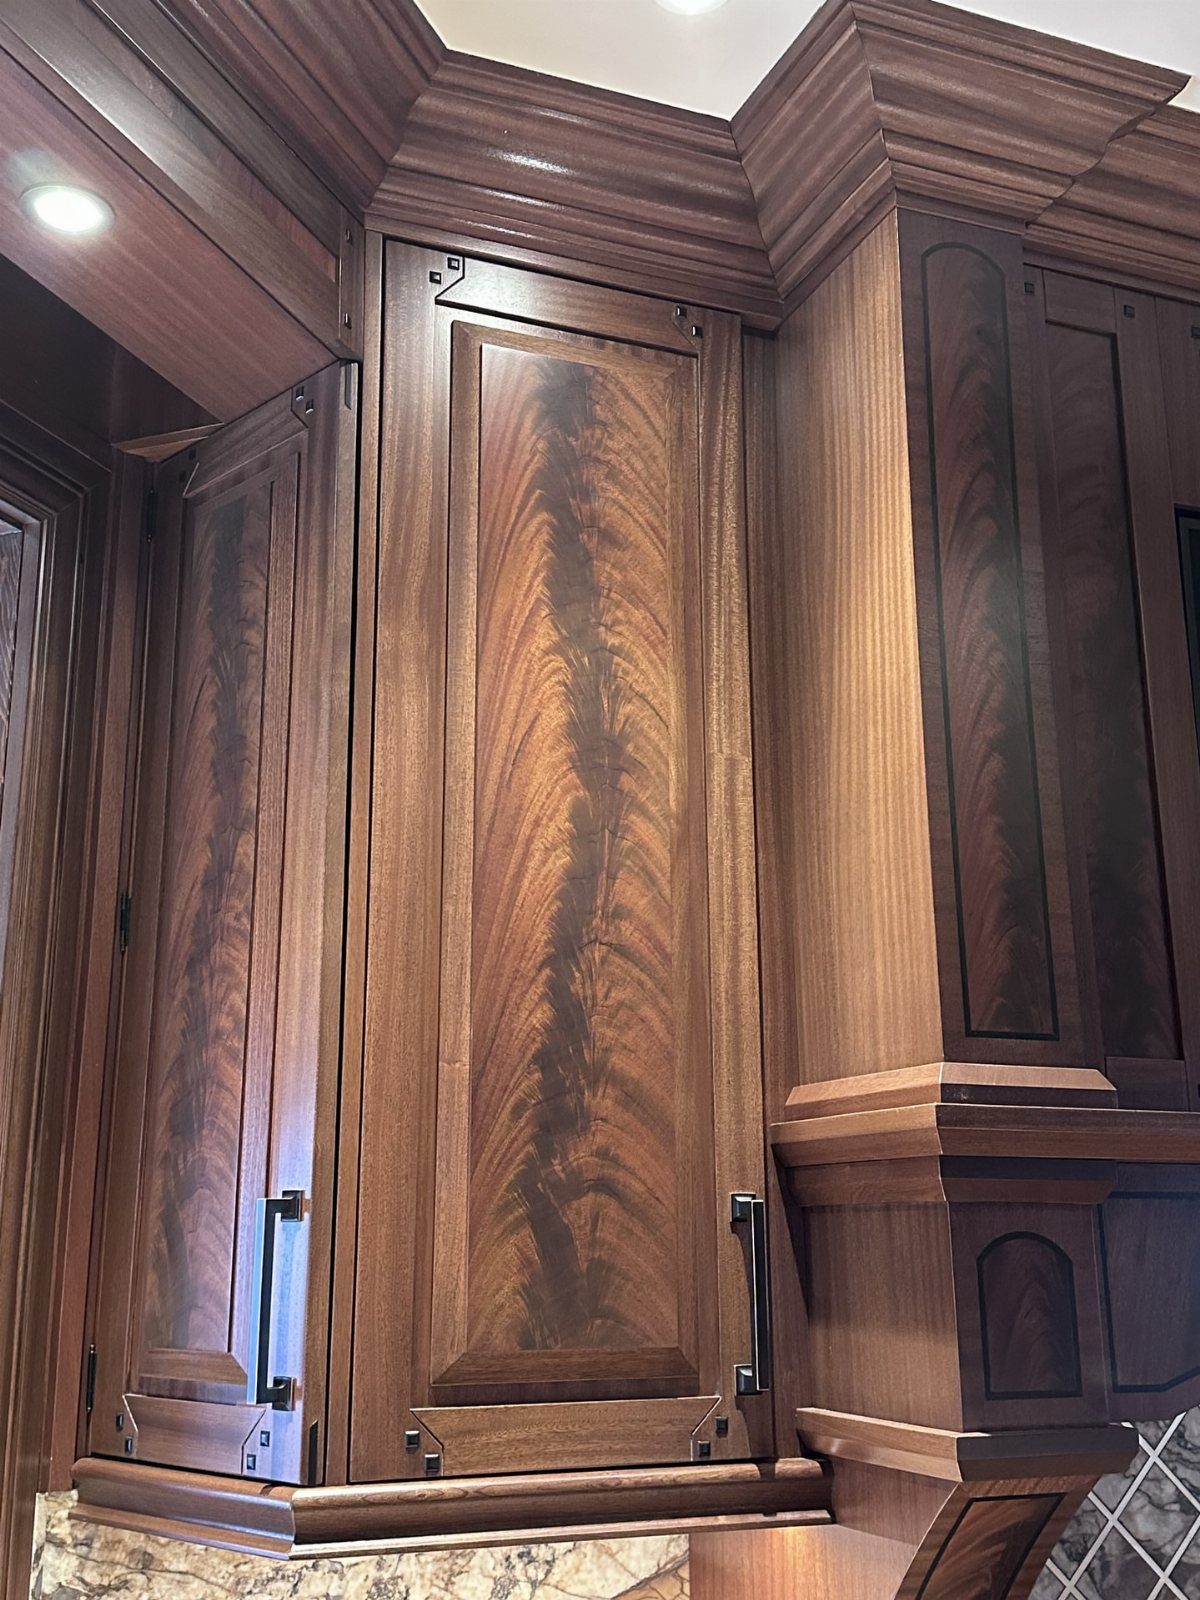
Dark reddish-brown cabinetry with curved panels and decorative molding carries a lot of period character before you add anything else. The grain does the decorating, so I would keep the walls and counters plain.
Ornate doors show every bit of dust in the carved edges, so expect to wipe the molding more often than flat slab fronts.
Real wood fronts like this are also a bigger spend than paint or new hardware, so price them early.
Black metal handles keep the look understated.
24. Hanging Copper Cookware
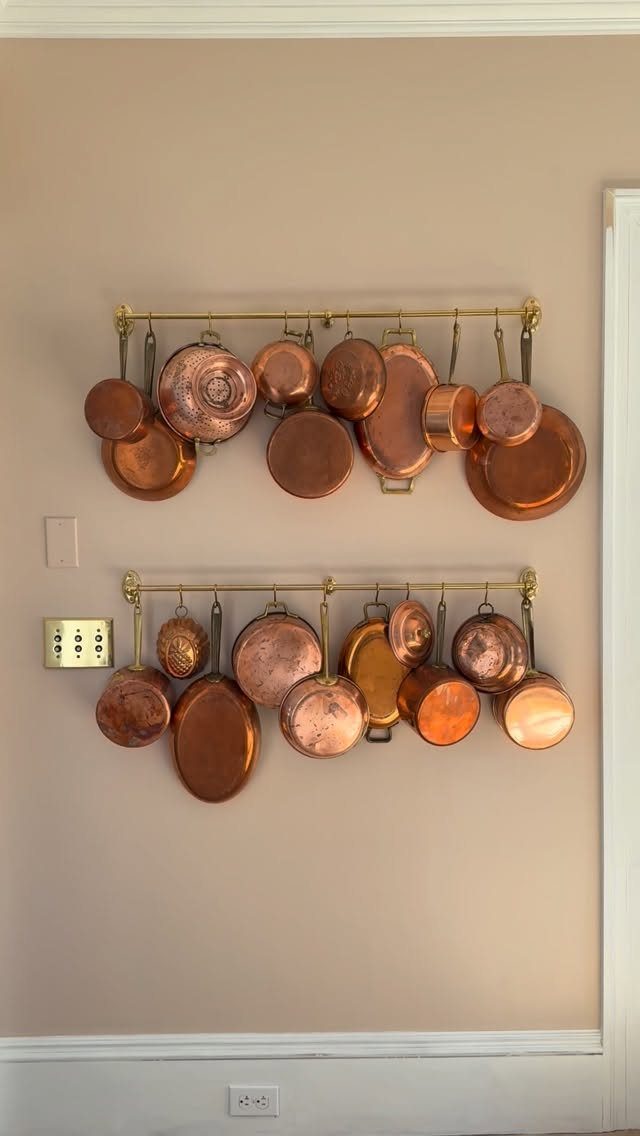
2 brass rails with copper pots hung from hooks keep cookware at arm’s reach and off the counters, which helps in a small kitchen. Mounted on a plain beige wall, the metals do all the decorating.
Screw the rails into studs, since a full set of copper is heavy. Hang the pieces you use every week and leave the rest in a cupboard.
Copper tarnishes in daily use, so decide now whether you want the polished look or a worn patina.
25. Natural Wood Cabinetry
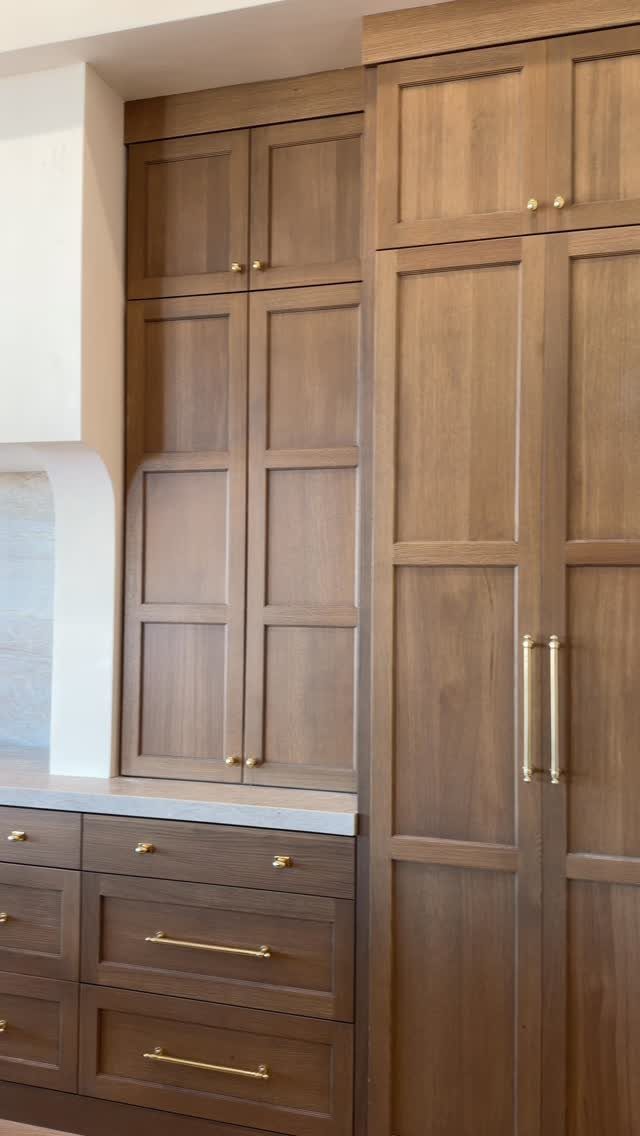
Natural-finish wood with recessed panels is the plainest way to give a 1920s kitchen cabinetry that feels original. Gold hardware warms the grain further, and a light countertop keeps the wood from reading heavy.
I would leave the finish alone so the wood itself carries the color in the room. Pulls are the cheapest thing to change, and a screwdriver is the only tool a swap needs.
Solid wood fronts run well above painted ones, so get a quote on them early, before the rest of the plan is set.
26. Vintage Kitchen Styling
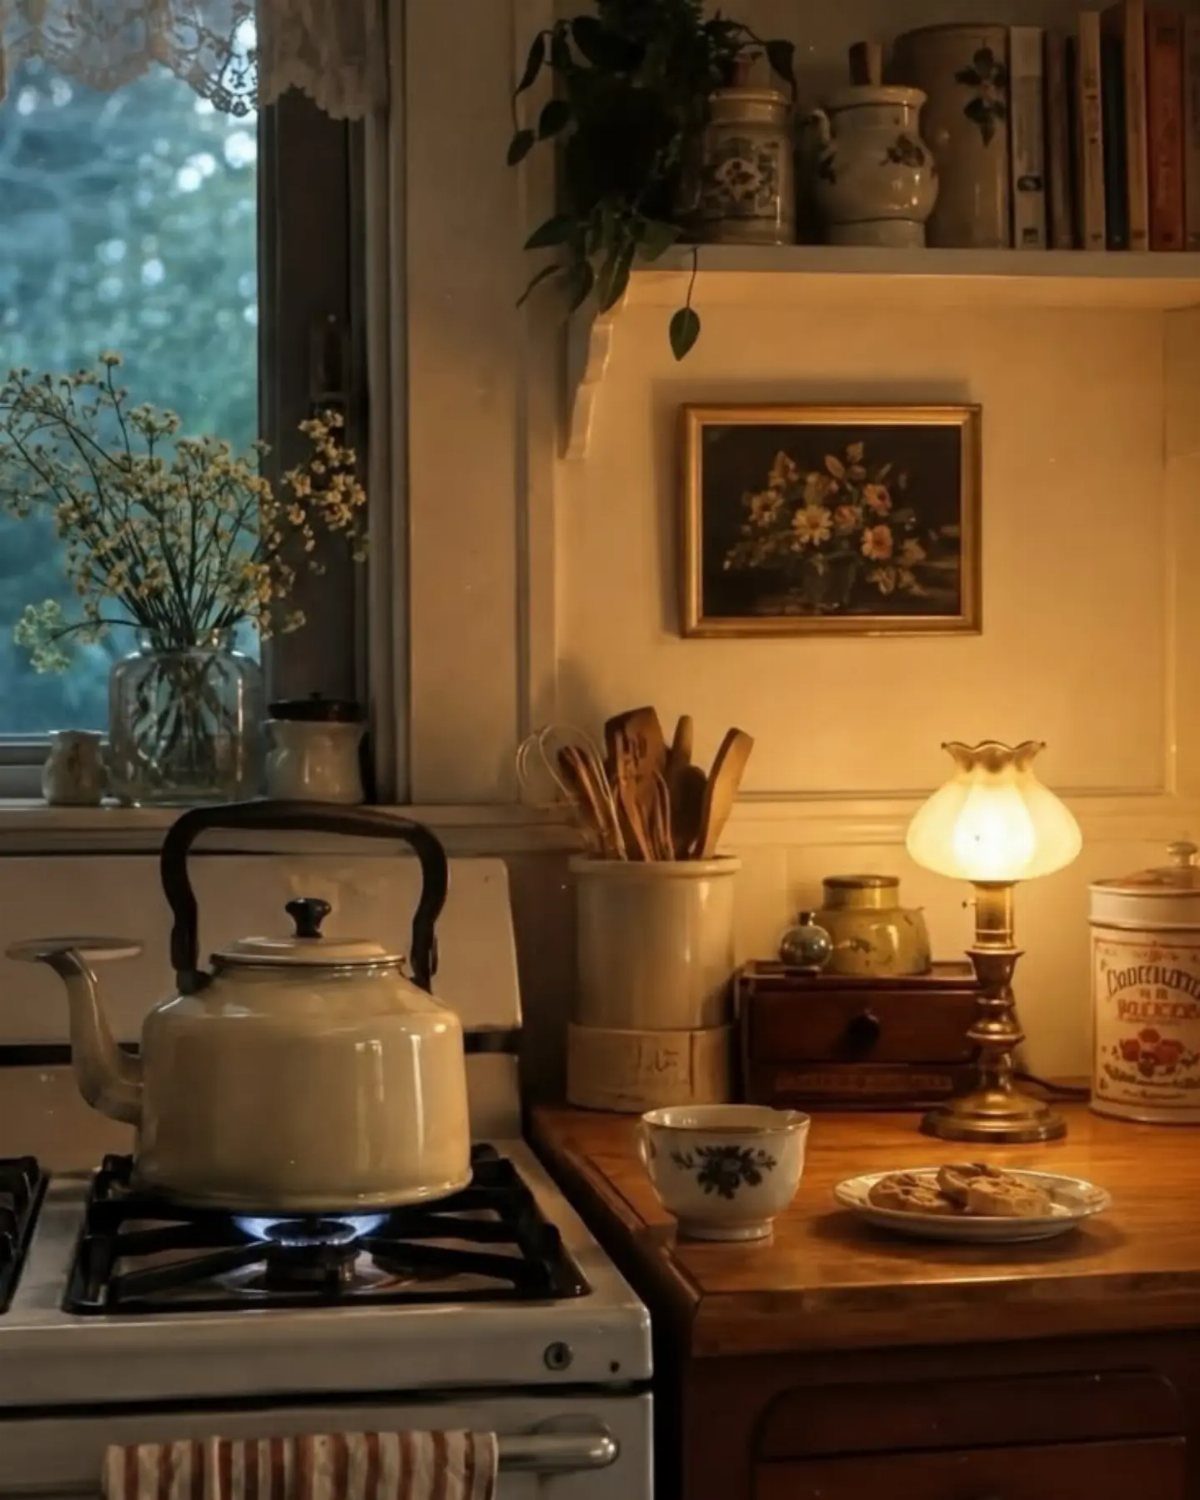
A kettle on the stove, a small lamp, a plate of cookies and lace at the window can make a kitchen feel period without touching a single wall.
Nothing here needs a contractor or a permit, which makes it an easy fit for renters and small budgets.
Keep the pieces few and let each have its own spot: lamp on the counter, floral art above it. A lamp also lights the room more softly than an overhead fixture does.
Thrift shops are where I would start looking.
27. Sage Green Walls
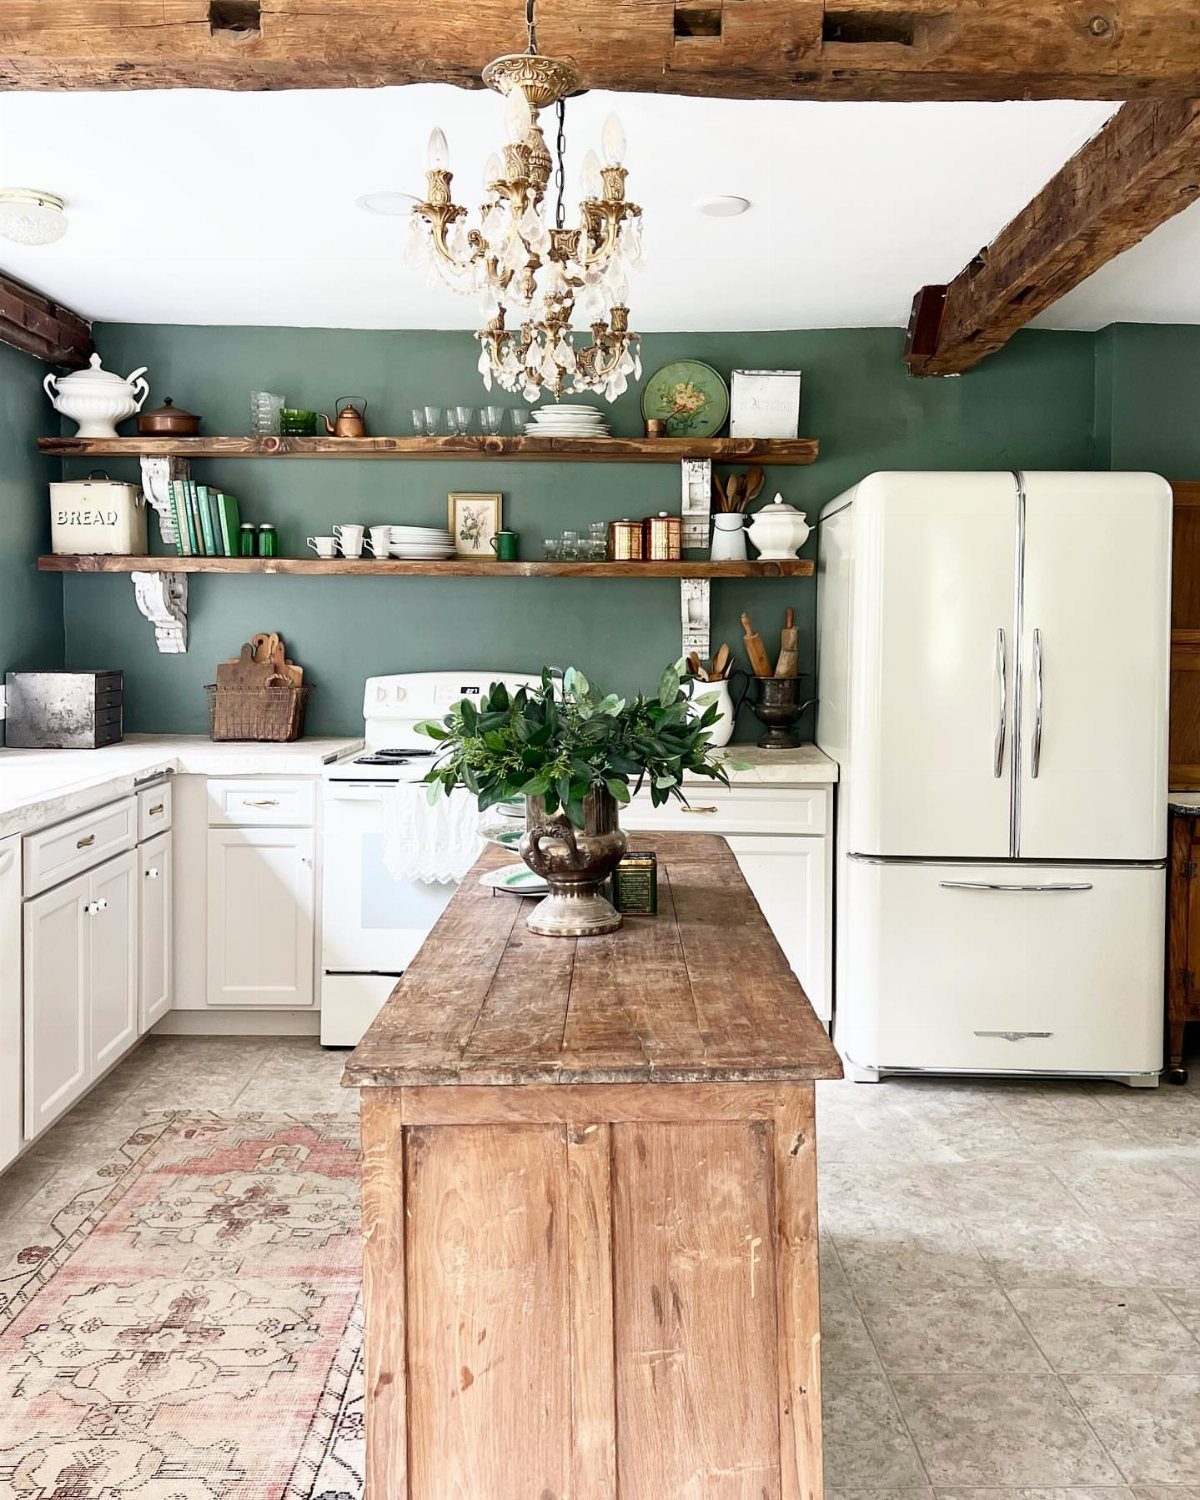
Sage green on the walls gives white cabinets a soft backdrop and lets exposed beams and a wooden island stand out without a fight.
It is quieter than yellow and warmer than gray, which is why it suits an older house so well.
Green shifts cooler or warmer with the light, so brush a sample patch on the wall and look at it in morning and evening sun.
Wall paint is a weekend job and a small spend.
28. Patterned Backsplash
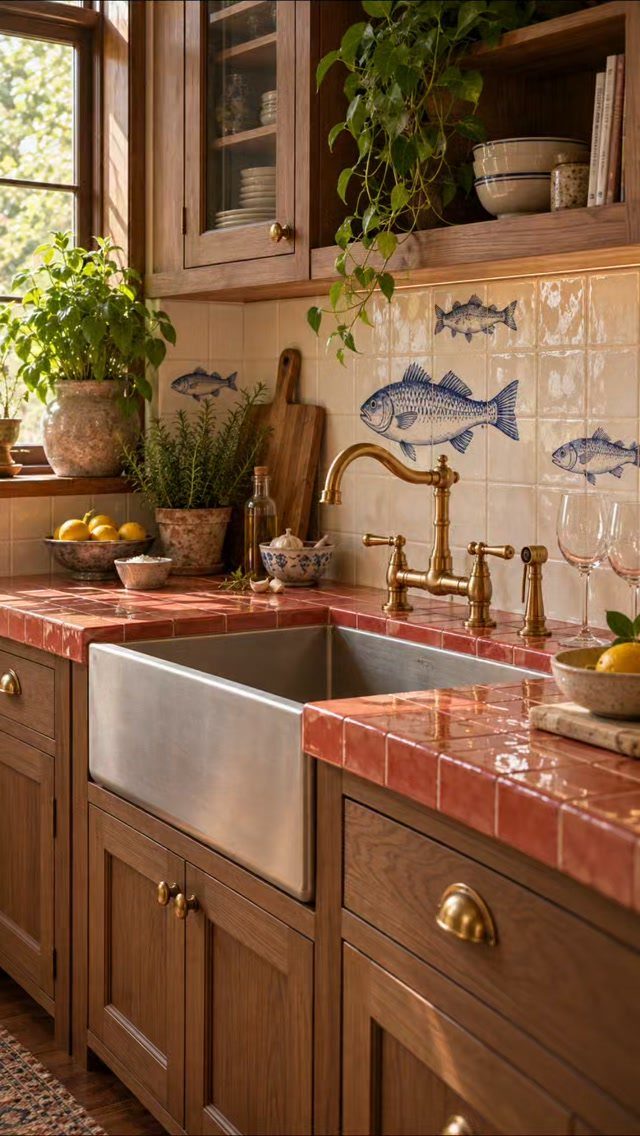
A backsplash with a pictorial pattern, like blue fish on a field of tile, can carry a kitchen’s whole personality in a few square feet. Put it behind the sink or stove, where the eye lands anyway.
Brass fixtures and wooden cabinets suit it, and I would keep the counters and walls plain so the pattern is the only loud thing in the room.
A busy design is hard to undo later, so order a sample and live with it a week first.
29. Wooden Kitchen Table
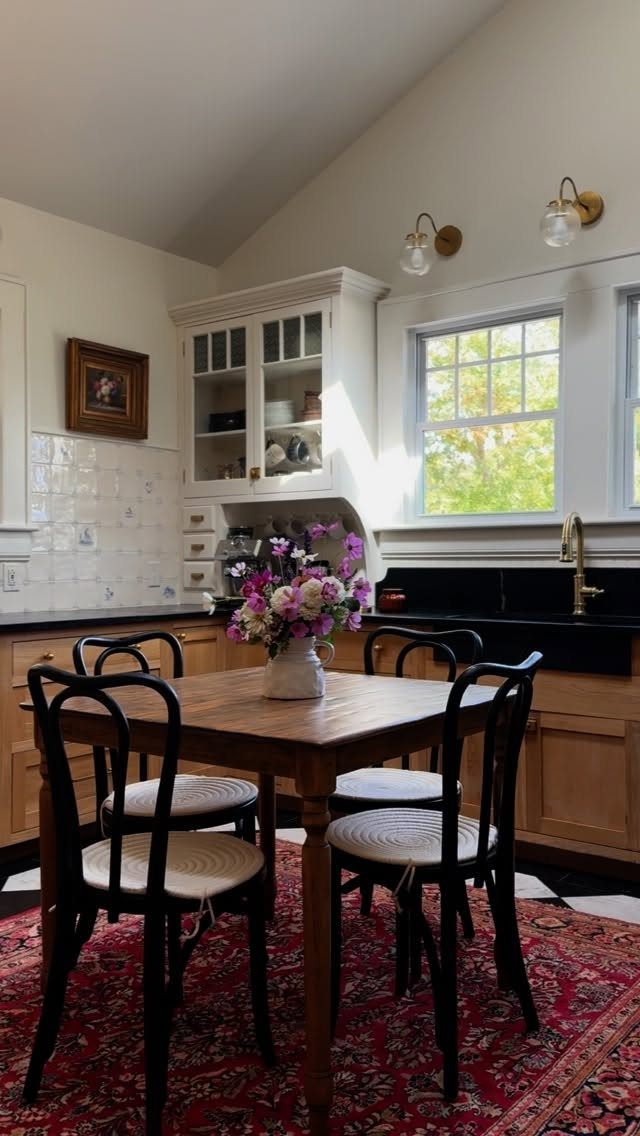
A solid wooden table with bentwood chairs makes a dining spot inside the kitchen itself, which helps when the house has no separate room for it. Black chairs sharpen the look against white cabinets.
Slide a patterned rug under the set to define the area, and size it so the chairs stay on the rug when pulled out. Measure the clearance around the table first; a tight room needs a smaller top.
Wood forgives scratches better than most surfaces.
30. Crystal Chandelier
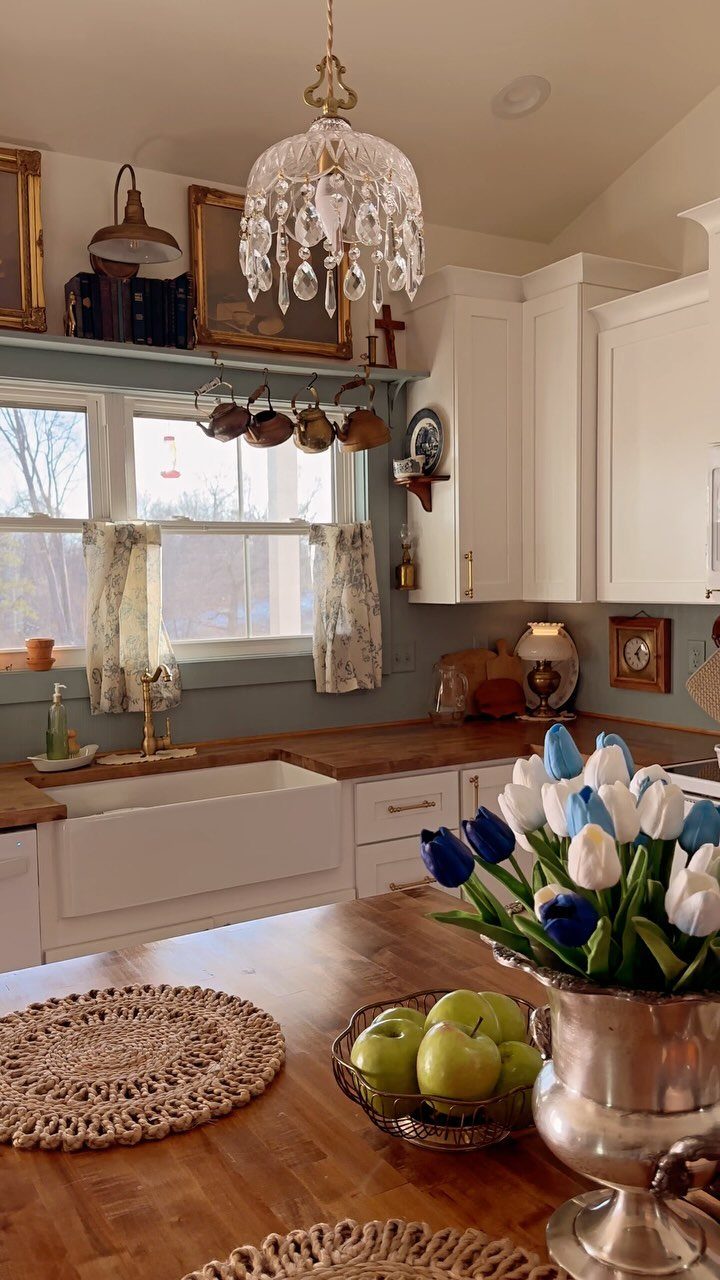
A crystal chandelier over a wooden island is the one fixture that makes a white kitchen look dressed for the era. Hung above the island, it lights the work surface directly and takes up no wall space.
Hang it above the island, not the room’s middle, so it lines up with where people stand.
Wiring a ceiling fixture in an older house is a job for an electrician. I like it best with plain white cabinets and wood counters, which let the crystal do the talking.
Plan Around the Existing Layout
Start by marking where the sink and dishwasher sit, and plan to leave them there. Drain and supply lines are where remodel costs climb, and one kitchen was redone around its existing layout for exactly that reason.
Leaving the sink and dishwasher on their current plumbing and shifting just the stove is a layout move that keeps the budget in check.
A stove move still needs a gas line or an electrical run, so get that quoted before you finalize the plan.
Decide which sacrifices you can live with. A tighter aisle or a smaller prep area costs you less over the years than a plumbing move costs up front.
Then put the money you saved into the parts you touch daily. Cabinets built to last, countertops with some heft and appliances sized to the opening are where my money goes first, since they get used from morning to night.
Frequently Asked Questions
How to modernize an old kitchen?
Keep the period details and update the parts you cook and store with. A range styled like a 1920s stove, with a current oven behind the enamel, gets you the period look and even baking.
Pair it with a freestanding hutch that has a counter below and cupboards above, and you add storage and prep room with zero drilling into old plaster.
What revolutionized kitchens starting in the 1800s?
Electricity and natural gas becoming available in homes drove the biggest changes. A historical society points to the 1920s as the decade when that shift reached the kitchen.
What did a 1920s kitchen look like?
It was usually small, functional and sanitary, with light surfaces that wiped clean, washable walls and patterned linoleum on the floor.
Cabinets were often freestanding pieces, such as a Hoosier cabinet that combines a work surface with cupboards above, rather than built-in runs. Pantries and cabinet space were scarce, which is why storage is the usual problem in a remodel.