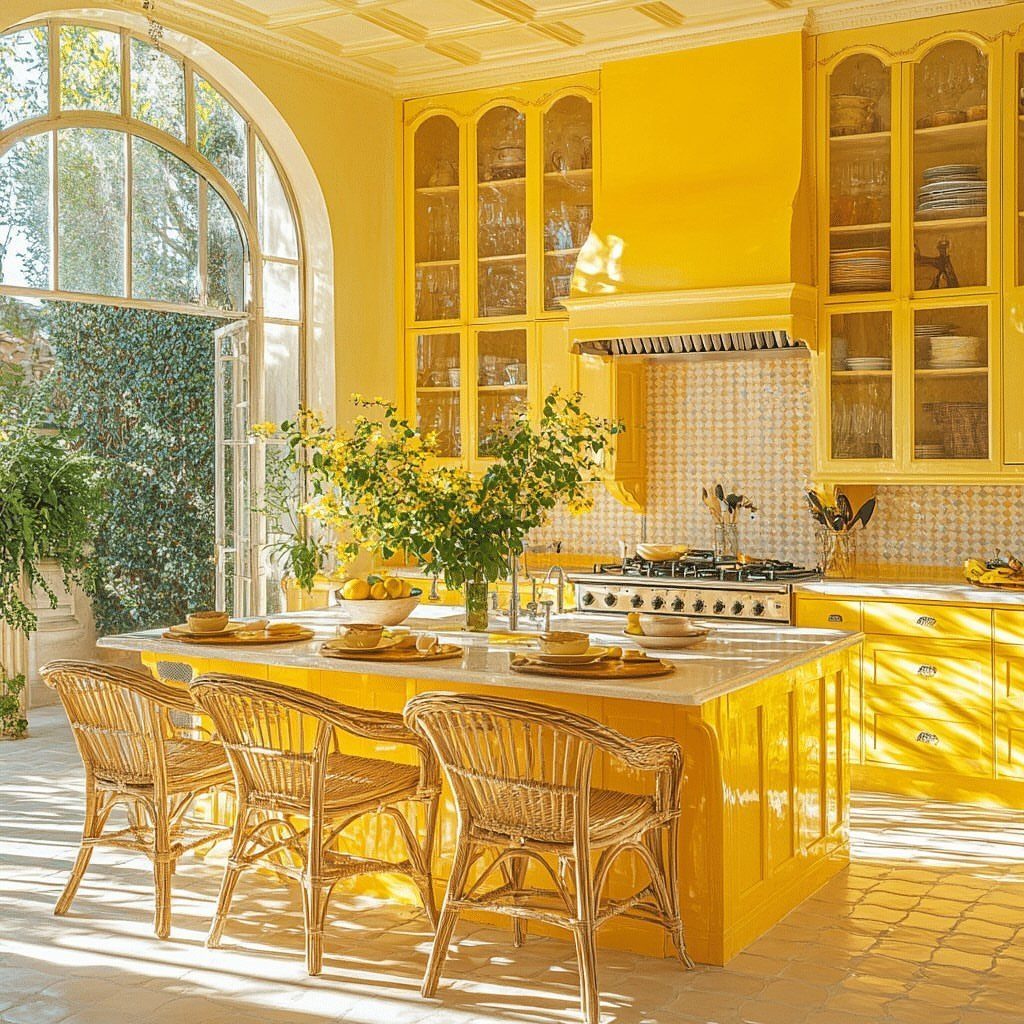
The ideas run from one painted color, like the yellow table, to a full colorful tiled tabletop, and how much hand work you want to do sorts them better than style does.
The yellow table, the black dining table and the light blue top need only smooth, even coats. A stencil skips freehand drawing, swirls forgive a wobbly line, and the tiled top asks the most of your patience and your hands.
Nearly all of them start with the same prep, which I lay out in the Preparing and Painting the Table section.
1. Yellow Kitchen Table
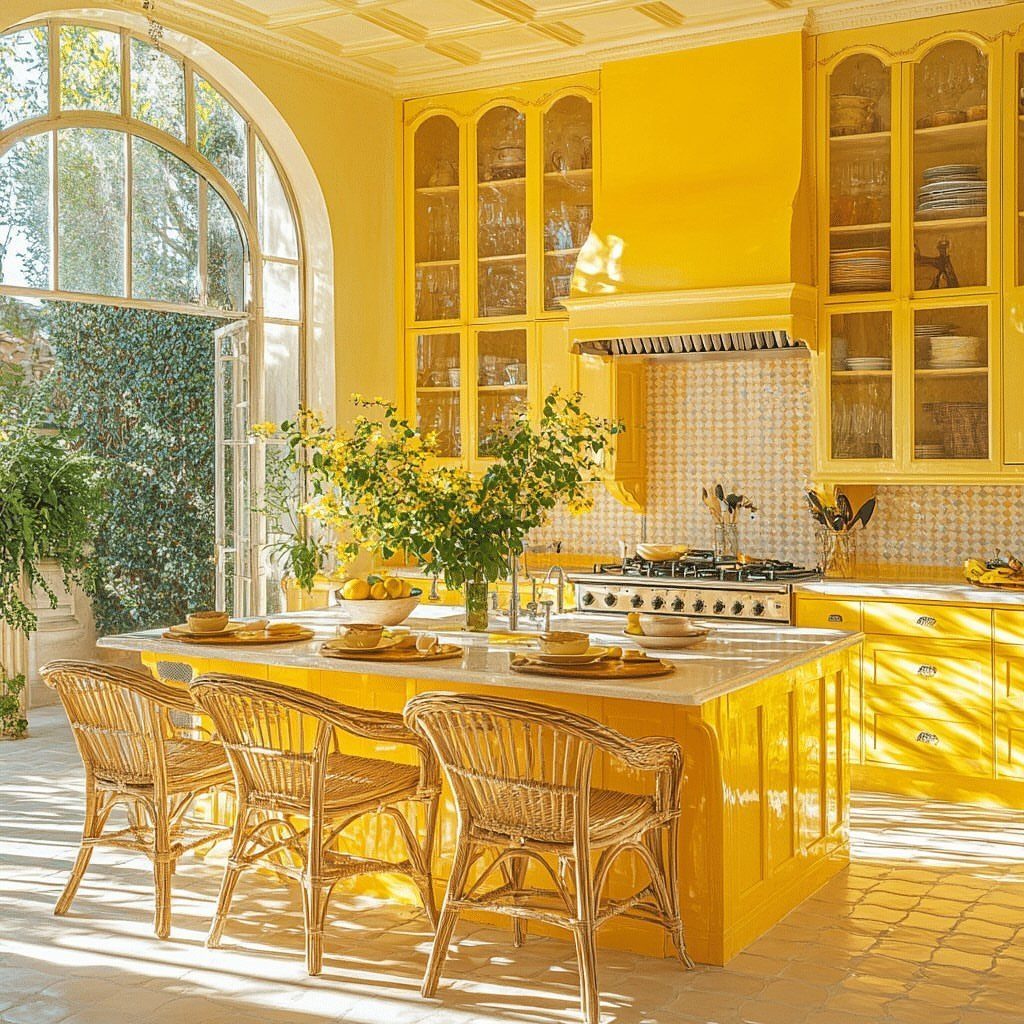
A bold yellow finish turns an old table into the centerpiece of a bright kitchen. The look works best when the yellow matches or echoes the cabinetry, so the piece feels built-in rather than mismatched.
I like pairing yellow with natural wood chairs or white seating. The warmth holds up in a room with good light, but yellow can read too loud in a small, dim space.
Sand the existing finish, prime with a stain-blocking primer, then apply 2 coats of satin or semi-gloss latex paint. Yellow shows brush marks more than darker colors, so a small foam roller gives a smoother result.
2. Stenciled Patterns
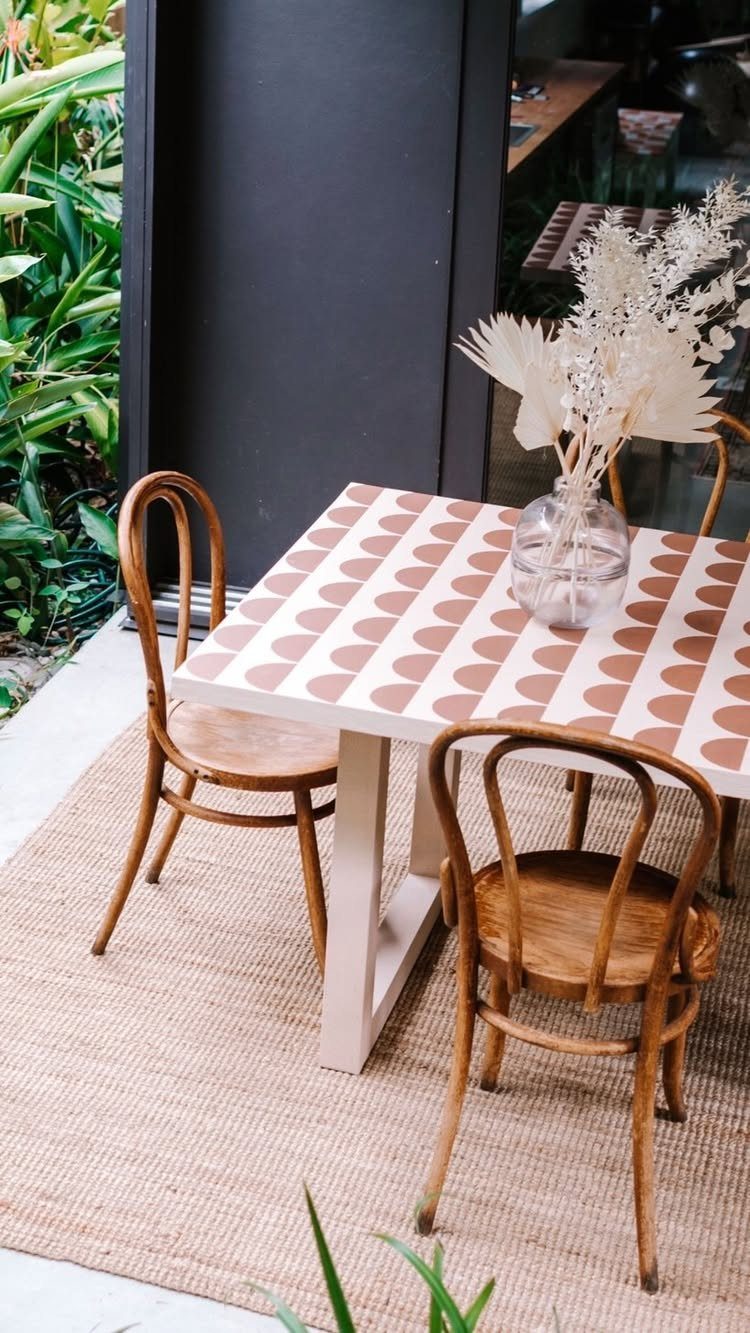
A stencil lets you add pattern without freehand drawing. Tape the stencil to a clean, primed surface, dab paint through the openings with a foam pouncer, and lift carefully to avoid smudging.
A semi-circle repeat is one of the simpler stencil patterns to align on a square or rectangular top. I find smaller motifs easier to line up than large ones, and a single accent color keeps the pattern readable.
Seal the finished design with 2 coats of water-based polyurethane. The topcoat protects the painted surface from plates and spills without yellowing white paint.
3. White Farmhouse Table
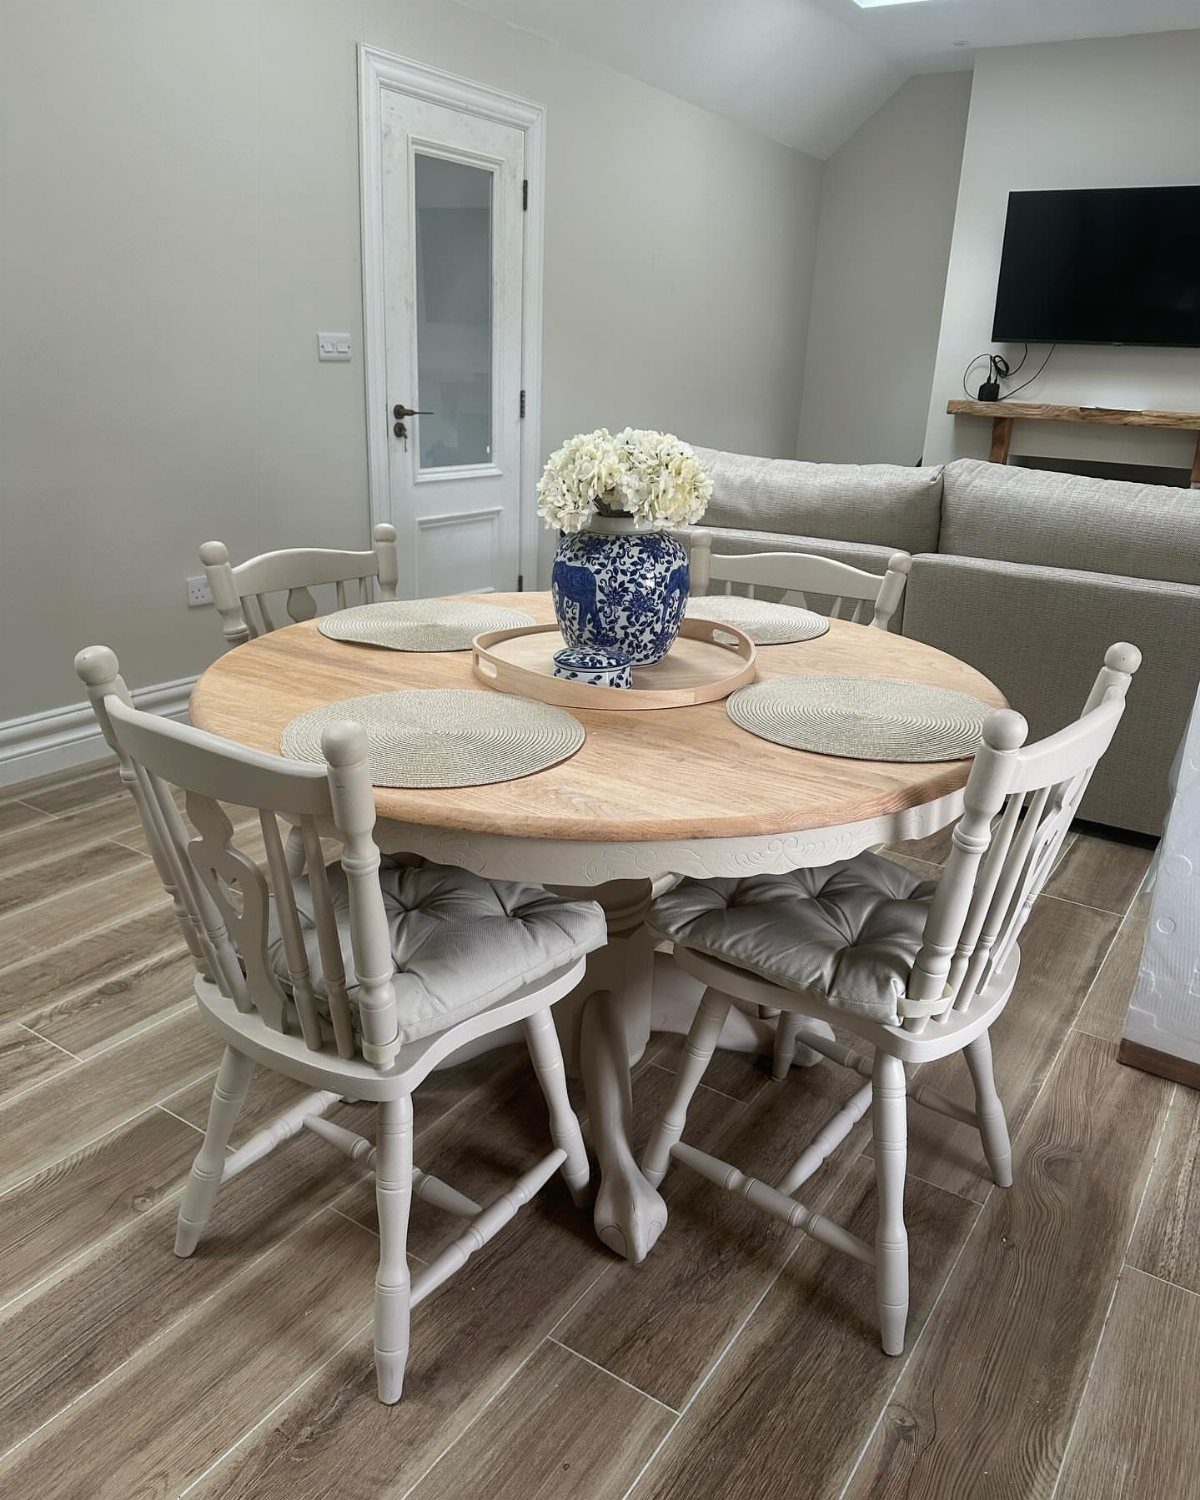
A natural wood top paired with a white base gives you the warmth of stain and the brightness of paint in one piece.
Sand the base and legs to rough up the existing finish, then brush on 2 coats of white latex paint.
For a distressed look, sand edges and corners after the paint dries to expose wood underneath. Focus on spots that would wear naturally: chair rail height, table feet, and the rim of the apron.
Leave the top bare or finish it with clear polyurethane.
4. Black Dining Table
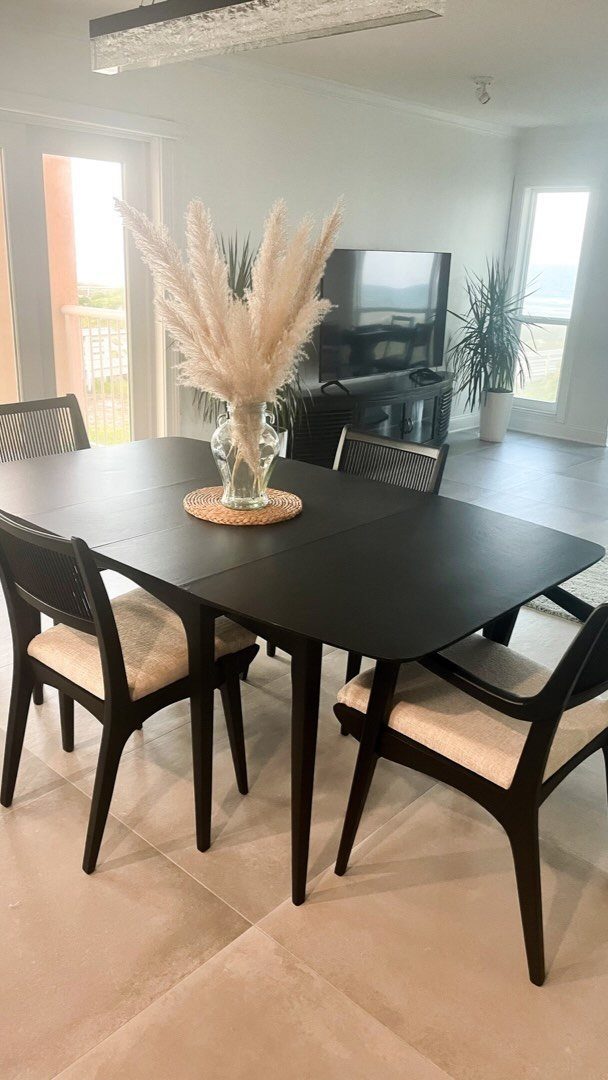
Black paint gives an old table a formal, finished look that suits modern and traditional rooms. The drama comes from the color itself, so the finish should be smooth and even.
Scuff-sand the surface with 120-grit paper, then roll on a stain-blocking primer.
2 coats of black latex follow, with light sanding between coats to knock down any texture. The maker here used a paint sprayer thinned with water for an even application.
Black hides scratches better than white but shows dust. A matte or satin sheen softens the look and doesn’t glare under overhead light.
5. Geometric Shapes
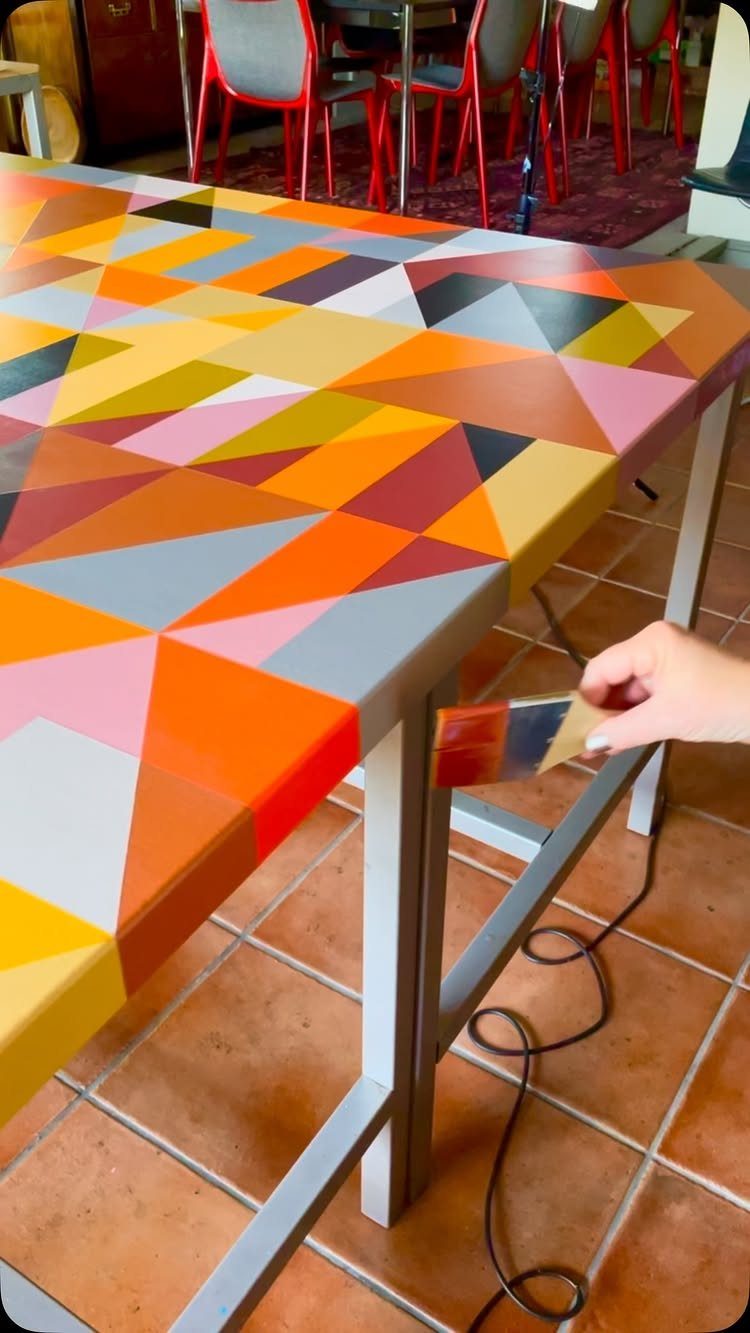
Hand-painted geometric shapes give you a custom pattern without the cost of tile or stencils.
Tape off sections with painter’s tape, then fill each shape with a different color. Peel the tape before the paint fully dries to get clean edges.
I prefer colors that share a base tone, so the pattern reads as cohesive rather than chaotic. Odd numbers of colors usually balance better than even.
6. Pink Base, Natural Top
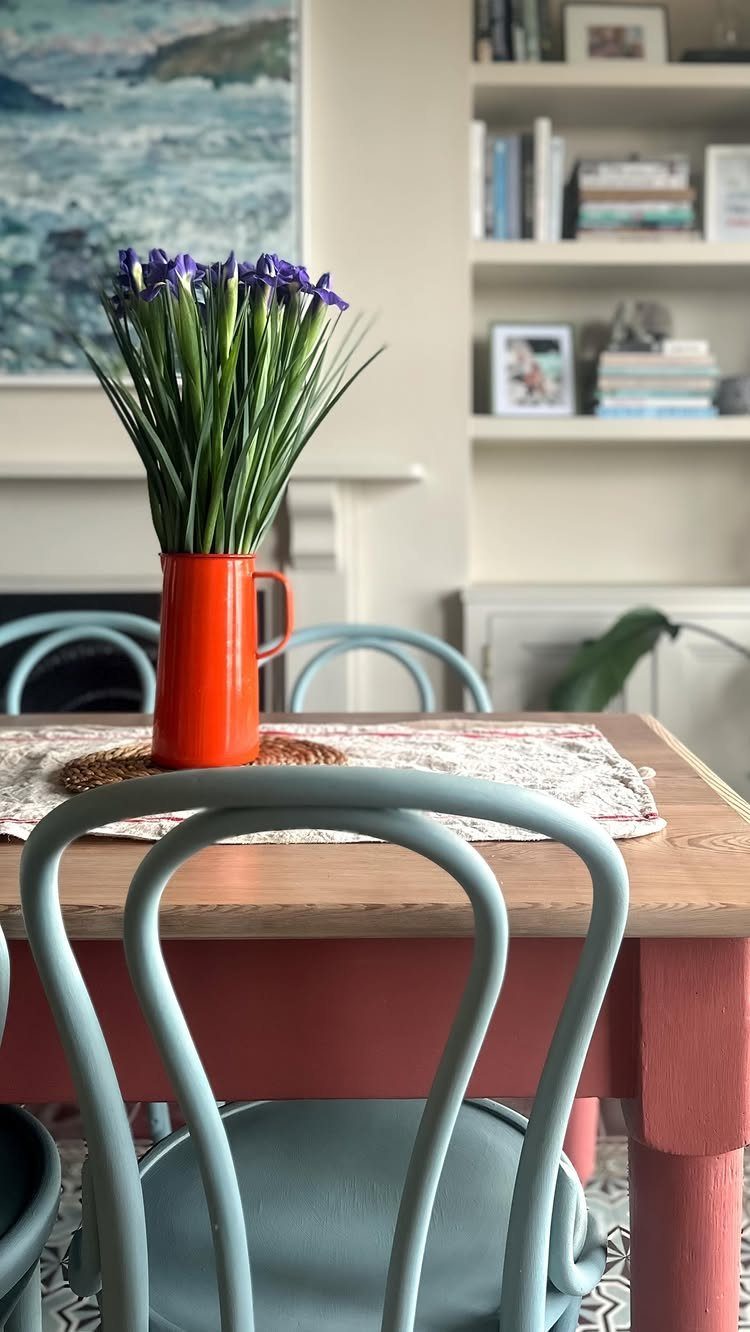
A pink base softens the look of a natural wood top without turning the whole table pastel.
The contrast works because the wood stays prominent. I’d avoid pink if the top is stained dark, the base will look washed out next to walnut or mahogany.
Strip or sand the existing finish on the top, then apply a clear polyurethane or leave it bare if the wood is already sealed. Pink pairs well with blue or green chairs.
7. Colorful Tiled Tabletop
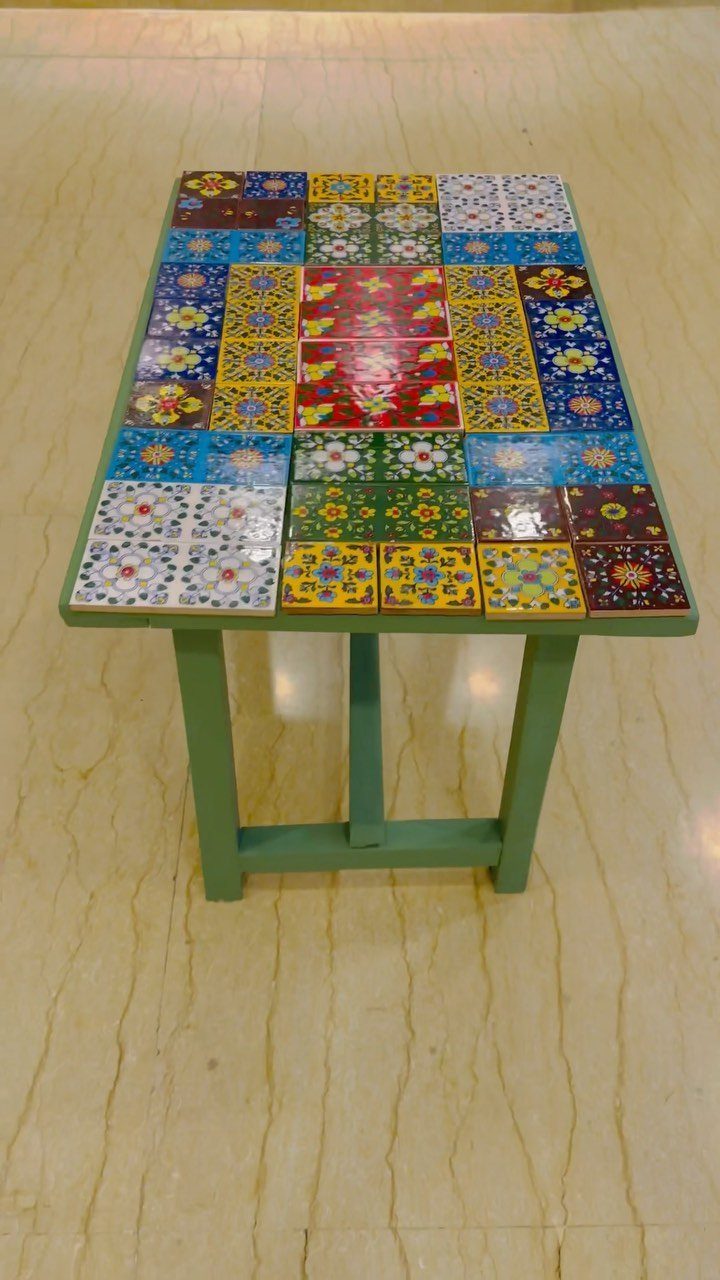
Mixed ceramic tiles give a tabletop more pattern than paint can, and a green base keeps all that color grounded. Pick tiles of the same size, so the rows stay straight even when the designs differ.
Lay everything out dry first and move pieces around until no 2 matching patterns touch. Then set the tiles in adhesive and fill the joints with grout.
Grout lines catch crumbs and can make a glass wobble, so I’d seal the grout and keep the joints narrow.
8. Light Blue Painted Top
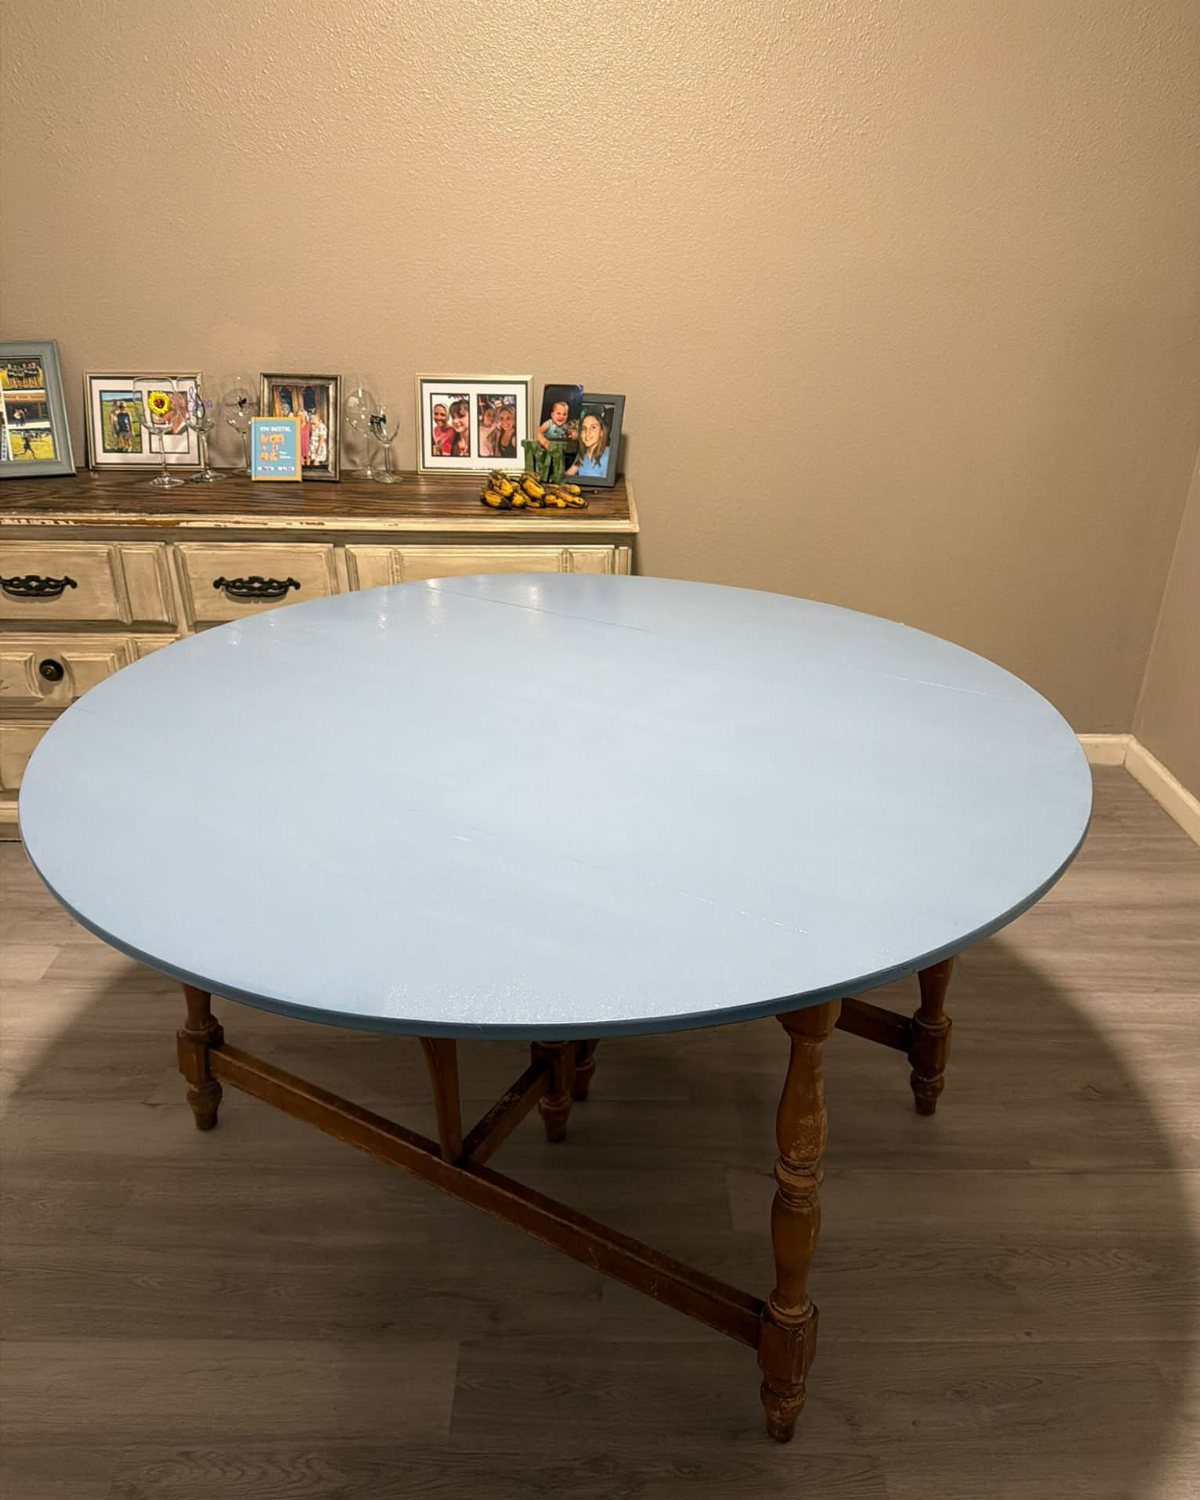
Only the top gets paint here, which makes this one of the quicker repaints on the list. Round tables also have no corners to cut in around.
Sand the top with 120-grit paper, prime, and roll on 2 coats of light blue latex, sanding lightly between coats. Tape the edge where the top meets the base so the bare wood stays clean.
I’d finish with clear water-based polyurethane. A pale color shows rings and scratches fast, and the topcoat takes that wear instead of the paint.
9. Abstract Swirl Tabletop
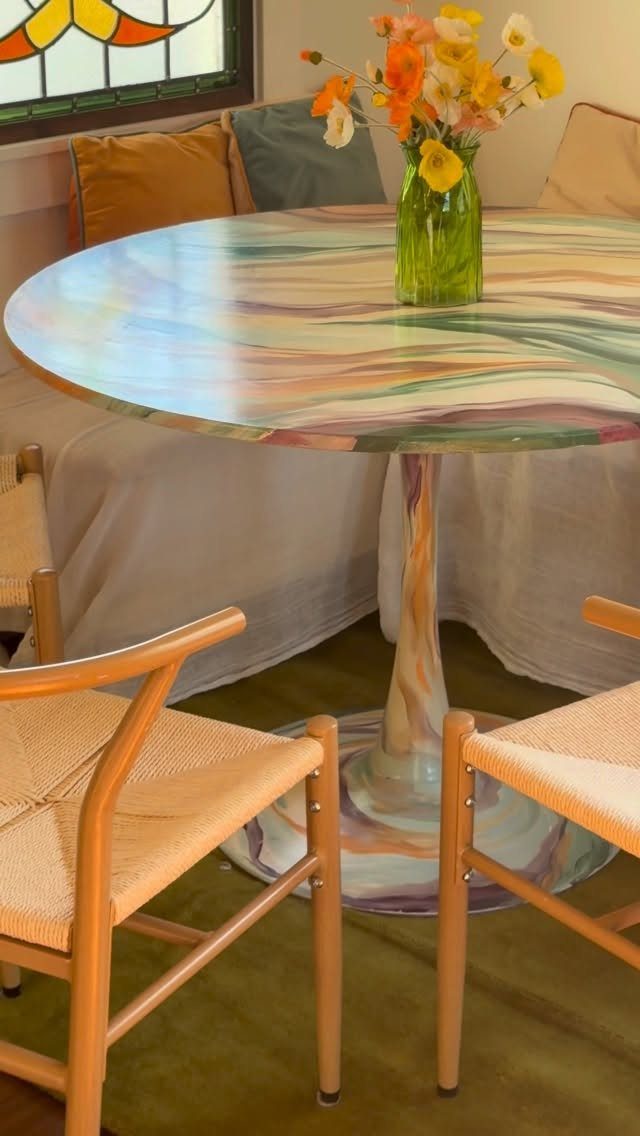
Swirls forgive mistakes in a way straight lines never do. A wobbly curve just reads as part of the design, which makes this a good first painted pattern for a beginner.
Start with a solid base coat, then work curved brush strokes outward from the center of the pedestal top. Let each color dry before the next one touches it, or the shades turn muddy.
Pick a small palette and let the colors repeat through the swirls.
10. Hand-Painted Floral Details
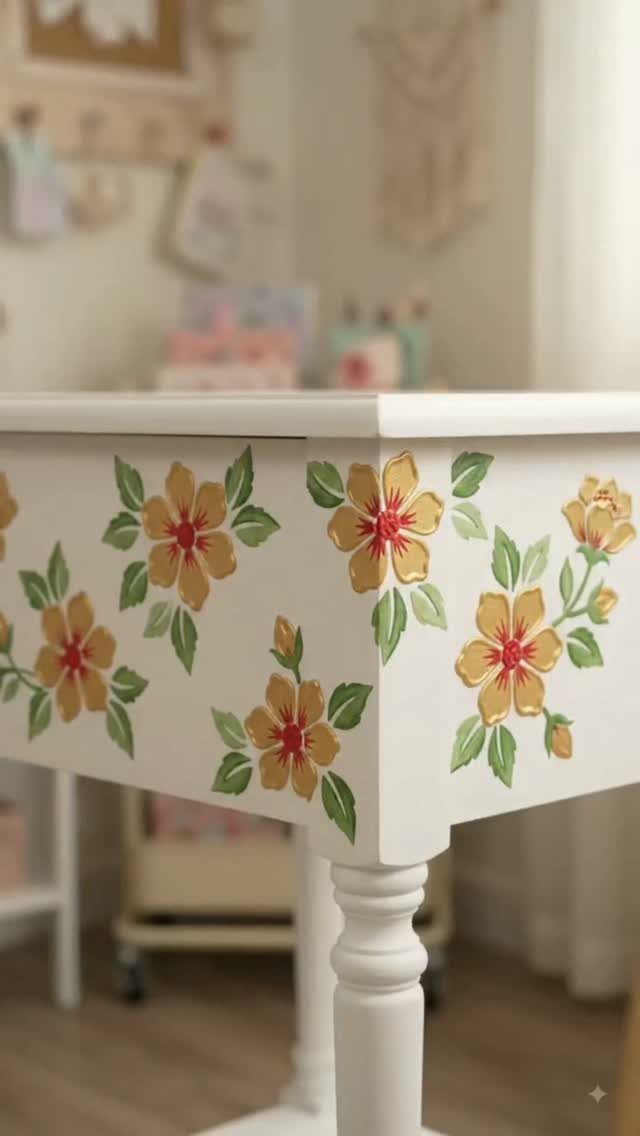
Flowers along the apron and down a leg add hand-painted charm without covering the whole table. Small areas are easier to control, and the white paint beneath keeps yellow bright.
Sketch the layout lightly in pencil, then build each blossom from a few dabs of yellow and add leaves with a thin green brush. Practice the stroke on cardboard before touching the table.
Wait until the white base is fully dry, and finish with a clear coat. Water-based polyurethane won’t yellow the white around the flowers.
11. Distressed White and Gold Base
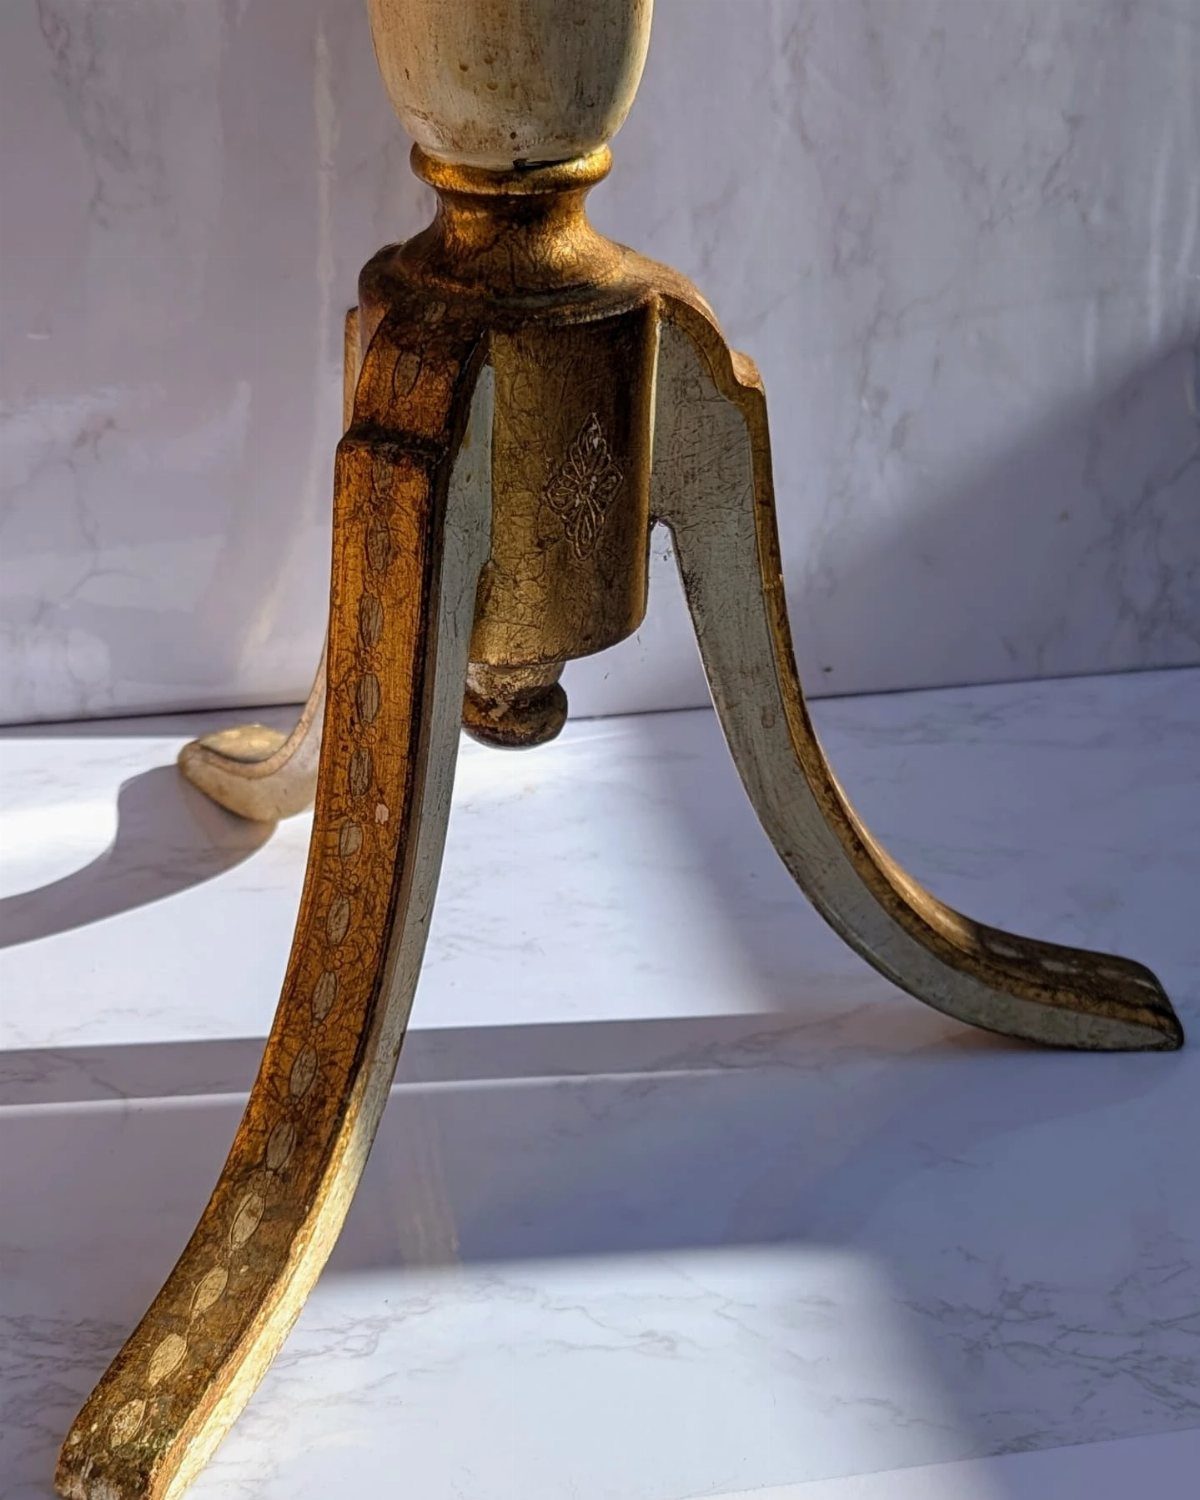
Curved legs and a pedestal catch light best when the wear sits on the high points. White paint with gold showing through looks aged on purpose, and it suits a base that has some carved shape to it.
Paint the base white, let it dry, then dry-brush gold over the raised curves with very little paint on the brush. Sand edges lightly afterward to expose what’s underneath.
Go gold-heavy only if the room can take it. A lighter touch reads as worn; too much reads as costume jewelry.
Choosing Durable Furniture Paint
Latex or acrylic is the paint I’d reach for first. It comes in the widest range of colors, finishes and sheens, and it holds up well on a table that gets daily use.
Chalk paint gives a matte vintage or shabby-chic look and covers well, which makes it forgiving for a first furniture project.
Oil-based paint is the pick when toughness matters most, since it dries to a hard, smooth finish that resists stains and scratches. Open a window and keep air moving while you work with it.
A dark brown table can be lightened without a full repaint.
Once the base coat is dry, drag an old brush holding very little white paint across the top and sides for a wood-grain texture. Cerusing gets a similar lighter look.
Metallic gold spray paint gives a table an antique gold finish, and it suits a dining room that can carry a bold piece.
Preparing and Painting the Table
Clean the table and let it dry completely before any paint goes on. Paint won’t grip grease or damp wood.
If the existing finish is glossy, sand with 180–220-grit paper just until the shine dulls. Stripping down to bare wood isn’t necessary.
Wipe away the dust, then prime.
Thin, even coats beat one heavy coat, which drips and stays soft underneath. Follow the recoat time printed on the can instead of judging by touch.
Dry to the touch is not the same as cured. Check the can for the cure time, and keep plates, placemats and chairs pulled in tight against the edge off the table until then.
Check the back of the paint can for the product’s maximum recoat time and follow it—don’t rush it! Some paints, like ADVANCE, can take up to 16 hours to dry.
Protecting and Maintaining the Finish
Once the paint has cured, a topcoat of clear polyurethane or a layer of furniture wax shields the surface from scratches and spilled coffee, and I’d pick poly for any table that sees daily meals.
The clear coat you choose also sets the final sheen, glossy or satin.
Placemats, coasters or a tablecloth take most of the daily wear.
A soft microfiber cloth with a little mild soap and water keeps the finish clean, while scouring pads and harsh sprays will dull it or wear through to bare wood.
Touch up scratches and nicks as soon as you spot them. A small break in the paint lets moisture get underneath, and that is how peeling starts.
Frequently Asked Questions
What paint should I use for my kitchen table?
For a table that gets used every day, I reach for water-based acrylic or latex enamel, since the color and sheen choices are nearly endless.
Chalk paint suits a first-timer: it sticks well, hides the old finish in fewer coats, and dries to a flat, vintage-looking surface.
Oil-based paint dries hardest and resists stains and scratches best, but it needs open windows and moving air while you work.
Seal the finished paint with a topcoat, either clear polyurethane or a paste wax, so plates and spilled juice don’t mar it.
Is it better to brush paint or spray paint wood furniture?
For a smooth finish, a sprayer or a small foam roller beats a brush on flat surfaces like a tabletop.
Brush marks show up most on colors like yellow, and a sprayer loaded with water-thinned paint gave an even coat on a black table.
A brush still earns its place for small details, such as thin leaf strokes in a hand-painted floral.
Is it better to paint or stain a dining table?
You can do both: paint the base and legs, and leave the top as natural wood under clear polyurethane.
That pairing gives you the color of paint and the warmth of wood. Stain stays in the brown family and lets the wood grain show, while paint can be any color you like, from sunny yellow to black.
How do I paint a kitchen table?
Wash the tabletop and let it dry fully, then scuff it with 180–220-grit sandpaper until the gloss is gone.
Stripping down to raw wood is a step you can skip. Brush off the sanding dust, add a coat of primer, then apply thin coats of paint, letting each one dry for the recoat time listed on the can.
Finish with a clear topcoat and keep plates and placemats off until the paint has fully cured, since dry to the touch isn’t the same as cured. A laminate top follows the same order of sanding, priming, painting and topcoating.