
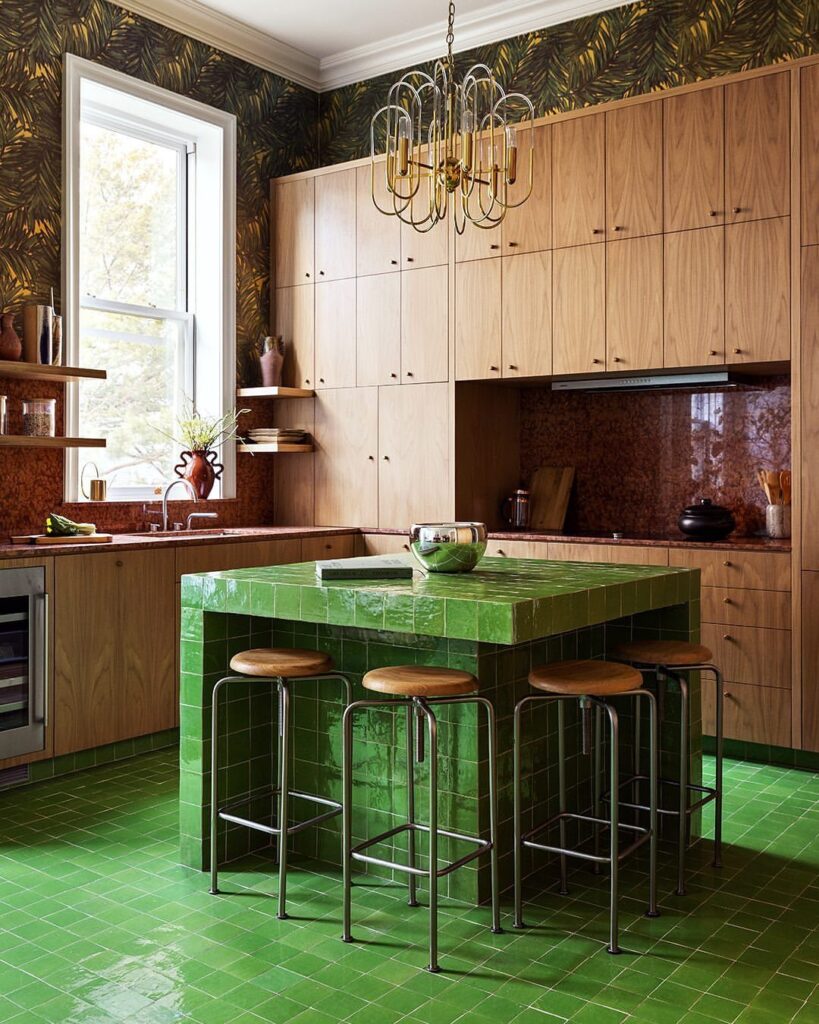
Placement should pick the material. Next to the sink, concrete or epoxy shrugs off daily splashes, but vinyl film softens and bubbles under heat, so I’d keep it well away from the stove.
Budget picks like peel-and-stick and painted laminate sit alongside bigger jobs such as poured concrete and stainless steel, plus wood charred with a torch in the shou sugi ban style.
Wood also needs regular oiling, so I’d weigh that against how much upkeep you’ll actually keep up with.
1. Tile Countertops
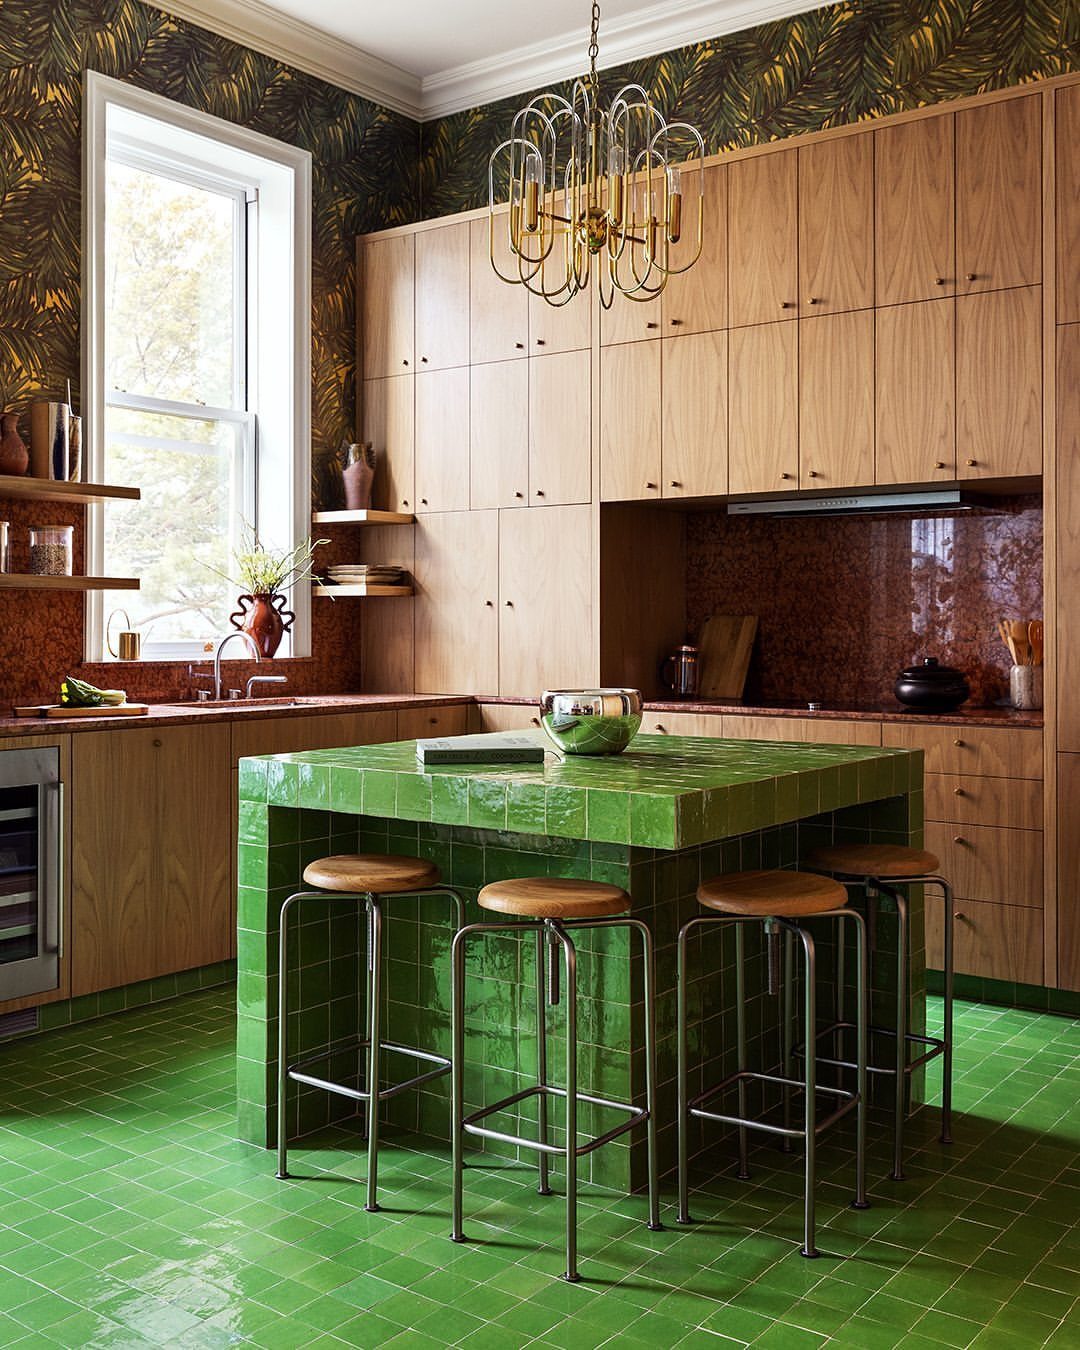
Grout decides how much you’ll love a tiled counter, so I’d pick the size of tile before the color. Fewer grout lines means easier upkeep, which makes larger tiles the better choice for a surface you wipe down daily.
You can tile over an existing counter or replace it.
2. Ceramic Tile Countertops
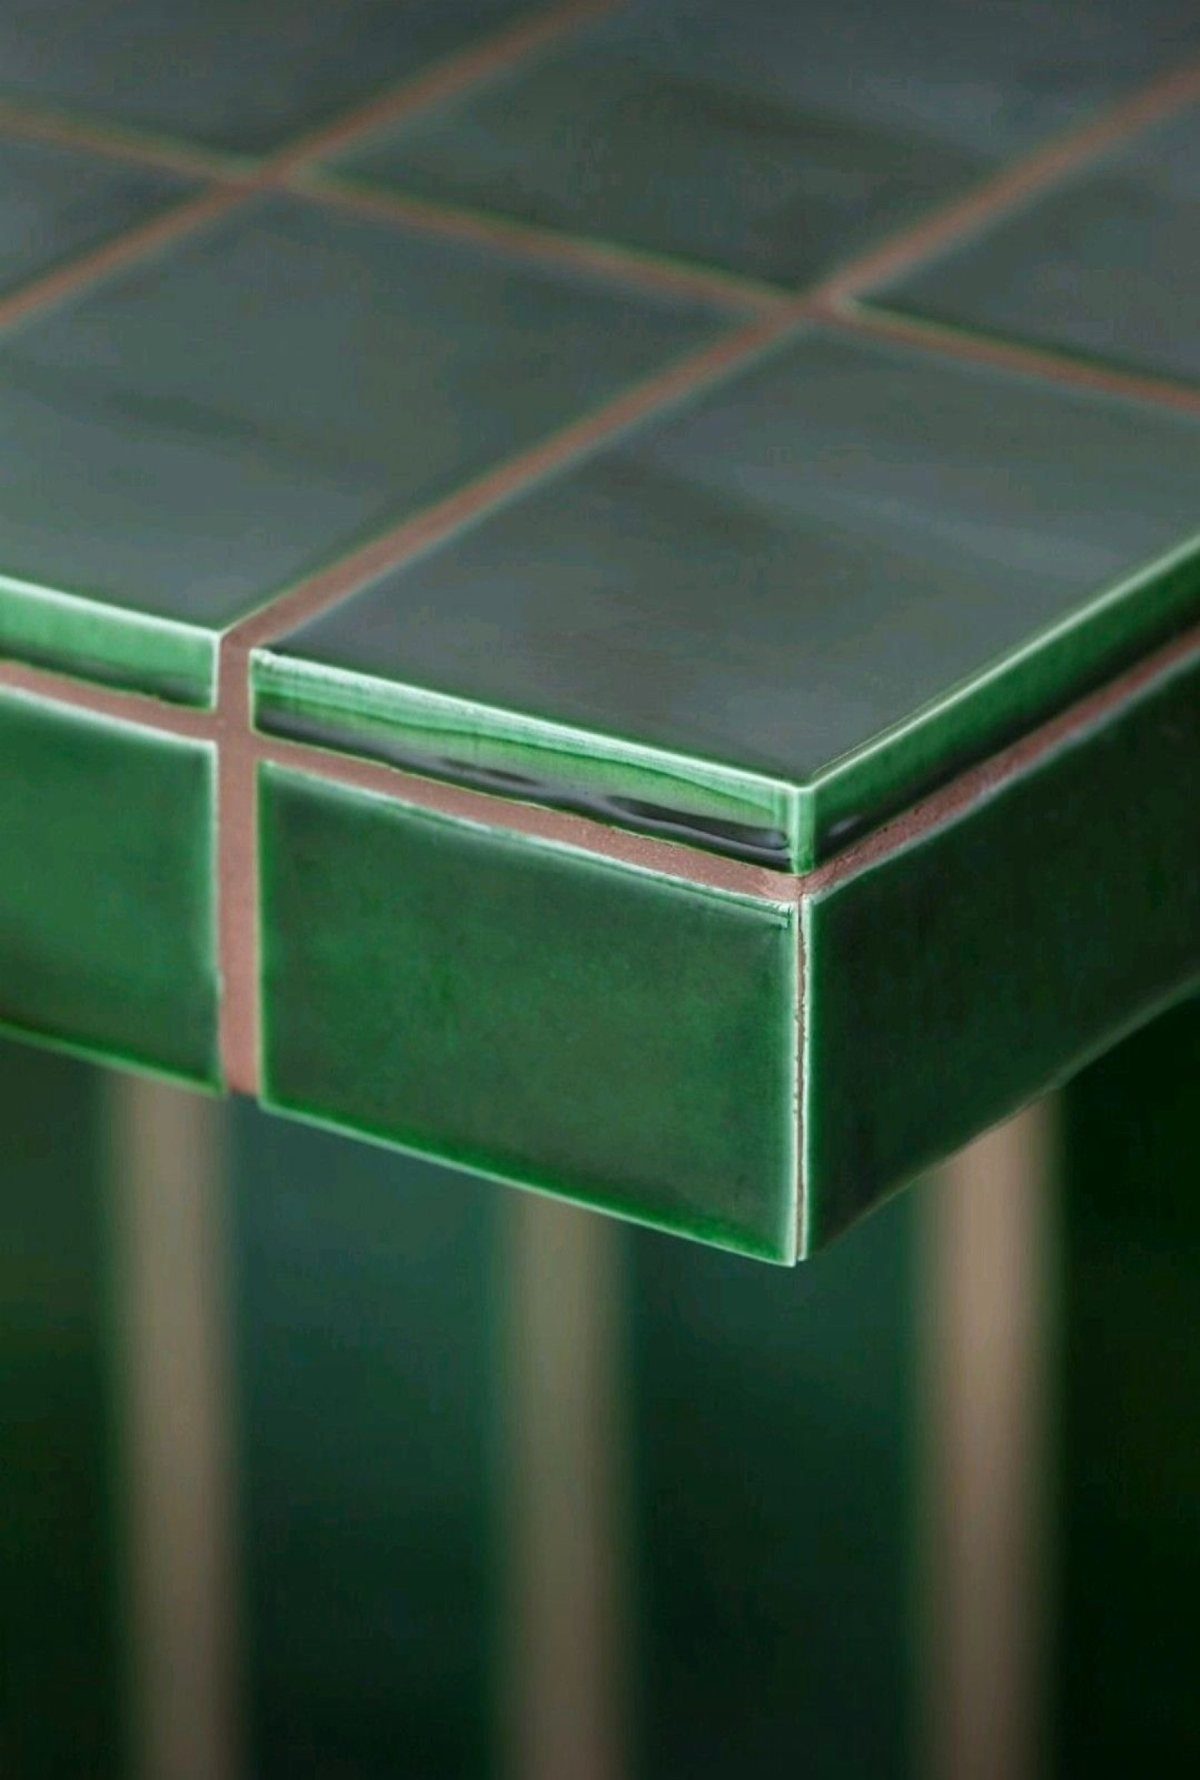
Stone upkeep is the reason most people land on ceramic instead. A glossy glazed tile gives you a color that a slab of stone can’t, and it asks for less fuss.
Grout shows up as a thin outline around every tile, so I’d treat its shade as a design choice, not an afterthought. Hold the grout sample next to the tile in your own kitchen light and pick the two together.
3. Poured Concrete Countertops
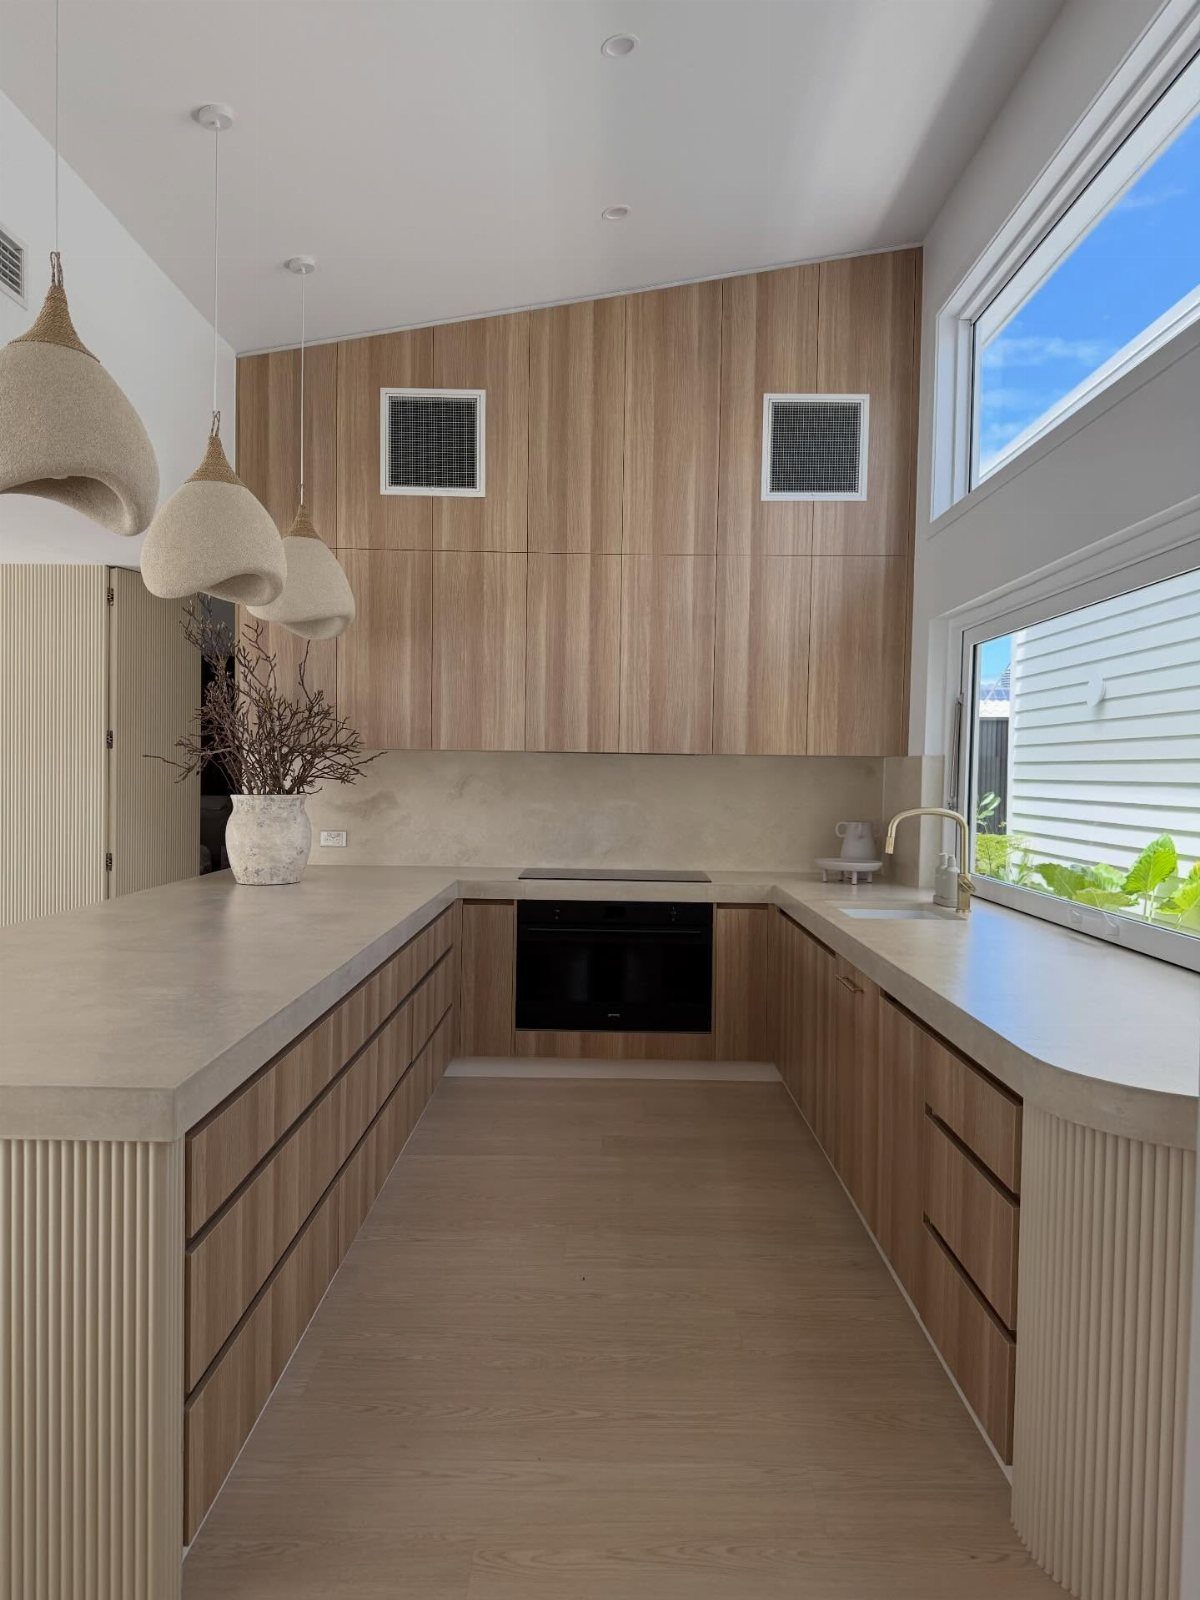
Concrete can be poured in place or applied over the counter you already have. For a first project on a budget, I’d go with the second route, since the cabinets and layout stay exactly where they are.
A light gray surface sits well against pale wood cabinets, and it keeps a modern kitchen feeling calm instead of cold.
Cover kitchen countertops and you can get the look of a brand-new surface without the expense of buying a new one or the disruption caused by removing the old counter.
4. Butcher Block Countertops
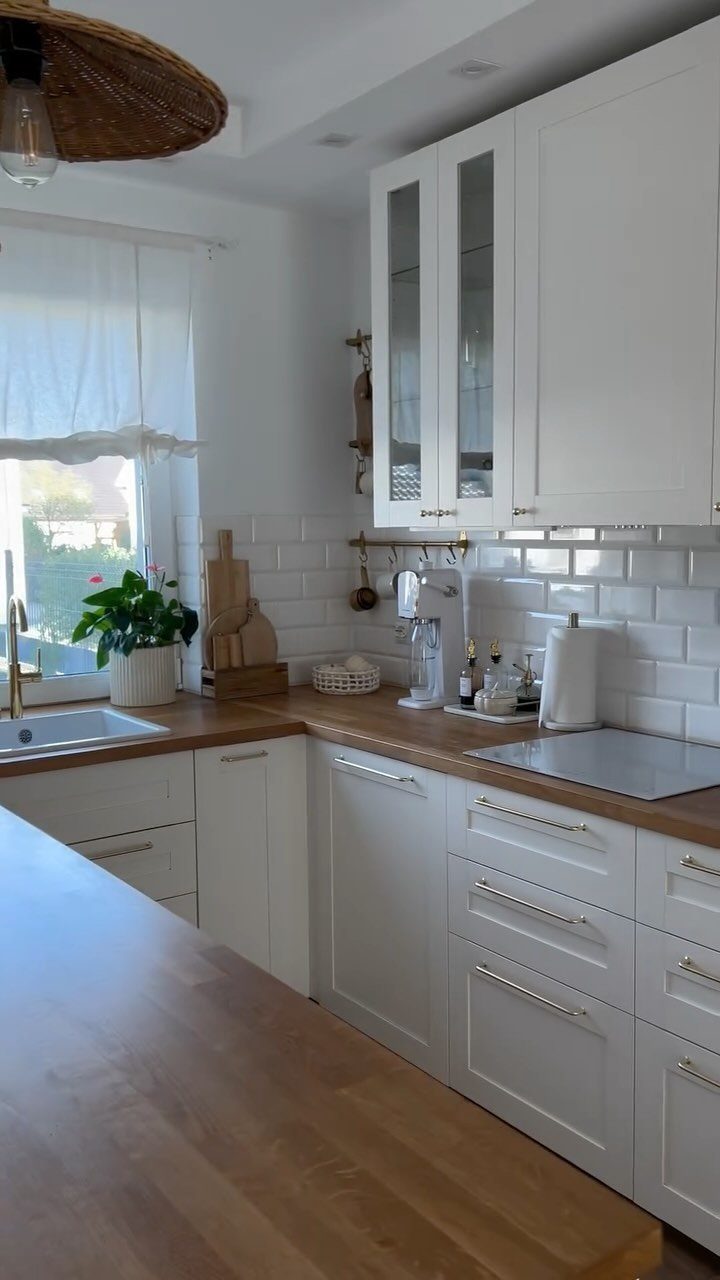
Solid wood is the warmest swap for stone, and butcher block is the version I’d pick for a white kitchen. Against painted cabinets and a subway tile backsplash, a light wood top adds natural color without crowding anything.
It’s a good fit if you want a counter that looks like part of the room and not a slab dropped on top of it.
5. Reclaimed Wood Countertops
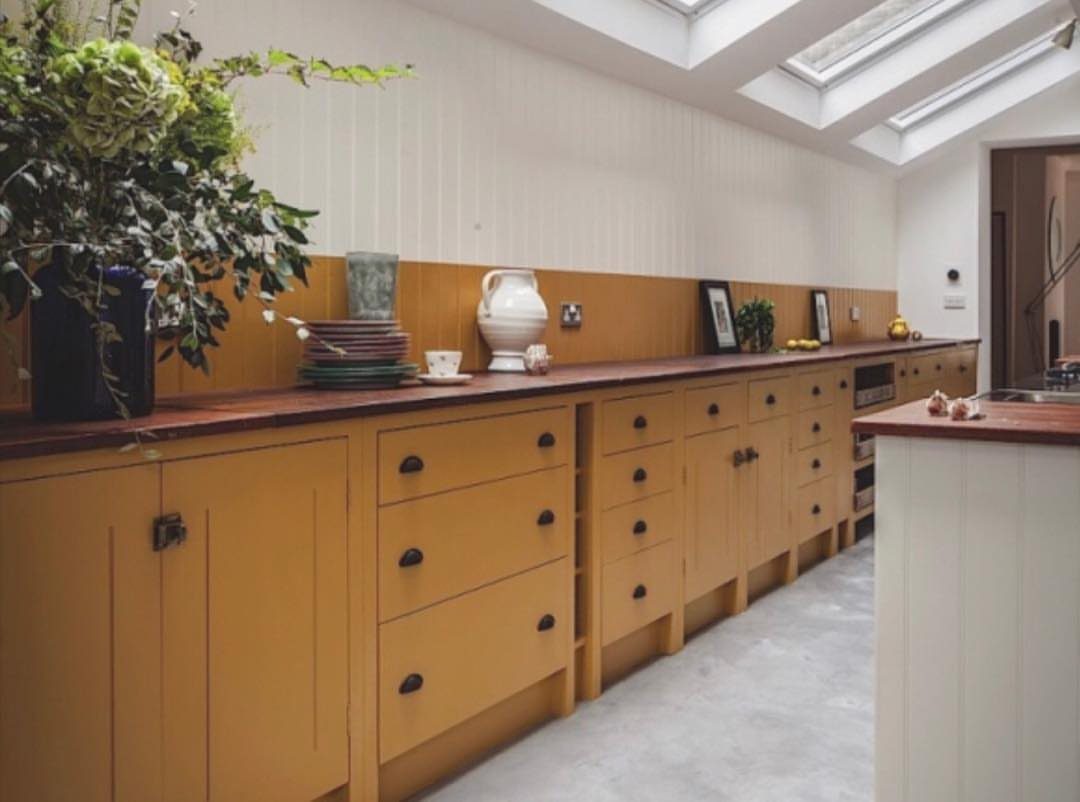
Salvaged boards give a counter its character before you’ve touched them. Reclaimed wood brings a rustic look, and a deep reddish-brown top makes bright yellow cabinets look grounded instead of loud.
Since every piece of salvaged lumber is different, I’d choose the boards in person and lay them out before you commit to a run.
6. Stainless Steel Countertops
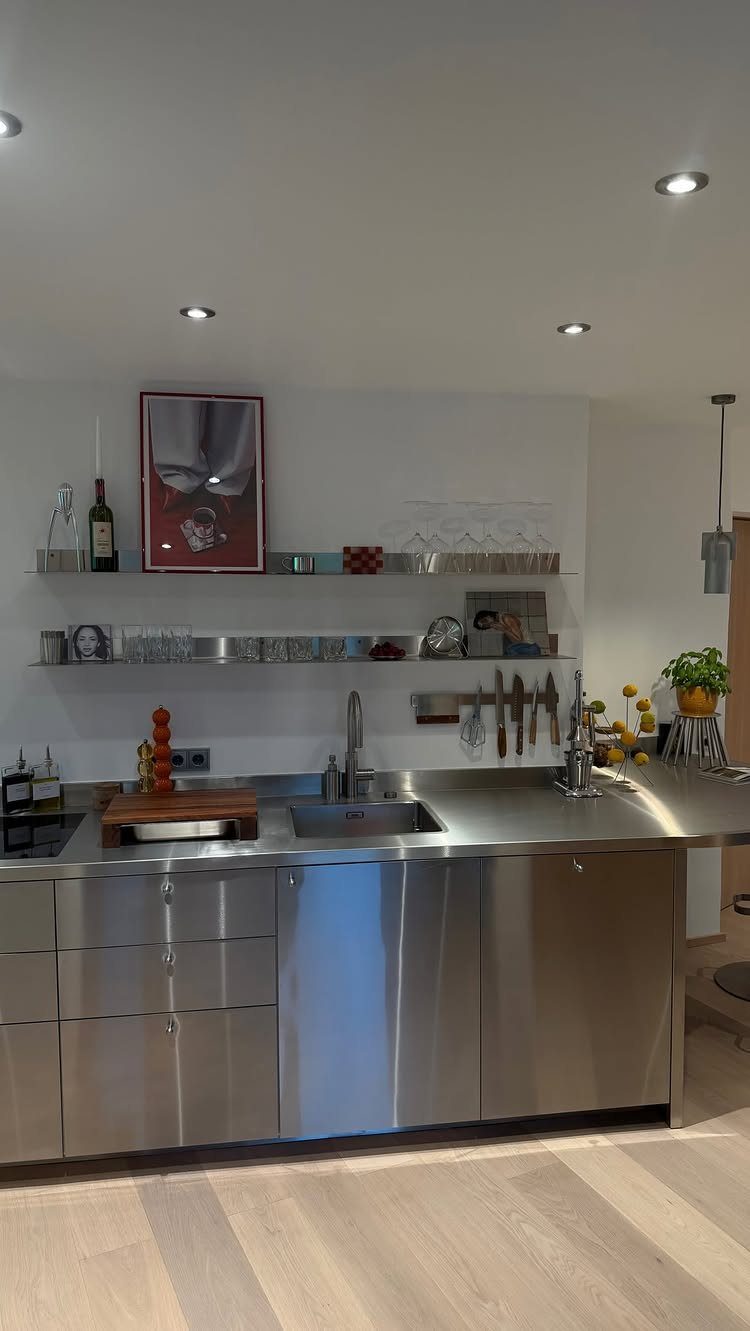
Stainless steel gives a kitchen a sleek, industrial edge, and I like it best when the counters and cabinets match. The continuous metal reads as one clean surface, with a built-in sink making it even more streamlined.
Open shelving with glassware keeps the look light, so the steel doesn’t feel heavy in the room.
7. Wood Countertop Island
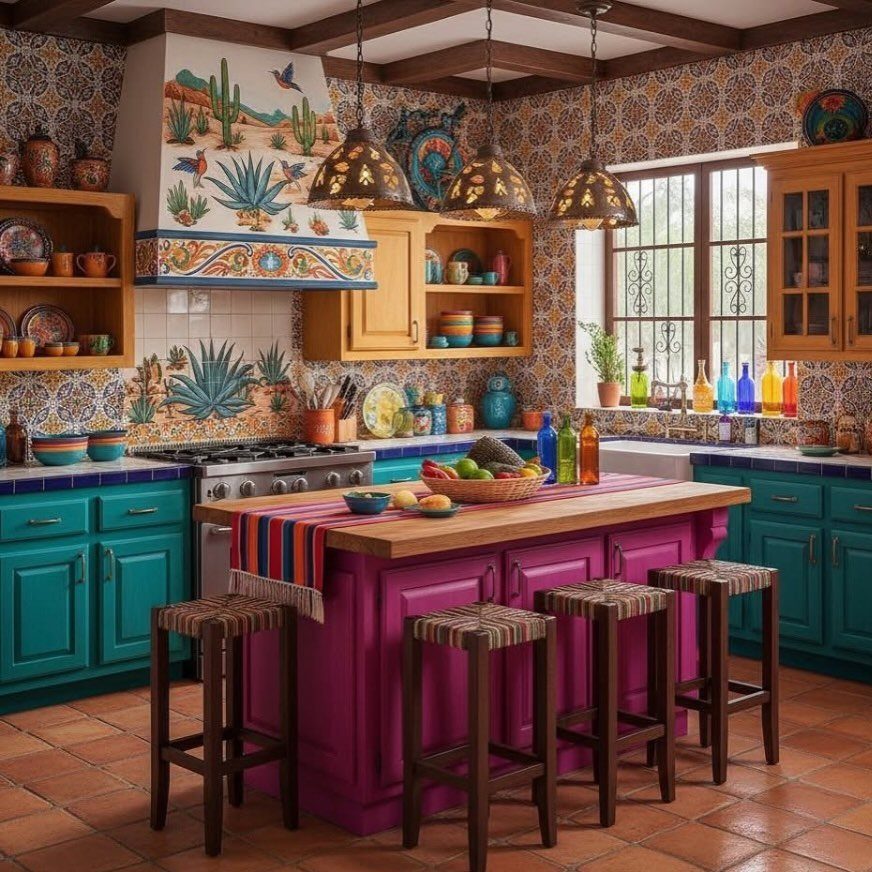
A purple island is a bold move, and the light wood top is what keeps it from shouting. Against teal cabinets and patterned tile, a pale wood surface gives the eye a quiet place to land.
I’d match the stools to the countertop, as 3 wooden ones do here. The island then reads as one piece instead of a purple box with a board on it.
8. Marble-look Countertop Refresh
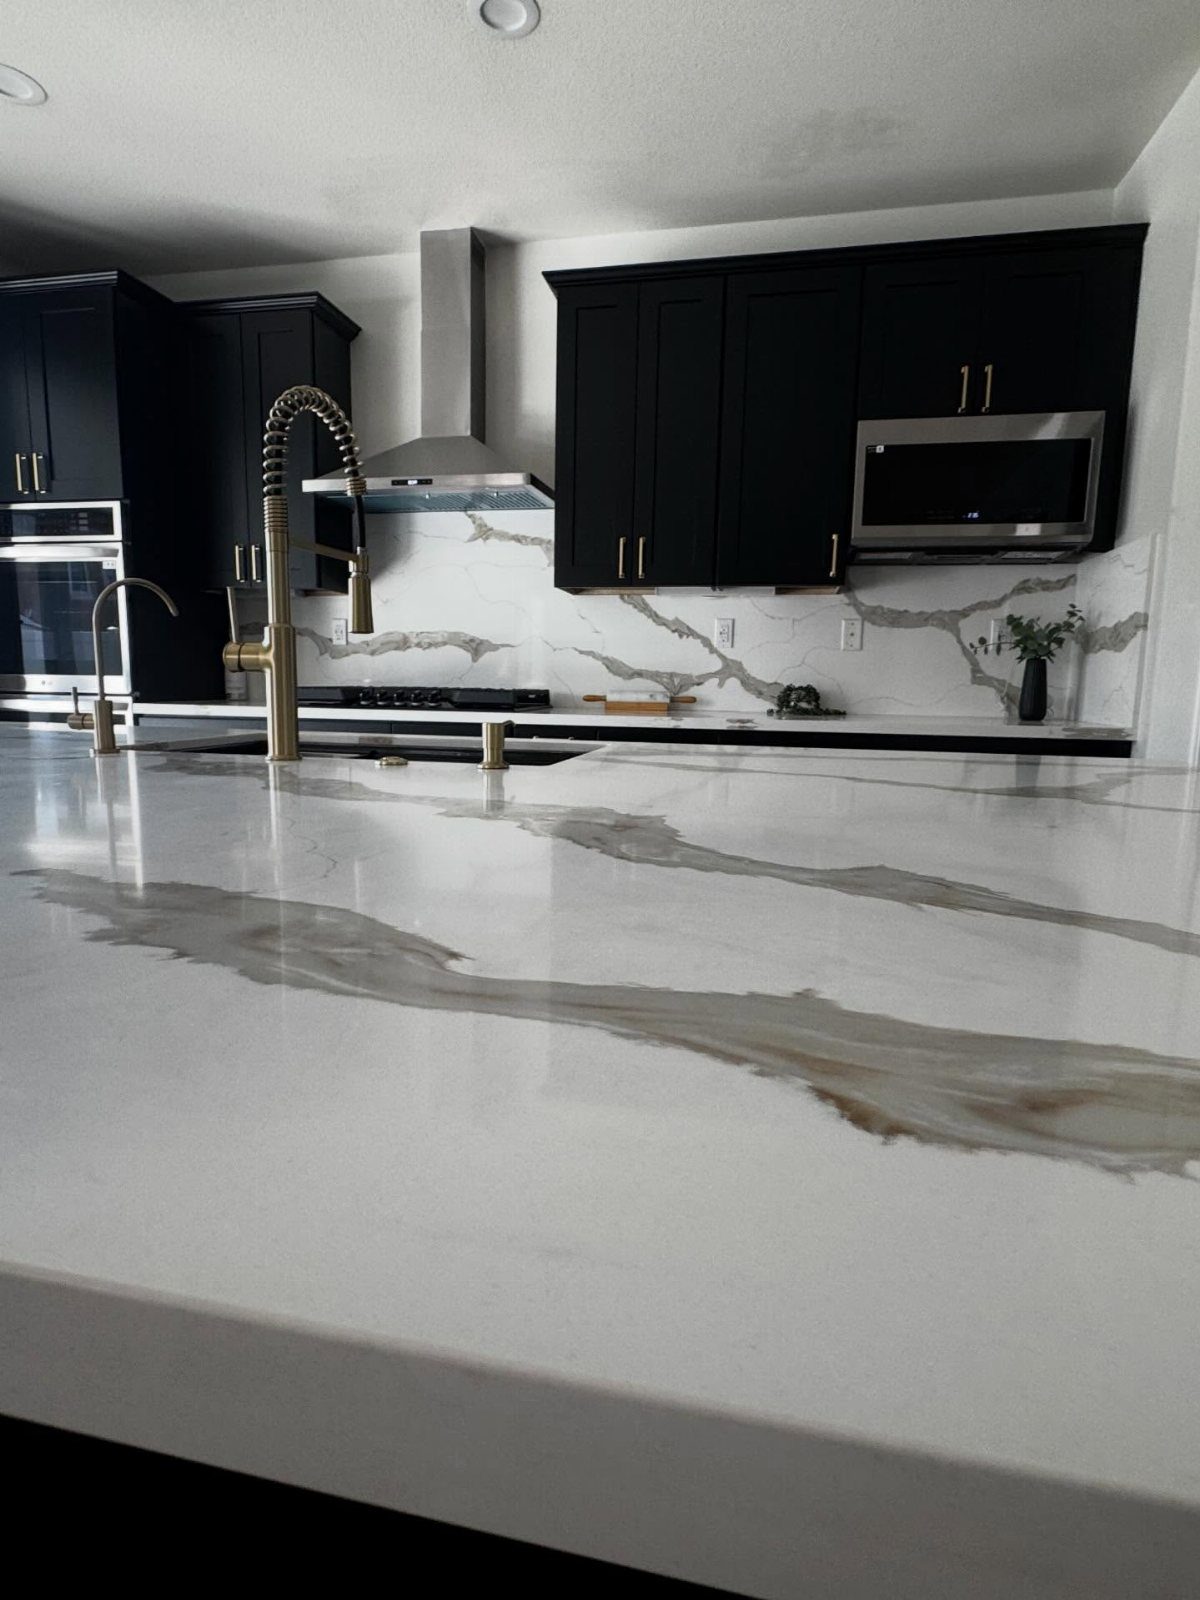
Black cabinets call for a counter that holds its own, and white with grey veining does it. Choose a marble-look surface if you want the stone pattern without committing to real marble.
The gold faucet is the last thing I’d add, because it warms the black and white without competing with them. Stainless appliances sit comfortably beside it.
9. Wood Countertops
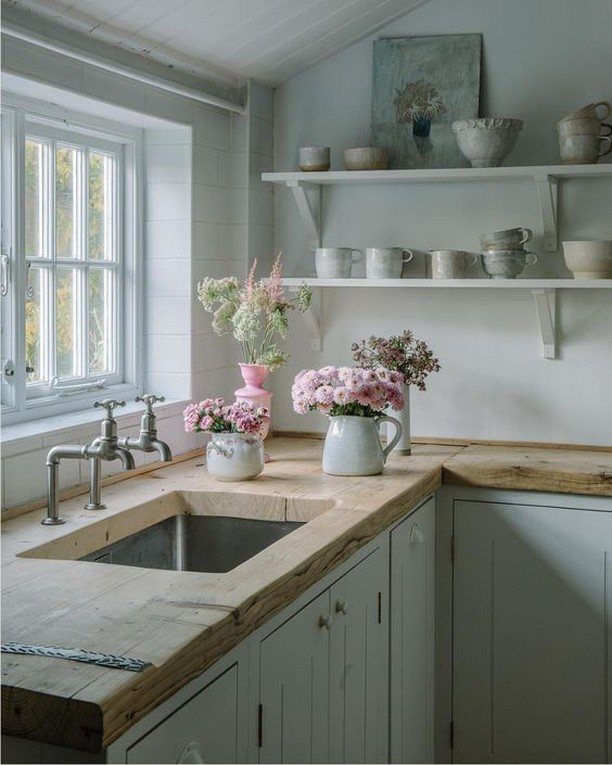
Light wood against white cabinets keeps a kitchen bright, and a stainless sink set into the top adds a clean, practical edge. Open shelves of pottery and a vase of flowers by the window finish the rustic feel.
If light isn’t your look, wood also comes in dark stains, live-edge boards and chevron patterns. For a first project, I’d stay with a plain light top, with the shelves carrying the personality.
10. Speckled Composite Countertops
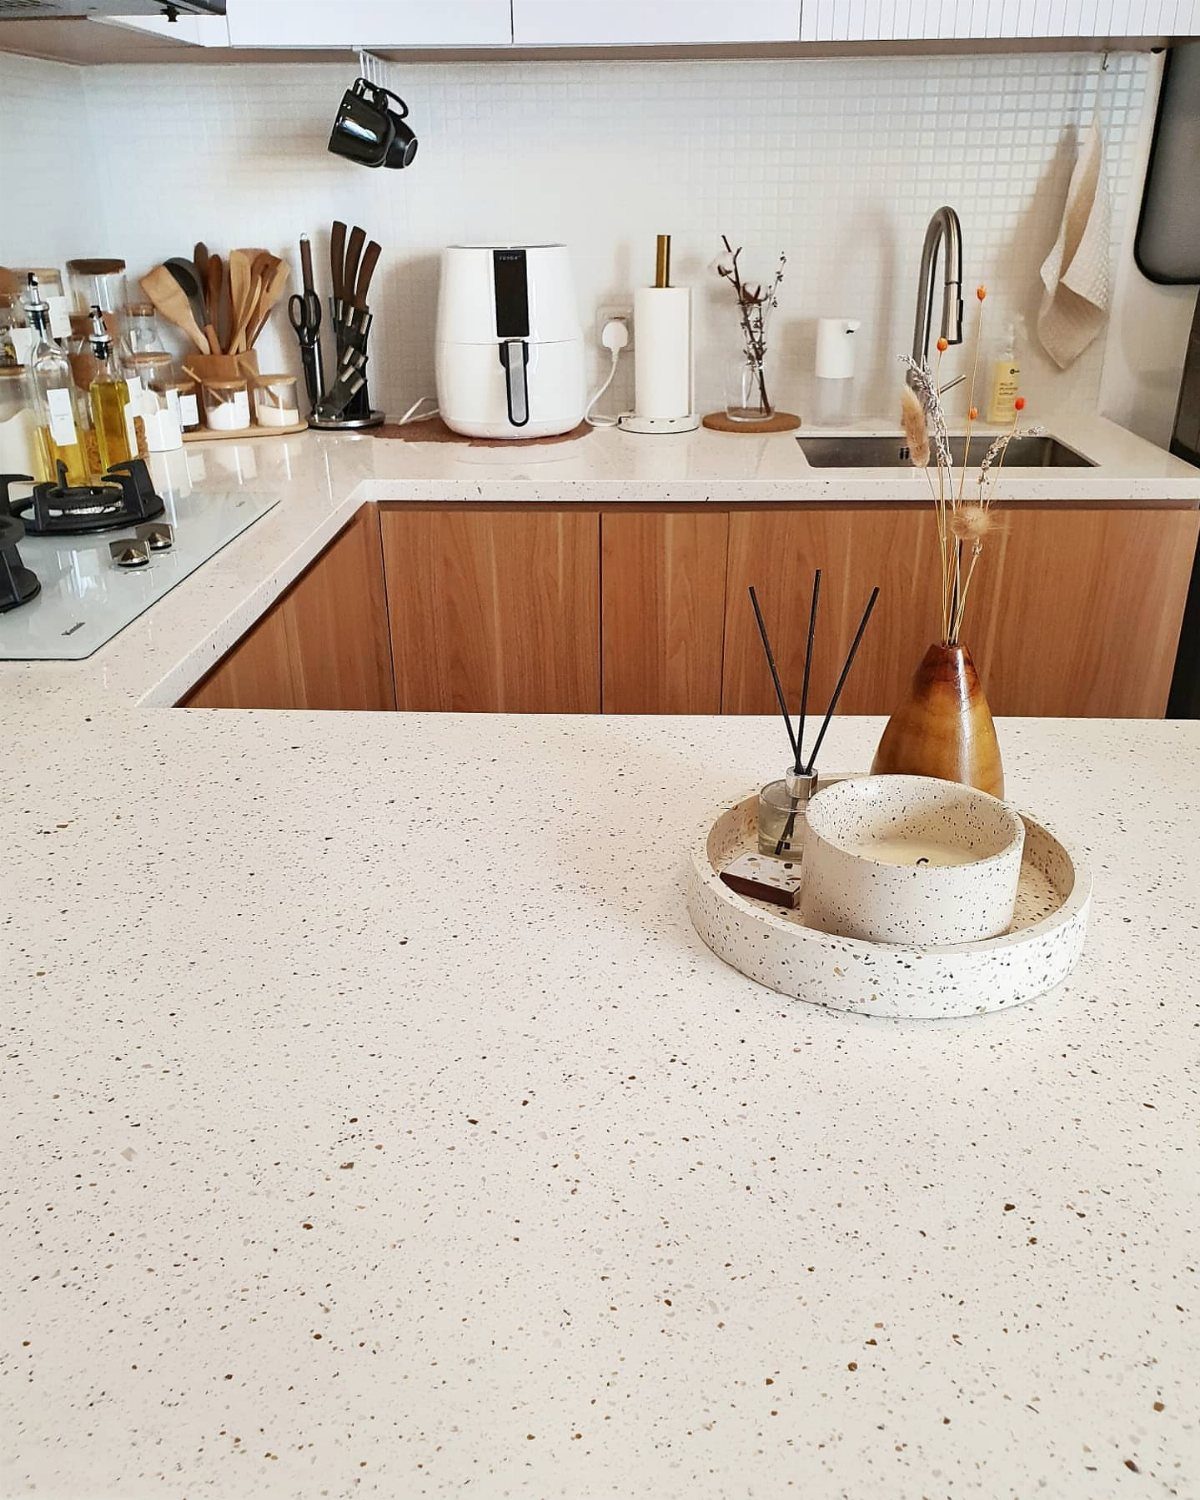
White with a fine speckle reads calmer than veined stone, and next to wooden cabinets it looks soft and easy to live with.
Carry a sample home and set it beside your cabinet doors, since the speckle reads differently in your own light. Speckle color shifts under kitchen light, and the cabinets will tell you quickly whether the pairing works.
11. Granite Countertops
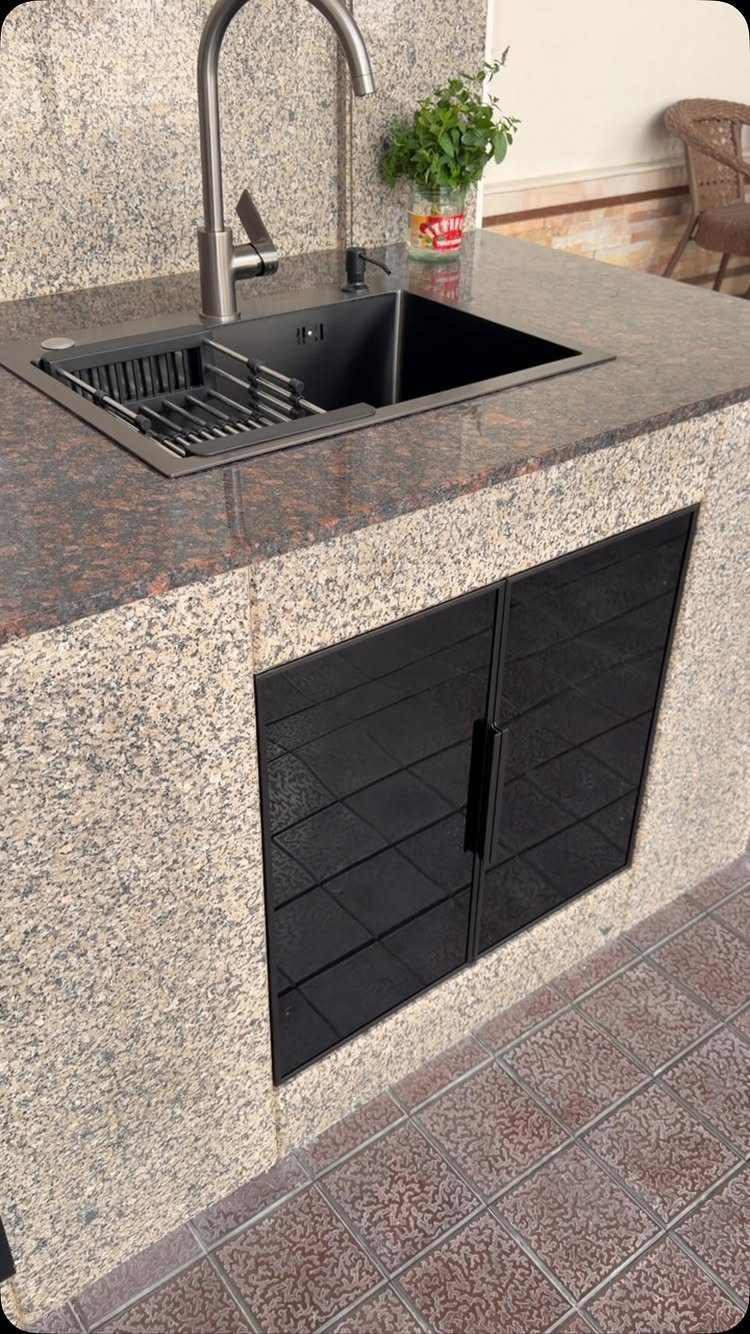
Brown granite and black cabinets make a heavy, handsome pairing, and a black undermount sink keeps the surface uninterrupted. The speckled backsplash behind it repeats the stone, which makes the whole wall feel planned.
Granite varies from slab to slab, so I’d look at the exact piece in person. A small plant on top softens all that dark stone.
12. Grey Countertop Update
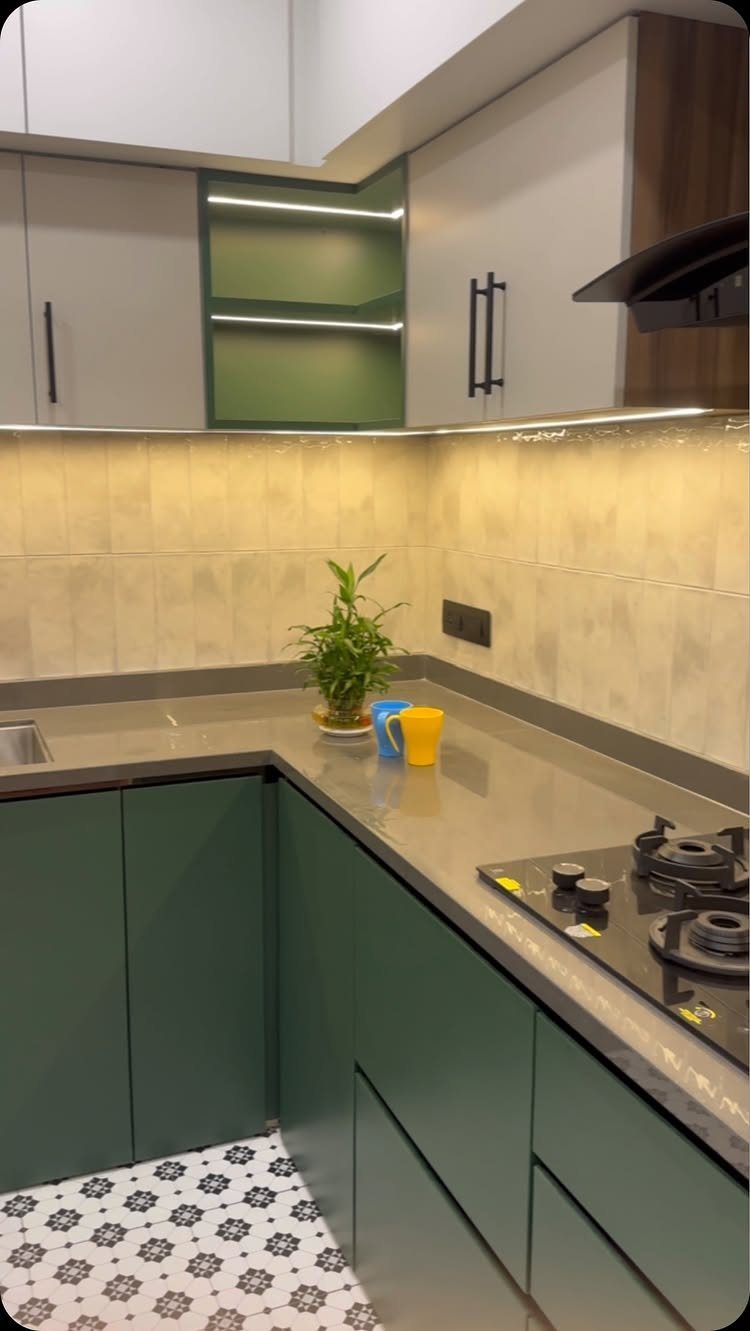
Grey is the neutral that lets dark green cabinets do the talking. In a compact kitchen, a grey top under green lowers and white uppers keeps the room from feeling closed in.
Hold a grey sample next to your actual cabinet paint before deciding, since the 2 colors change each other.
Choose by Durability and Use
Start with the hardest job the counter will do. Beside the sink it takes drips all day, so concrete or epoxy holds up well there, while wood needs regular oiling to stay in shape.
Near the stove, heat matters more. Tile handles an occasional hot pan, but vinyl film is vulnerable to heat and is the one I’d keep away from the range.
Be honest about your skills, too. If you hate dust, skip any skim coat that needs sanding; if angled cuts make you nervous, peel-and-stick is the forgiving route.
Look at the surface you’re covering first, since what’s under the new countertop decides which material will actually hold up. Some coverings only work over a counter that is smooth, level and undamaged, so repair dings first.
Style can break a tie. Wood suits a rustic farmhouse, and painted laminate or polished epoxy gives a sleek condo its shine.
Prepare and Seal Surfaces
Painting laminate starts with open windows, because the fumes need somewhere to go. Clean the surface with detergent, let it dry fully, then sand lightly with 220-grit paper.
A specialist countertop paint may not need primer.
Acrylic paint does, so prime first, roll on 2 coats, and finish with a countertop resin to seal it. Follow the directions on a specialist paint’s label.
For contact paper, plan the seams along the back edge, where they draw the least attention. Use waterproof glue on any underside that isn’t laminated.
Torching wood, a method called shou sugi ban, also seals the surface and gives a one-of-a-kind top. Work outdoors, away from anything flammable.
Frequently Asked Questions
What are basic kitchen countertops made of?
The usual DIY materials are ceramic tile, concrete, butcher block or other wood, stainless steel, granite, and composite or marble-look surfaces.
Painted laminate and peel-and-stick vinyl film cover a counter you already own. Match the material to the job: concrete or epoxy handles drips beside the sink, while wood needs regular oiling there.
What are some budget-friendly ideas for kitchen countertops?
Painted laminate usually wins on price, and a small kitchen can land in the low triple digits. Peel-and-stick vinyl film and tile laid over laminate both keep the bill low if you catch a sale.
The cheapest counter is still the one you already have, if it can be saved. Keep vinyl away from the range, since heat damages it.
Is it cheaper to refinish or replace my counters?
Refinishing almost always costs less.
You skip a new base layer, sink removal and plumbing changes. A covering needs a smooth, level, undamaged surface, so patch any dings before you start.
How do you cover old countertops?
Paint is the simplest route for laminate. Contact paper is a short-term fix, so I’d run its seams along the back edge, while epoxy countertop paint lasts longer than a year or two.
Tile and peel-and-stick film also go over laminate, but both want a smooth, undamaged surface underneath.