
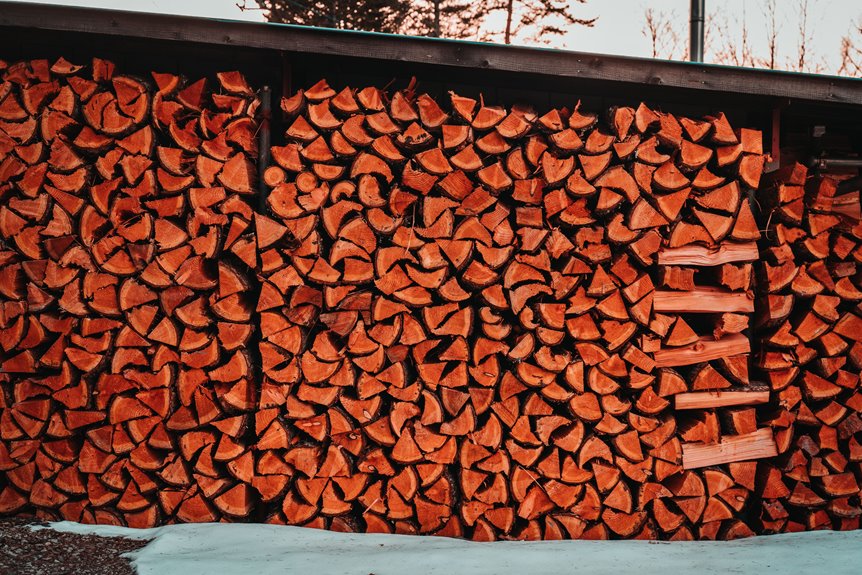
I learned the hard way that sealing firewood in a tight shed traps moisture and invites mold.
Now, I use an open-sided design with just a roof and three walls, facing south to catch sunlight and breeze.
I raise my stack 18 inches off the ground on 6×6 lumber or pallets, cross-stack layers for stability, and leave gaps between pieces.
I cover only the top with something waterproof but breathable, keeping the sides completely open.
Proper ventilation is essential for maintaining the quality of the wood.
Choose a Shed Design That Breathes
Although I once crammed firewood into a sealed plastic shed and wondered why it molded, I have learned that airflow is essential. You need effective ventilation, not just a box with walls.
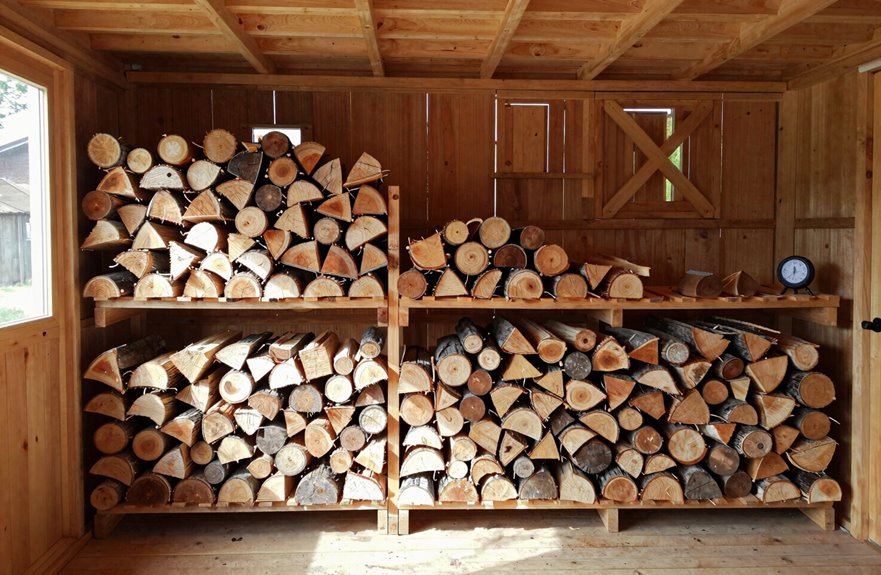
I now build open-sided sheds with a maximum of three walls, sometimes using just a roof supported by posts. The rain-shield roof protects your firewood from storms while wind flows through the sides, providing natural drying.
Adding elevated firewood racks on 6×6 lumber creates eighteen inches of space between your wood and the damp ground, preventing moisture from wicking up.
Avoid the sealed approach. Firewood should be stored in a structure that promotes airflow, ensuring it stays dry and ready for use. My experience has shown the importance of this design.

Separate Storage & Firewood Zones: Main shed and open wood bay keep tools and logs apart for easier organization. Ideal for garden gear, lawnmowers, and seasonal equipment outdoors
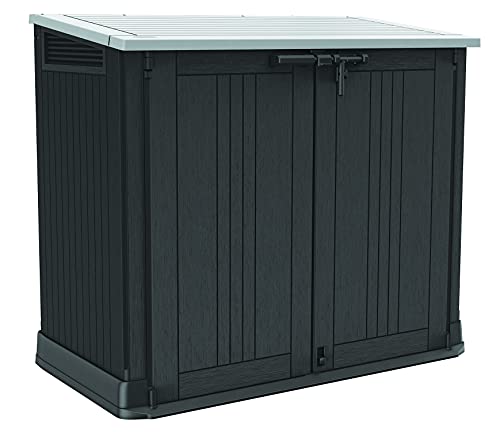
COMPACT OUTDOOR STORAGE SOLUTION – Holds up to two 32-gallon trash cans while organizing garden tools, pool floats, patio accessories, and backyard essentials.

Heavy Duty Firewood Rack: 4ft firewood storage holder is made of heavy tubular steel construction with a double silver powder-coated finish, optimal durability, sturdy, rustproof and Weather fastness, ensuring enough dry wood for fireplaces, stoves, or fire pits all seasons.
Face the Opening South or Toward the Sun
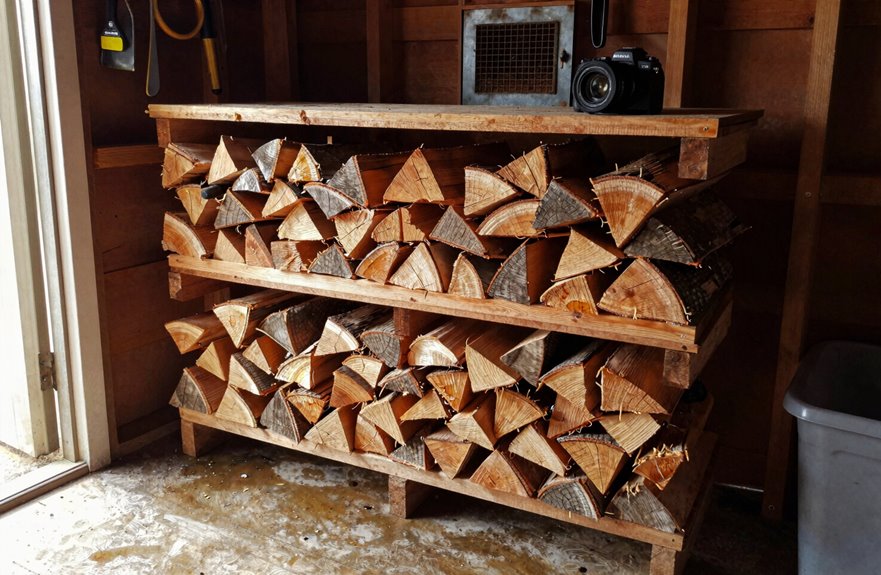
I learned the hard way that a north-facing shed turns firewood into a science experiment in mold growth. When I finally rotated my setup to face south, those logs dried weeks faster; no fancy equipment was needed, just good old sunshine doing the heavy lifting. You’ll want that opening angled toward the sun’s path. I spent one afternoon with a compass app and a confused look before getting it right.
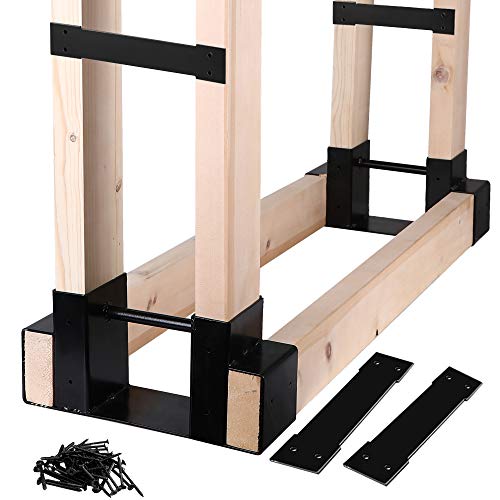
WHAT YOU GET -- A pair of firewood log brackets with wood screws,13.2" *3.7"*6". (Lumbers are not included).

17.6inch(L) x 12.5inch(W) x 16.5inch(H) -- It holds about 10-20 pieces of wood at a time, enough for a solid 4-5 hour fire in a standard fireplace. The cute size holder sits right next to the fireplace without taking up a lot of valuable floor space.

【Strong & Stable】Made from premium steel, our firewood rack ensures durability and stability, providing a long-lasting solution for storing your firewood outdoors.
Maximize Sun Exposure
Where should your shed face if you want dry firewood fast? South. I learned this the hard way after stacking two cords in a shaded corner; mold developed quickly. Sun exposure makes a significant difference.
Your shed design is crucial. I use an open-sided structure with a 24-inch overhang. The roof keeps rain off while sunlight directly hits the stacks. Solar heating speeds evaporation.
Airflow works with the sun, not against it. I place my wood between posts, leaving the sides completely open. The breeze carries moisture away while warmth penetrates the stack. My neighbor built a fully enclosed shed, and his wood stays damp for months.
Cover the top and keep the sides open. This is the optimal setup for drying. I check my stacks weekly and rotate newer wood toward the sun. You will notice the difference when that first crisp fire lights easily.
Accelerate Drying Process
Why wait months for dry wood when a simple turn makes a difference? I learned this the hard way after stacking three cords in the wrong direction; lesson received, ego bruised.
Face your shed opening south. That sun exposure works harder than my excuses for procrastinating. You’ll want elevation too; get that wood six inches off the ground on pallets or 6×6 supports. Ground moisture is sneaky.
Airflow is crucial. Open sides or vents let wind sweep through, carrying dampness away. Add a top cover for rain protection, but keep those sides breathable. I skipped this once, and mold developed.
Cross-stacking—perpendicular layers—creates channels for air movement throughout your pile. Combine this with your south-facing setup, and you’ll burn seasoned wood weeks sooner. A cozy fire is always desirable.
Raise Firewood on Pallets or Skids
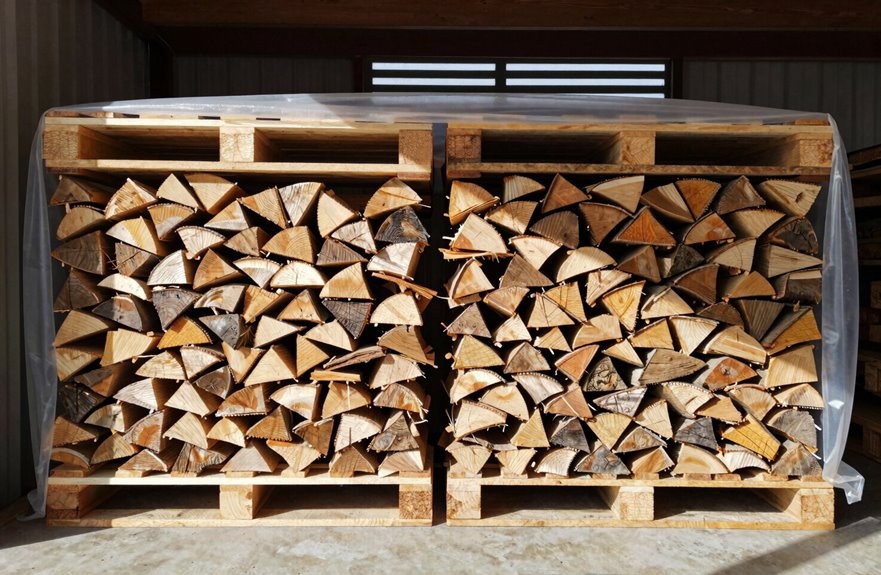
Ground moisture is usually the first thing that ruins a good stack of firewood, and I’ve learned that lesson the hard way. That’s why I always elevate my splits on pallets or skids. It’s simple moisture prevention that can save you from disappointment.
Here’s what works:
- Use standard pallets or 6×6 skids to create that essential barrier.
- Elevate at least 4-6 inches off the dirt floor.
- Position between posts with 18 inches of overhang for airflow.
- Check that your base is level so stacks don’t topple.
- Replace rotting skids yearly because they do wear out.
That gap underneath lets air circulate freely, keeping the bottom row dry instead of spongy. Once you’ve hauled moldy logs to the burn pile, you won’t skip this step again.

EASY FRONT ZIPPER ACCESS: Say goodbye to struggling with entire covers! Vailge firewood rack cover features a convenient full-length front zipper and opening. This allows you to easily add or retrieve firewood without removing the entire cover, saving you time and effort in rain or snow.

WEATHERPROOF & DURABLE FABRIC: 600D Oxford fabric with dual PU/PVC waterproof coatings helps block rain, dust, and moisture; Resists cracking in extreme heat and freezing cold; Shields firewood from sun and weather damage

| 8 Feet Firewood Rack Cover | - Measures 96" x 24" x 49" (L x W x H), Zettum 600D firewood rack cover is designed to fit firewood rack holders up to 8 ft. Universal fit most 8 foot firewood racks and firewood racks with length under 8ft. Please measure your firewood rack carefully. ( Note: Cover Only, Wood Rack Holder NOT INCLUDED!! )
Stack in Layers for Airflow and Stability
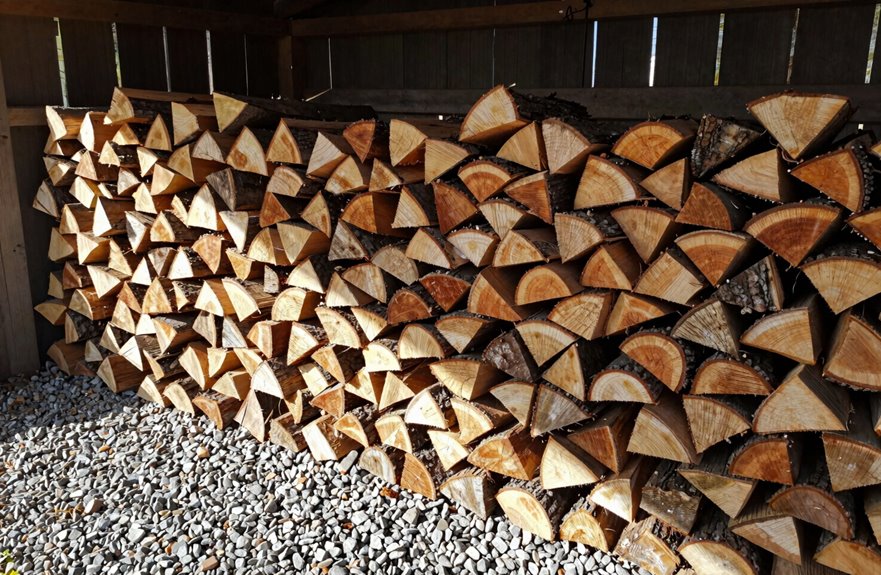
Once you’ve got your base sorted, the real art is in how you stack. I learned this the hard way after my first pile collapsed during a windstorm; it was embarrassing and preventable.
Start by keeping everything elevated off the ground; I use 6×6 supports myself. Cross-stacking is key. Lay each layer perpendicular to the one below it. This creates natural air channels.
Stick to uniform log sizes within each row. Mixing thick and thin pieces leaves gaps that waste space and compromise stability. I’ve made that mistake.
Leave small gaps between pieces for airflow. The ventilation moves through these spaces, pulling moisture out. Your shed’s vented openings help, but your stacking technique does the heavy lifting. Dry wood burns more efficiently. You’ll appreciate it come January.

Updated for 2026: A perfect blend of style and function, 34inch firewood rack with Log Carrier Bag holds 400 lbs of wood, keeping it organized both indoors and outdoors

💯[Large Capacity, More Burning Time] Our firewood rack features a 30-inch wide open design, built to hold more firewood while keeping your logs dry, organized, and ready to burn. The arched structure also add a clean, decorative touch to any space.
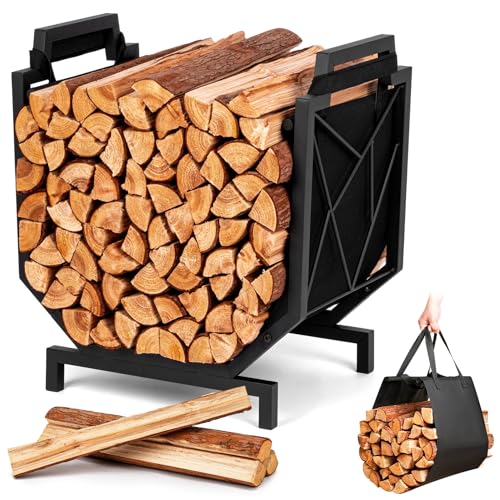
Not just storage — the sleek design and included carrier bag make it a standout piece in anywhere
Cover the Top Only: Leave Sides Open
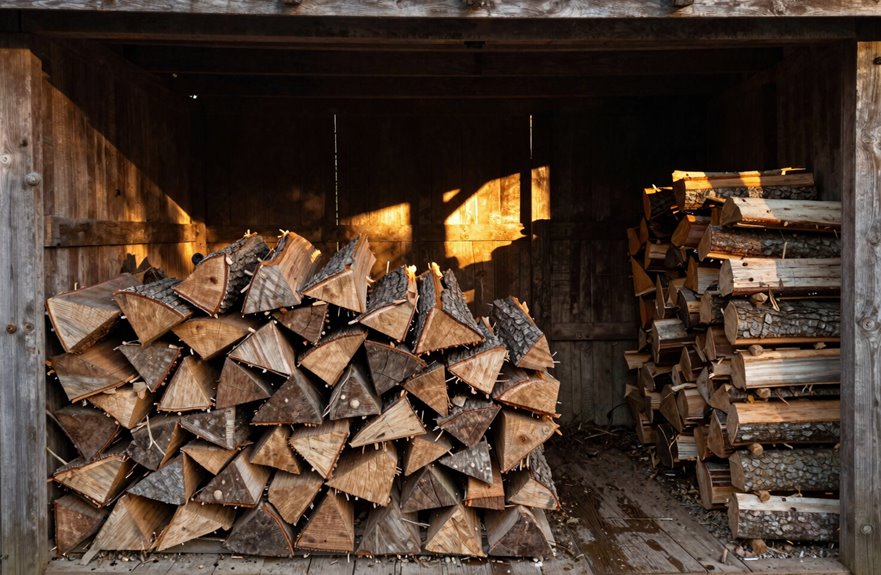
How do you keep rain off your wood without turning your shed into a steam room? Sealing everything up can lead to trapped humidity, which may even encourage mold growth.
Keep rain off your wood without sealing it up—trapped humidity only invites mold to the party.
Here’s what works for moisture management:
- Build a simple roof over posts; no walls needed.
- Allow wind to hit the open sides for natural drying.
- Use a waterproof but breathable top cover.
- Position stacks 6 inches apart for cross-ventilation.
- Check surfaces weekly; missing mold can have consequences.
That roof-with-posts design functions as a drying machine. Air moves constantly, pulling moisture from every log. Your wood seasons faster, burns hotter, and you gain the knowledge that old-timers understood long ago.

PROTECTIVE ROUND ROOF DESIGN – The 32-inch diameter metal roof shields firewood from rain, snow, and debris, keeping logs dry and ready to burn while allowing airflow to...
Use Older Wood First and Watch for Pests
I learned the hard way that stacking fresh wood on top of old logs is a mistake; my system once left me with a rotting pile I couldn’t burn. Now, I always use older wood first, sliding new splits toward the back so nothing gets forgotten. It resembles grocery shopping: first in, first out.
Pests thrive in sloppy shed storage, so I focus on sealing gaps and checking for chew marks. I keep everything elevated on 6×6 timbers to boost air circulation and avoid ground moisture that attracts termites and mice. Tight, neat stacks with small gaps between logs serve as your defense. Avoid placing stacks against walls, as pests can easily enter that way. If you spot sawdust or droppings, take action immediately. Your future self will appreciate it.

[Dual-Function 2-in-1 Storage System] Our shed with innovative design separates daily-use items from long-term storage—the side-access open bay offers instant access for outdoor essentials like bikes, firewood, trash bins, or muddy boots, while the main enclosed section secures larger gear such as lawnmowers, power tools, and seasonal equipment, protecting everything from dust, moisture, and pests for organized, clutter-free spaces.

Easy Installation: We provide a user-friendly guide, detailed manual to make setup a breeze. Plus, our expert technical team is available for remote support whenever you need it

【Heavy-Duty Construction】Built with rust-resistant galvanized steel frames for the storage shed and outdoor gazebo, this metal shed ensures structural stability. Pre-drilled holes on legs allow secure anchoring with included stakes or bolts, resisting winds up to 24mph. Perfect for long-term use in gardens, patios, or backyards.