
I learned the hard way that MDF and drywall screws won’t cut it for shed shelving. You’ll need 24 boards of half-inch plywood, a miter saw, a pocket hole jig, and 2x4s cut to 24 inches for brackets. Measure wall-to-wall, mark 18 inches below the ceiling, and chamfer bracket edges to 45 degrees before drilling pocket holes. Assemble with 3-inch wood screws and glue, then mount to studs using 3-inch screws. Slide shelves in place, screw from underneath with 1½-inch screws, and test weight gradually to avoid any paint can avalanches. There are several details to manage for a successful shelving project.
Gather Shed Shelving Materials and Measure Your Space
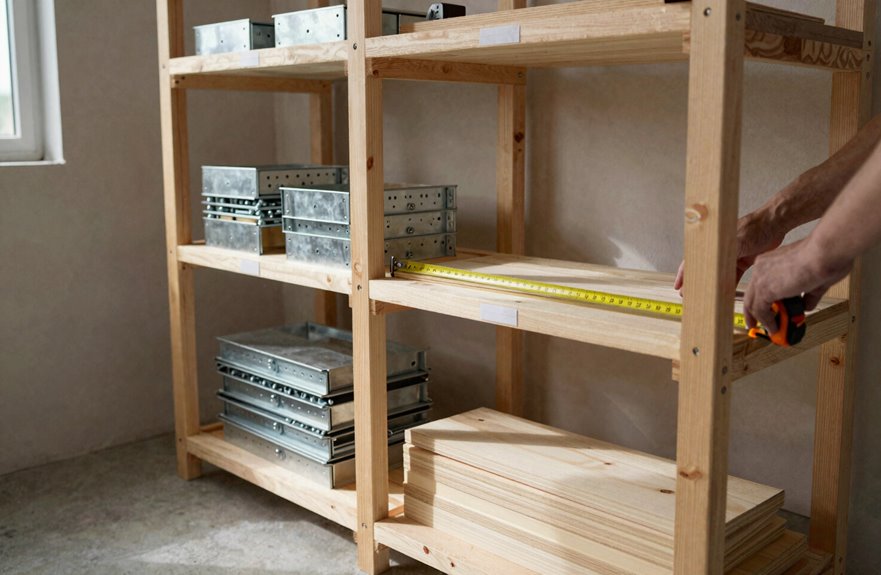
Before I start cutting anything, I need to organize my materials and assess the space. Skipping this step often results in extra trips to the hardware store.
For my shelves, I’m gathering 24 boards, half-inch plywood, and tools including a miter saw, pocket hole jig, tape measure, level, nail gun, and drill. I’ll avoid MDF since my shed tends to be humid.
Space planning is crucial. I’m measuring wall-to-wall and marking 18 inches below the ceiling, as I’ve learned not to cram items against the roof. My measurements will include a taller bottom shelf for paint cans and heavy totes.
I’m using moisture-resistant lumber and London brackets with a straightforward 2×4 front frame. Stable supports are preferred over decorative ones.
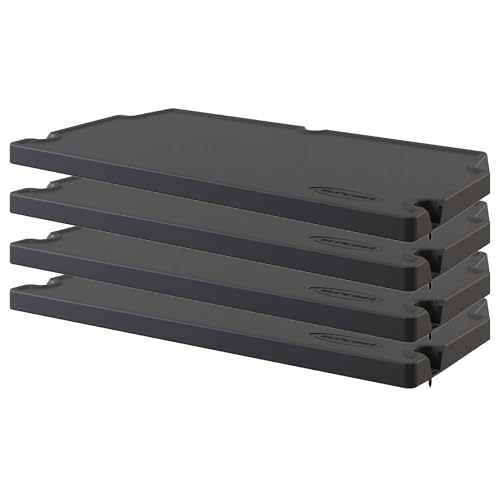
Shelf Organizer: Adds extra storage inside Suncast Vertical Sheds to increase usable space for gear, tools, and bins

Shelf Organizer: Adds extra storage inside Suncast Vertical Sheds to increase usable space for gear, tools, and bins
Cut 2x4s and Plywood to Exact Dimensions
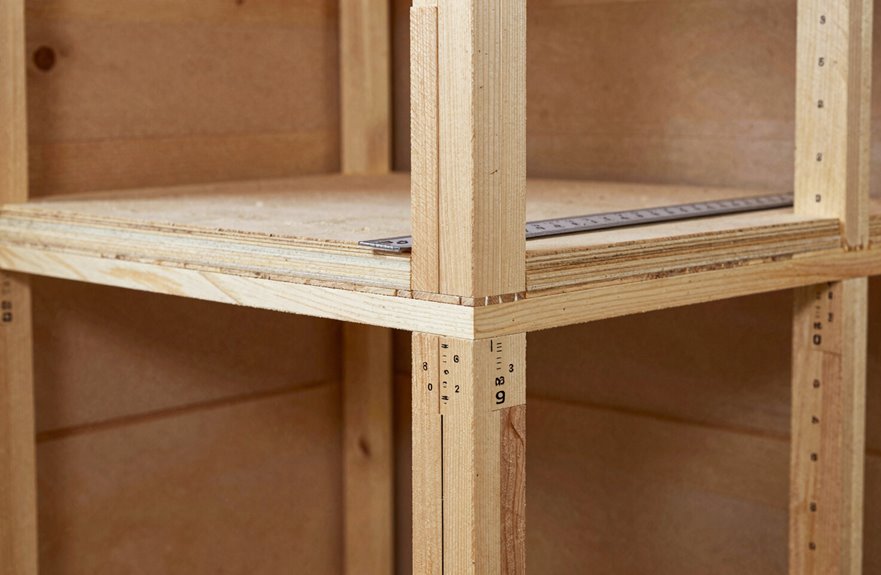
Since I’ve already measured twice, I’m ready to cut once, though I might still mess up at least one board, so I’ve got extras.
Measure twice, cut once—but bring extras anyway, because mistakes happen to the best of us.
I’ll cut eight 2x4s to matching dimensions. Consistency is essential for brackets that fit properly. My circular saw works fine, but you can use whatever you have.
Here’s my cutting plan:
- Cut 24″ lengths for bracket pieces and supports.
- Keep the blade square so brackets don’t wobble.
- Label each piece immediately.
- Cut plywood strips at 19/32″ thickness, 24″ wide.
- Allow 3/4″ overhang on back and sides for the top.
Those plywood dimensions provide a secure top plate with room for adjustment. Measure your own space, as my shed may differ from yours.
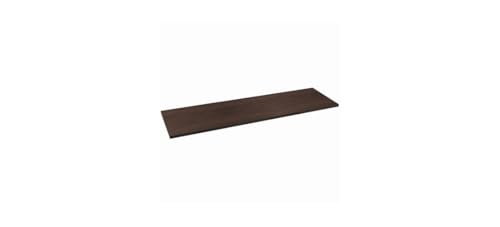
ALL PURPOSE SHELF BOARD

Basswood Craft Sheets: Conveniently packaged and ready for use 12 pure basswood sheets perfect for any DIY crafts in a variety of settings. Work on an at home project with your family and friends or take the materials with you to school, work, and anywhere you want to get creative. Sturdy and reliable quality ensures that your colors come out vibrant and your structure designs balanced.

Chamfer Bracket Edges and Drill Pocket Holes
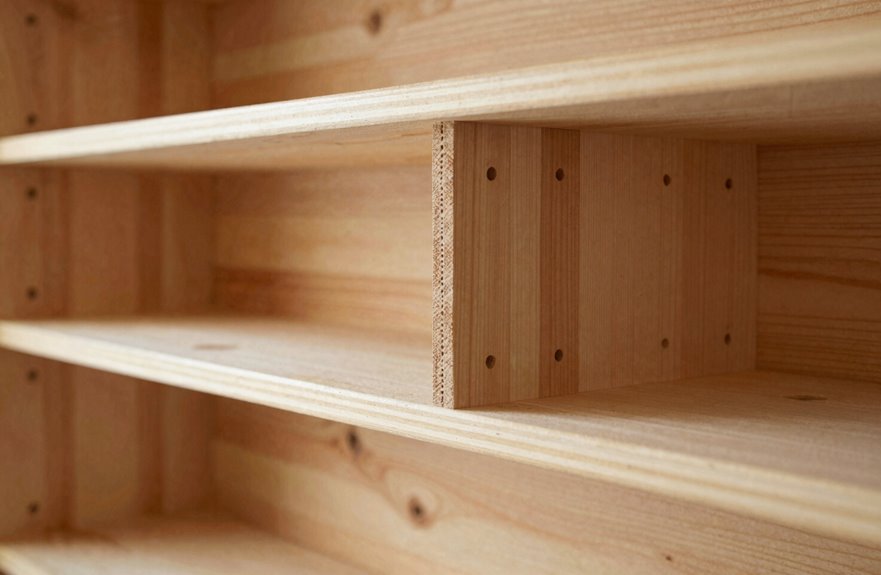
I’ll chamfer those bracket edges to 45 degrees first; I usually mess up the angle on my first try, so sanding it down is sometimes necessary. Then, I’m setting up my pocket-hole jig to drill holes that will align precisely with the shelf pieces. I’ve learned that crooked holes complicate assembly significantly. Getting this alignment right now will prevent issues later when assembling everything.

AN INNOVATIVE SOLUTION: FINALLY! A way to use vertical space for heavy duty projects! Use the brackets to install 2 x 4 posts floor to ceiling. No more trying to find a stud!
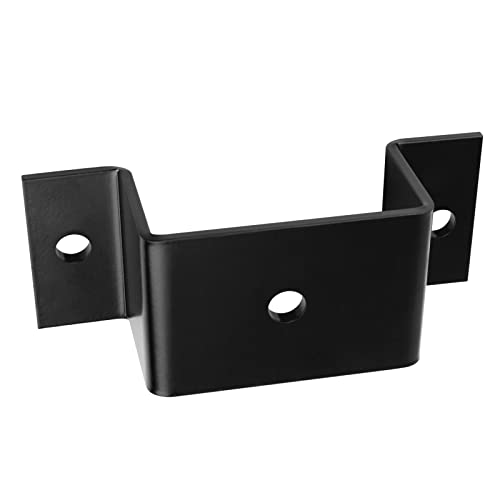
Fits Standard 2 x 4 Lumber Uprights Steel Stake Posts(Bracket Inner Size: 1-5/8" x 3-1/2")

Elsjoy 8-pack trailer stake pocket brackets measure 6.5"(L) x 2.5"(W) x 1.5"(H). Fits standard 2" x 4" lumber without cutting and is designed for quick assembly and long-term outdoor use. U-shaped bracket mounts vertically as a post bracket or horizontally as a beam support for flexible use.
Chamfer Cutting Technique
Why does a simple shelf bracket deserve a little extra attention? Chamfering transforms rough edges into something visually appealing. I’ve skipped this step before, and I won’t do it again.
Here’s what I’ve learned about getting it right:
- Set your saw to 45 degrees; eyeing it won’t suffice.
- Chamfer both ends of the bracket for consistency.
- Trim 0.75 inches off after chamfering if you want a shorter piece.
- Check your pocket-hole jig alignment twice; I drilled crooked once.
- Use those chamfered edges for flush joints when screwing parts together.
That beveled edge not only enhances aesthetics; it helps your shelving sit more precisely and provides better grip for your pocket-hole screws. Your shed deserves quality craftsmanship. You deserve it too.
Pocket Hole Placement
Where should those pocket holes go? I’ve made mistakes in placement before and learned from them.
Grab your pocket-hole jig and add holes to the bracket ends first. These pocket holes align perfectly with your corresponding pieces, so double-check before you drill. Skipping this step can lead to issues.
If you chamfered your bracket edges at 45 degrees, ensure you place screws there as well. For shelf installation, those bracket edges need holes drilled as shown, which prepares you for later steps. Proper placement now will prevent complications when attaching plywood shelves with 1.5-inch screws.
Accurate hole placement is crucial for front lip reinforcement. Measure twice and drill once to ensure your build can support the weight of your items.
Assemble Shelf Units With Strong Joints
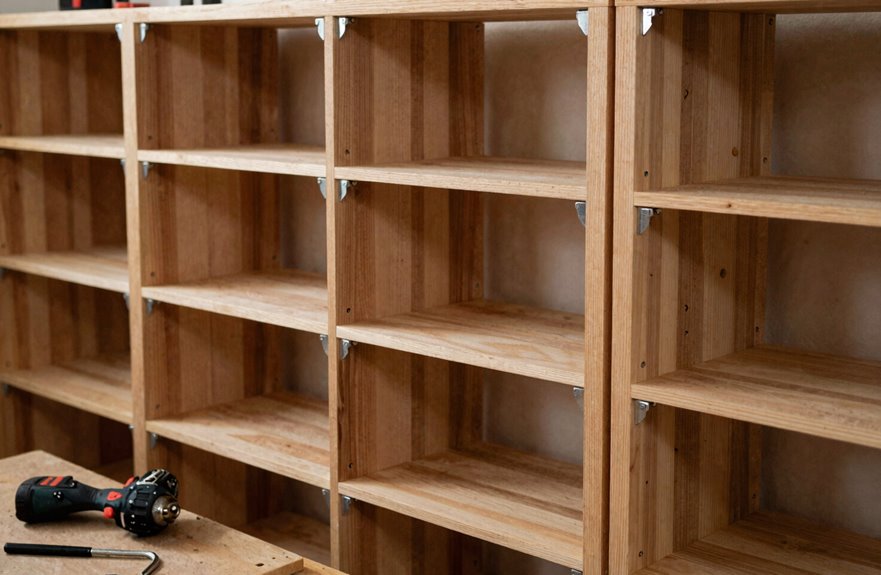
I’ll walk you through assembling these shelf units. Weak joints can lead to shelves that sag, so it’s crucial to choose your joints carefully. Pocket holes are effective for the brackets. Additionally, adding extra screws and glue will prevent wobbling when you load them with fifty-pound bags of mulch. I’ve reinforced many rickety shelves, and a little extra blocking now will help avoid problems later.

PERFECT DIY TOOLS: Made of Aluminum, not rust or break.Mini pocket hole jig set, perfect for DIY home projects or professional and general commercial use;

Easy Woodworking Tools: Kreg pocket-hole joinery is the fast, strong, easy way to join wood-drill, drive, and done
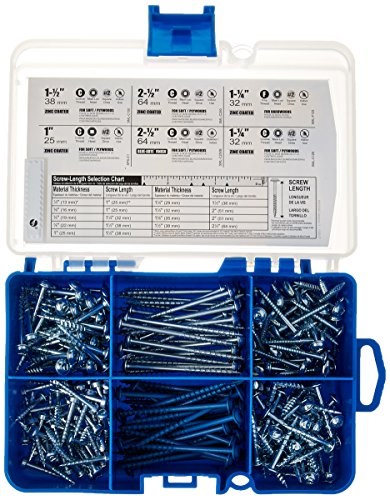
Home Improvement Screw Assortment: These premium Kreg screws are compatible with all Kreg pocket-hole jigs
Joint Selection Options
How do you keep a shelf from collapsing under a load of paint cans and power tools? It’s essential to choose the right joints.
I start with pocket holes drilled into my 2×4 brackets. They’re forgiving. I’ve messed up straight screws plenty of times. Then I drive 3″ wood screws through the horizontal arms into the vertical supports, ensuring the top piece bears the load properly.
Here’s my joint strategy:
- Pocket holes align everything before final tightening.
- 3″ wood screws lock horizontal and vertical bracket pieces together.
- Glue adds extra strength.
- 1.5″ screws secure the brace that stops wobbling.
- 1.5″ screws fasten the plywood shelf with its ¾” overhangs.
That 19/32″ plywood shelf is very sturdy.
Fastening Techniques Guide
Why do so many DIY shelves end up wobbly? It’s usually due to weak joints. Let me show you how I build brackets that stay put.
I grab my pocket-hole jig and drill precise holes in the bracket ends. This is important. I glue and screw the horizontal piece to the vertical with 3″ wood screws, ensuring a secure connection. I chamfer edges at 45 degrees, sometimes trimming 0.75″ if I’m particular about length. The brace gets 1.5″ screws plus glue. That’s a minimum of five screws per bracket.
For plywood tops, I use 19/32″ thick sheets. I mount them with 1.5″ screws, leaving a ¾” overhang on the back and sides. This design is clean and holds weight effectively.
Structural Reinforcement Tips
A solid shelf starts with the bottom frame. I learned this the hard way after skipping temporary wall bracing and watching my shelves wobble like a tired dog.
Here’s how we build brackets that actually hold:
- Rest 2×4 vertical supports on the floor with temporary wall-mounted pairs for each shelf.
- Cut brackets to 24 inches and verify with a level; measure twice, swear once.
- Chamfer edges at 45 degrees and remove 0.75 inches for clean seating.
- Glue and screw Part 1 (horizontal) to Part 2 (vertical) with 3-inch screws, top arm bearing on the mount.
- Add a third brace reinforcement at each end, then attach 19/32-inch plywood shelves with 1.5-inch screws, leaving ¾-inch overhang.
Your gear deserves a sturdy support system.
Mount Your Shed Shelves to Wall Studs
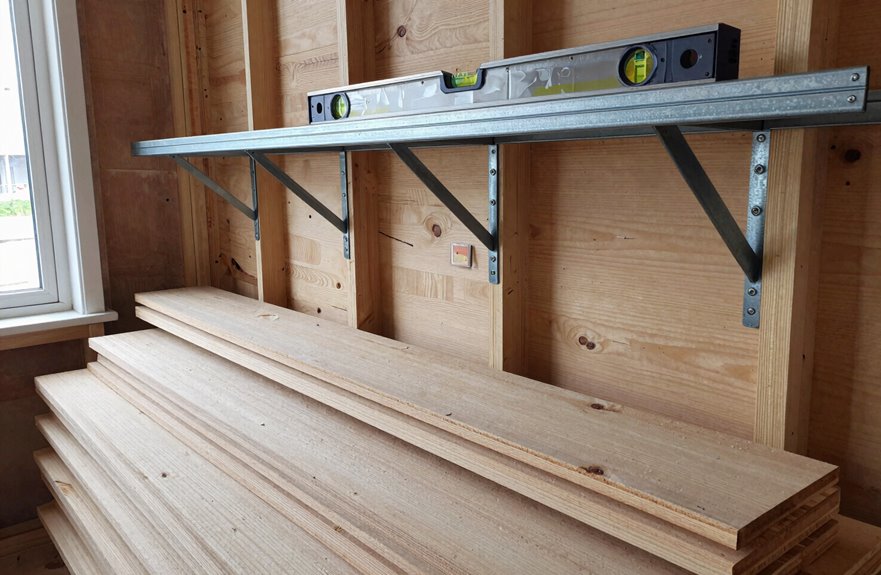
Where should those brackets go to ensure your shelves remain stable during projects? I learned this through experience.
First, I grab my stud finder and locate the studs, which provide support for everything. I mark a level line across them at my desired height because crooked shelves can be frustrating. Then, I position my brackets along that line, using 3-inch screws to secure them into solid wood. I check for drywall screws with magnetic indicators first, as hitting one mid-drill can be irritating.
I attach vertical brackets first, then slide the shelf boards into place and secure them from underneath. I leave adequate space above the top shelf and between levels for taller items and those plastic totes we all accumulate. The result is a solid and straight shelving system ready for whatever you need to store.

YOUR ITEMS, YOUR WOOD – YOU SUPPLY IT: Supply 3/4" thick wood (e.g., 1x4 to 1x10 pine or plywood, sold separately) for custom-fit shelves that match your items.

EXPANSIVE STORAGE SURFACE: 46 x 12.5 inch garage wall storage shelving. This heavy duty shelf creates expansive industrial-scale capacity for workshop tools, bulk supplies, and inventory. Maximizes organization in cramped storage rooms, basements, and utility closets while handling bulky items effortlessly.

Designed to support wood shelves 11-inches to 14-inches deep. Brackets sold individually and hardware/tracks not included
Install Surfaces, Reinforce Lips, and Test Weight Capacity
How do you turn a few brackets into shelves that will actually hold your stuff without sagging? I learned that plywood alone won’t cut it; you need smart installation.
- Rest your plywood on the brackets and screw up from underneath with 1½” screws.
- Leave a ¾” overhang on back and sides for stability.
- Add front lip reinforcement, notching edges for square fits at bracket ends.
- Use 19/32″ plywood in 24″ strips, doubling sections for spans over 8 feet.
- Load gradually with three to four bins per shelf, watching for flex.
Test weight capacity slowly. I once skipped this and watched my tools avalanche. After attaching, verify level and plumb, re-tighten screws, and ensure weight flows into vertical mounts, not bracket edges. This attention to detail will ensure your shelves perform well over time.

STORAGE SHED SHELF KIT: Takes advantage of the vertical height in your Suncast Shed to save ample space and maximize your organizational opportunities while allowing for easy access to essentials

Custom shelf kit perfectly compatible for Suncast BMSASHELFH2, fits Horizontal and Extra Large Vertical storage sheds precisely.

Versatile Suncast Shelf Kit: Designed for Suncast sheds to expand storage space. Wall mounted shelves help organize tools, bins, and gear in garage, shed, and utility areas.